Blueberry Muffins
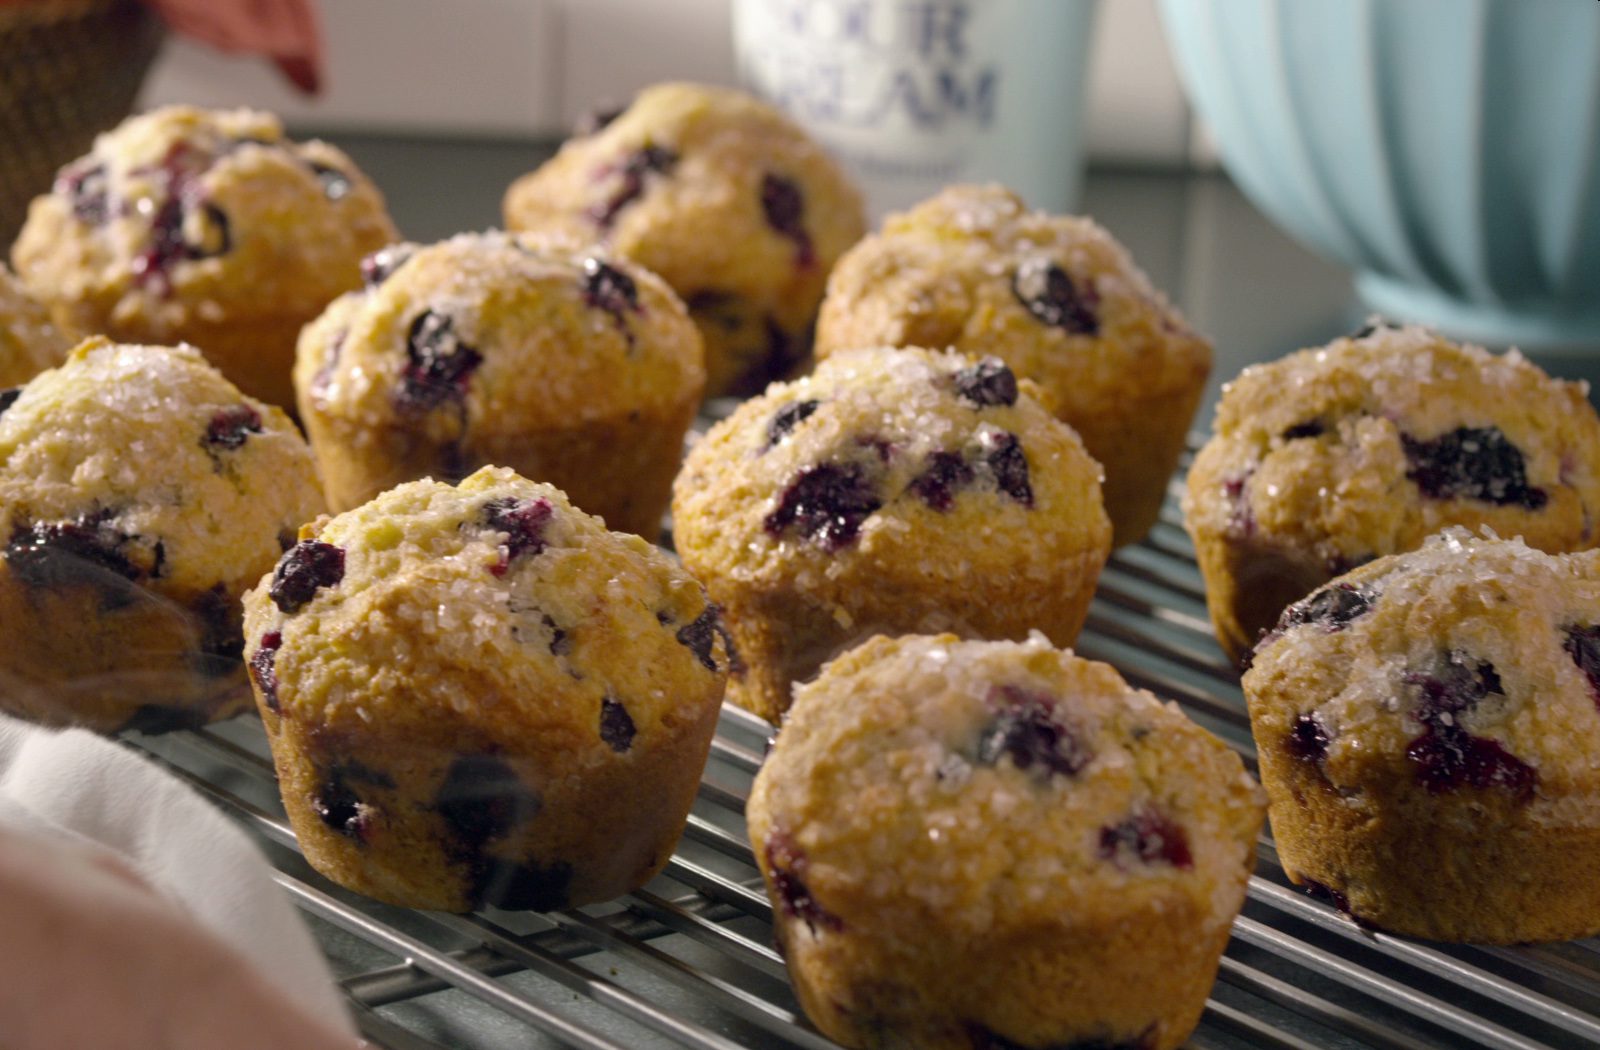
Blueberry Muffins
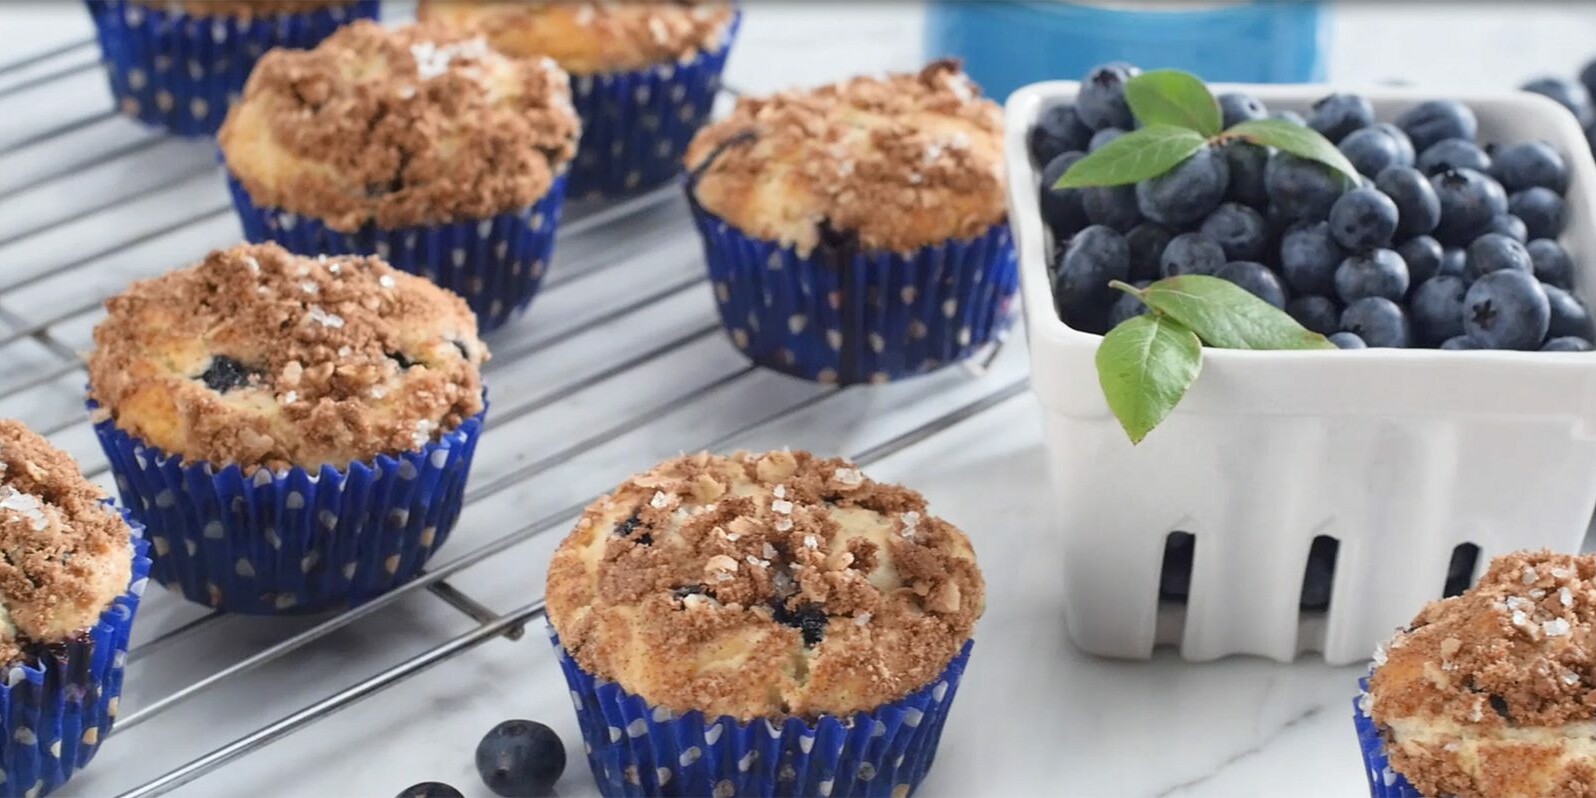
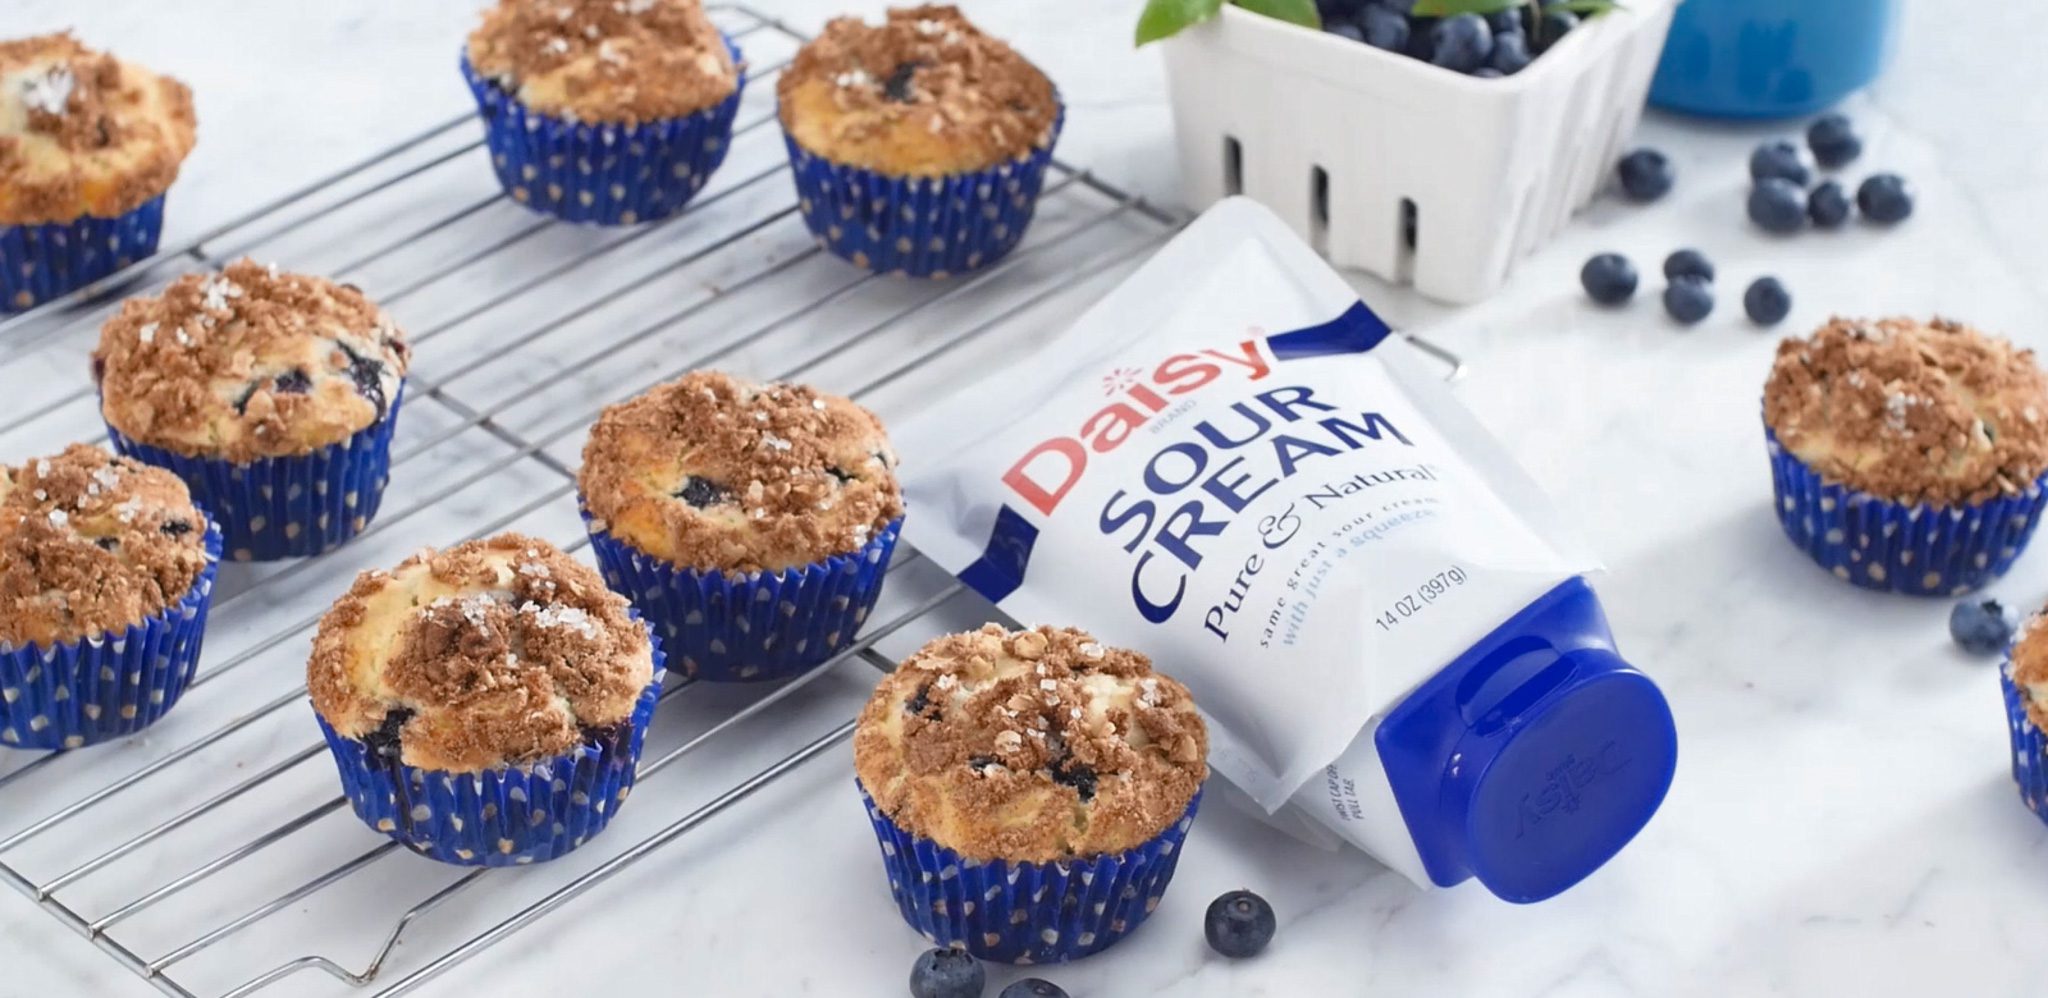
Bakery-style goodness right from your kitchen. These Blueberry Muffins are so easy to make and taste like they’re straight from the bakery. Perfect for lazy weekend brunch, busy weekday mornings, after-school snacks, or for sharing with friends, nothing compares to freshly baked Blueberry Muffins. The special ingredient is the Daisy Sour Cream which leads to a moist and soft in the center. Paired with the crunchy streusel topping, it’s bliss in a bite.
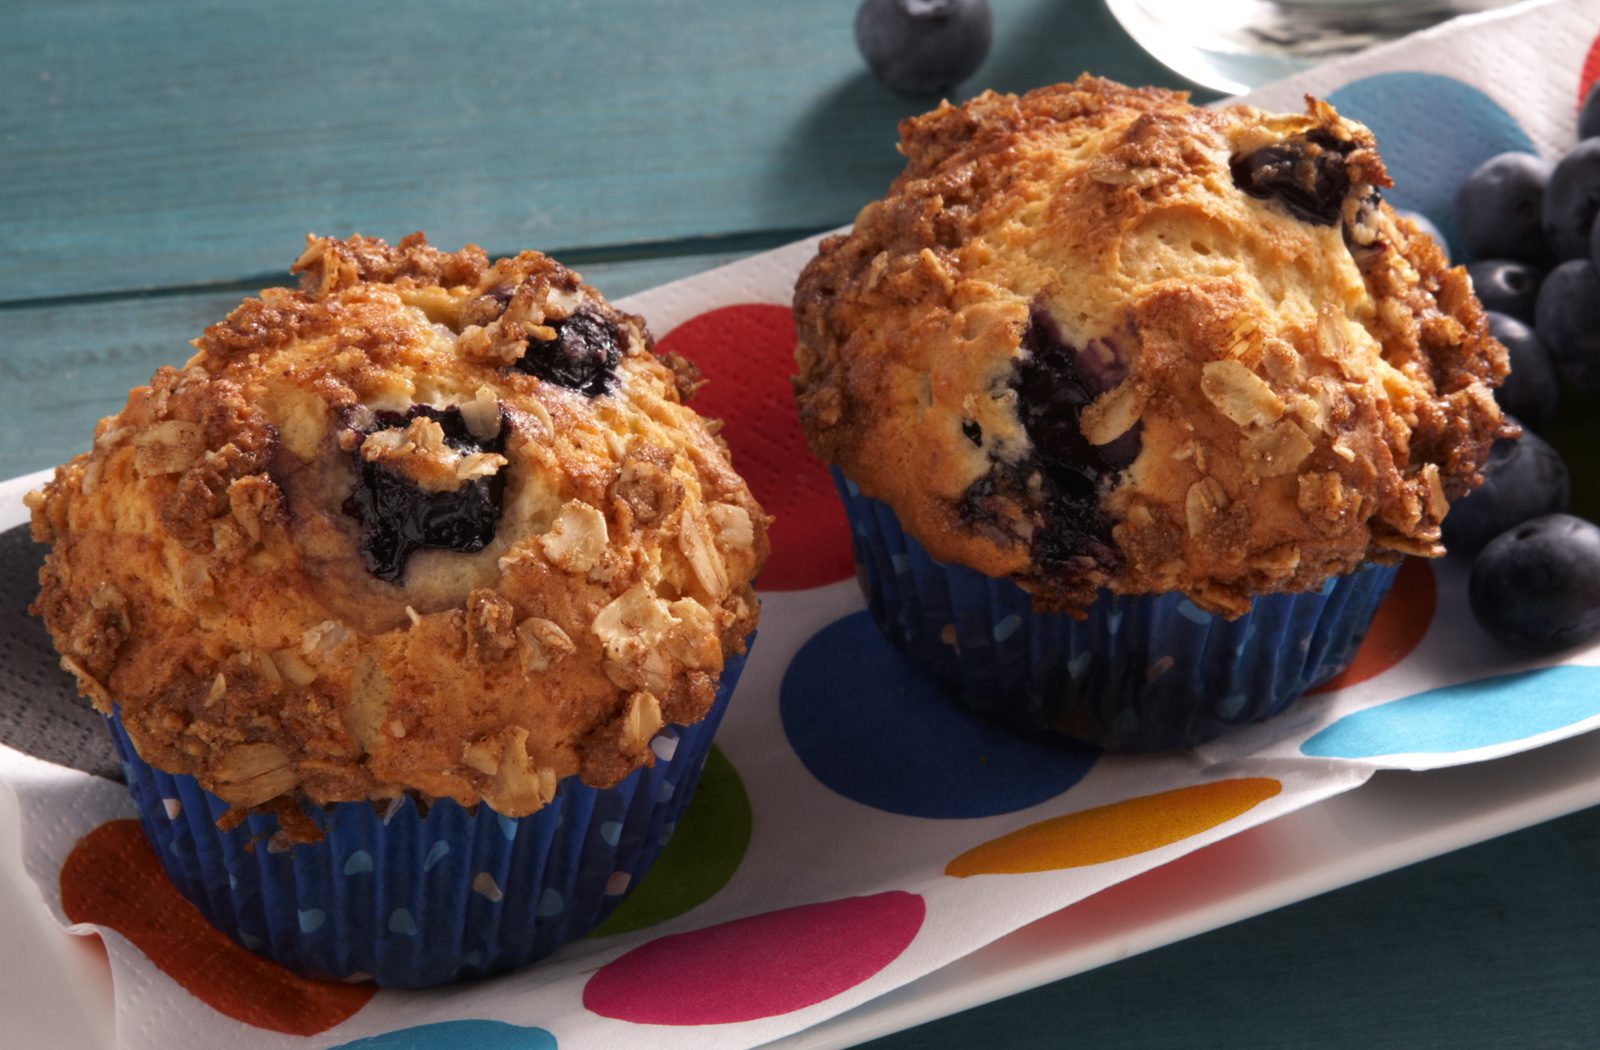
Easy to make with kitchen staples and a few mixing bowls, this recipe comes together quickly. There is no special equipment needed or complicated directions.
There are no secret ingredients, tricks, or complicated steps in this blueberry muffin recipe. You only need a few bowls and a mixer, which is perfect for hungry tummies in the morning.
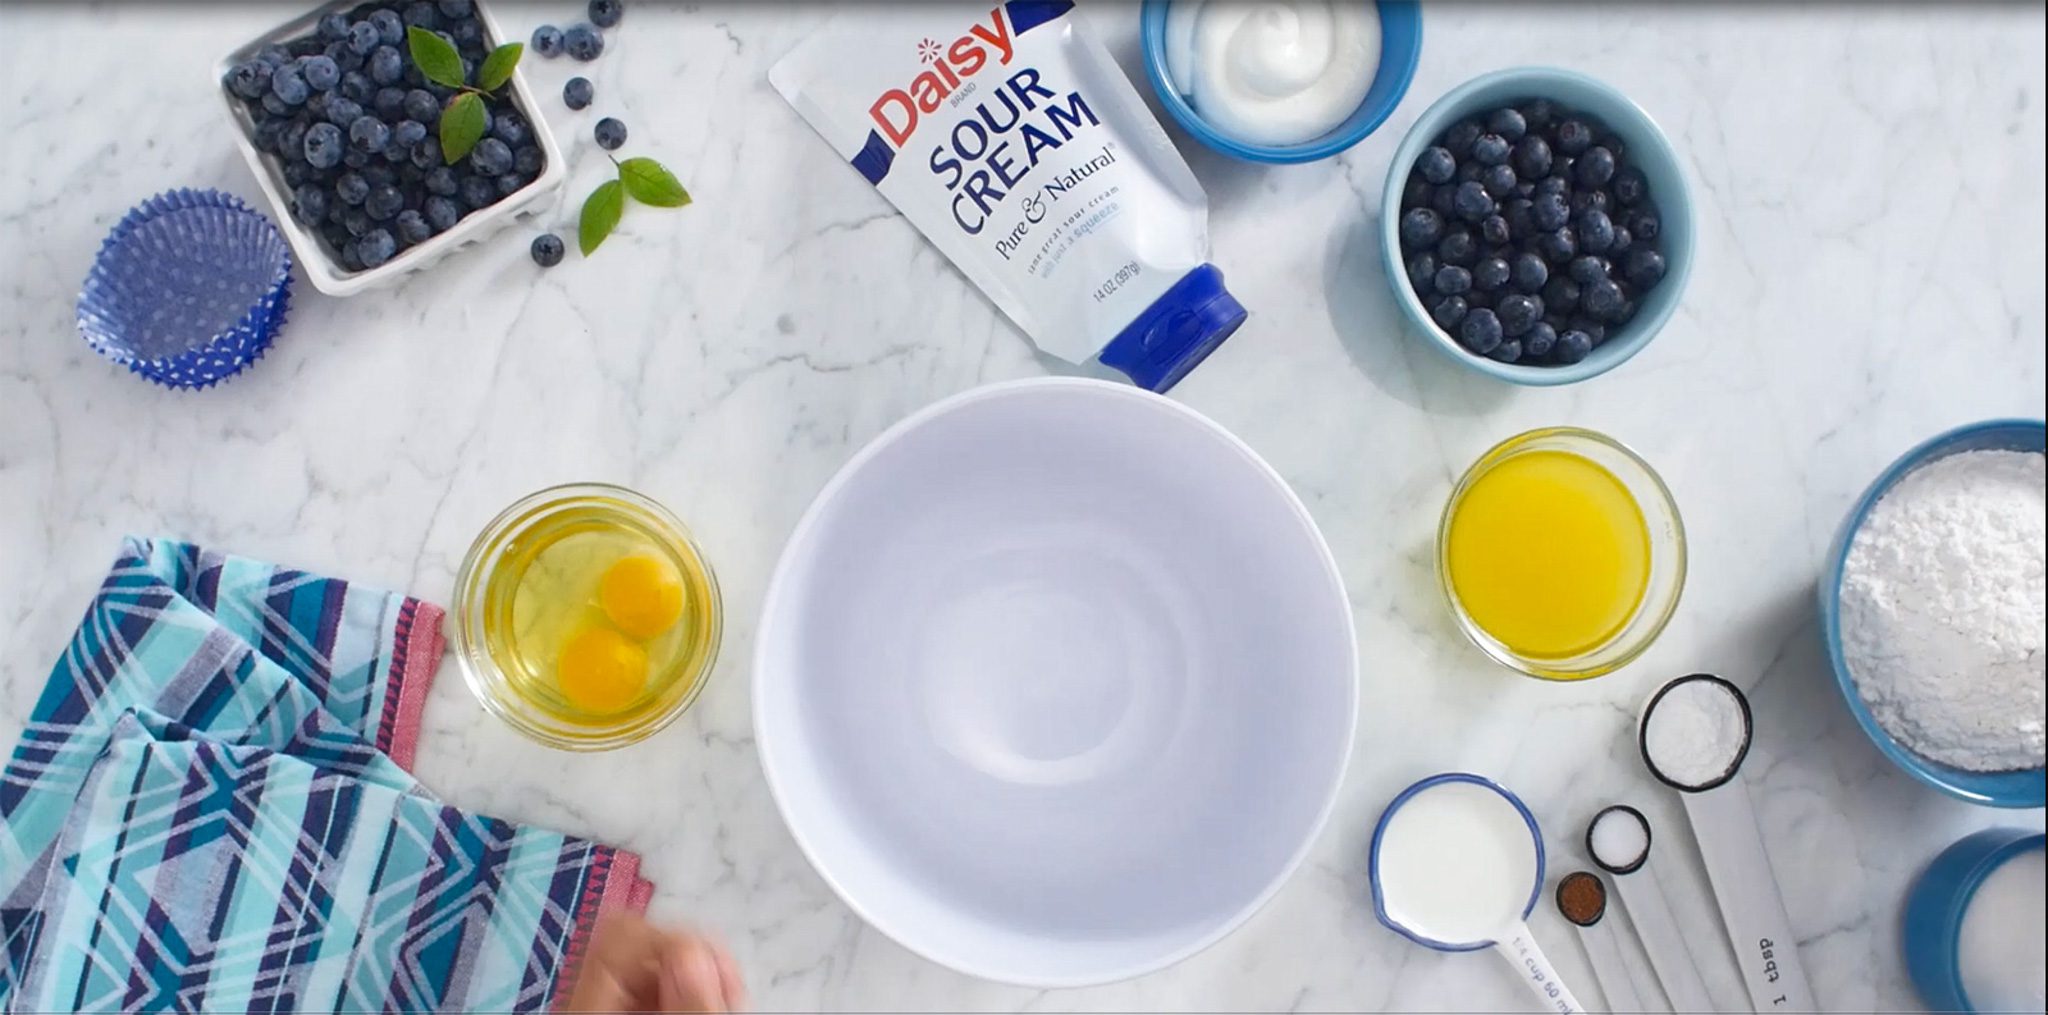
Blueberry Muffin Ingredients
- All-Purpose Flour (2 1/2 cups, divided): The flour found in most kitchens you’ll want to carefully measure flour. The easiest way to do this is to scoop it into your measuring cup and level off the top with a knife.
- Sugar (2/3 cup): Adds sweetness to the batter.
- Baking Powder (1 tablespoon): A main ingredient for leavening. It adds volume and lightness to the batter.
- Salt (1 teaspoon): Helps enhance the flavors and balances the sweetness of the batter.
- Nutmeg (1/2 teaspoon): A warm, earthy, and nutty spice that complements the berries.
- Daisy Sour Cream: The star ingredient that adds moisture and smoothness to the batter, giving the muffins a tender crumb and a slightly tangy taste.
- Milk (1/4 cup): Adds moisture to the batter, making it more tender.
- Unsalted Butter (1/2 cup, melted): The butter adds moisture and richness to the batters. It helps create the air pockets that helps give muffins their texture.
- Eggs (2 large, beaten): Creates the thickness and stability in the batter. Eggs bond with the flour to create the texture of the batter by forming a stronger gluten. The eggs also help add height to the muffins.
- Frozen Blueberries (1 ½ cups, unthawed): Picked at the peak of freshness, they are one of the two main ingredients giving the muffins their flavor.
- Salted Butter (1/4 cup, cold): A key ingredient to making the crumb topping, it helps bind the other ingredients together.
- Quick-cook Oatmeal (1/2 cup): Adds texture to the muffin topping and a touch of fiber.
- Brown Sugar (1/4 cup): Adds a rich buttery, caramel flavor to the strudel topping. Did you know that brown sugar is a combination of cane sugar and molasses? The molasses in the sugar is what adds the depth of flavor and adds a bit of chew to baked goods. Light or dark brown sugar may be used in this recipe. Use dark brown sugar for a deeper flavor or light brown sugar for a lighter flavor.
- Ground Cinnamon (2 tablespoons): The classic flavor from this aromatic spice adds a touch of sweet, slightly citrus warmth to the strudel topping.
- Sparkling Sugar (2 teaspoons): Adds a touch of crunch and sweetness to the muffin tops.
Substitutions, Variations, and Tips
- To reduce cleanup when you make muffins, spoon the batter into a zip-top bag, snip off a corner, and fill the muffin tins.
- Freeze muffins for up to 3 months. Cool completely and put in a zip-top bag. Thaw in room temp overnight. Warm in microwave for 20 seconds or wrap in foil and bake in preheated 300 oven for 6-10 min.
- Don’t pack the flour in your measuring cup. Packing the flour will lead to tougher, dense, or rubbery donuts. Overly dense is likely due to too much flour. Conversely, sticky batter is typically the result of too little flour.
- You can use all canola or vegetable oil in place of the butter.
- ½ cup applesauce may be used in place of the eggs. Please note, this will make a slight change the texture of the batter, so you’ll need to add an extra 1 teaspoon of baking powder to keep the dough from being too dense.
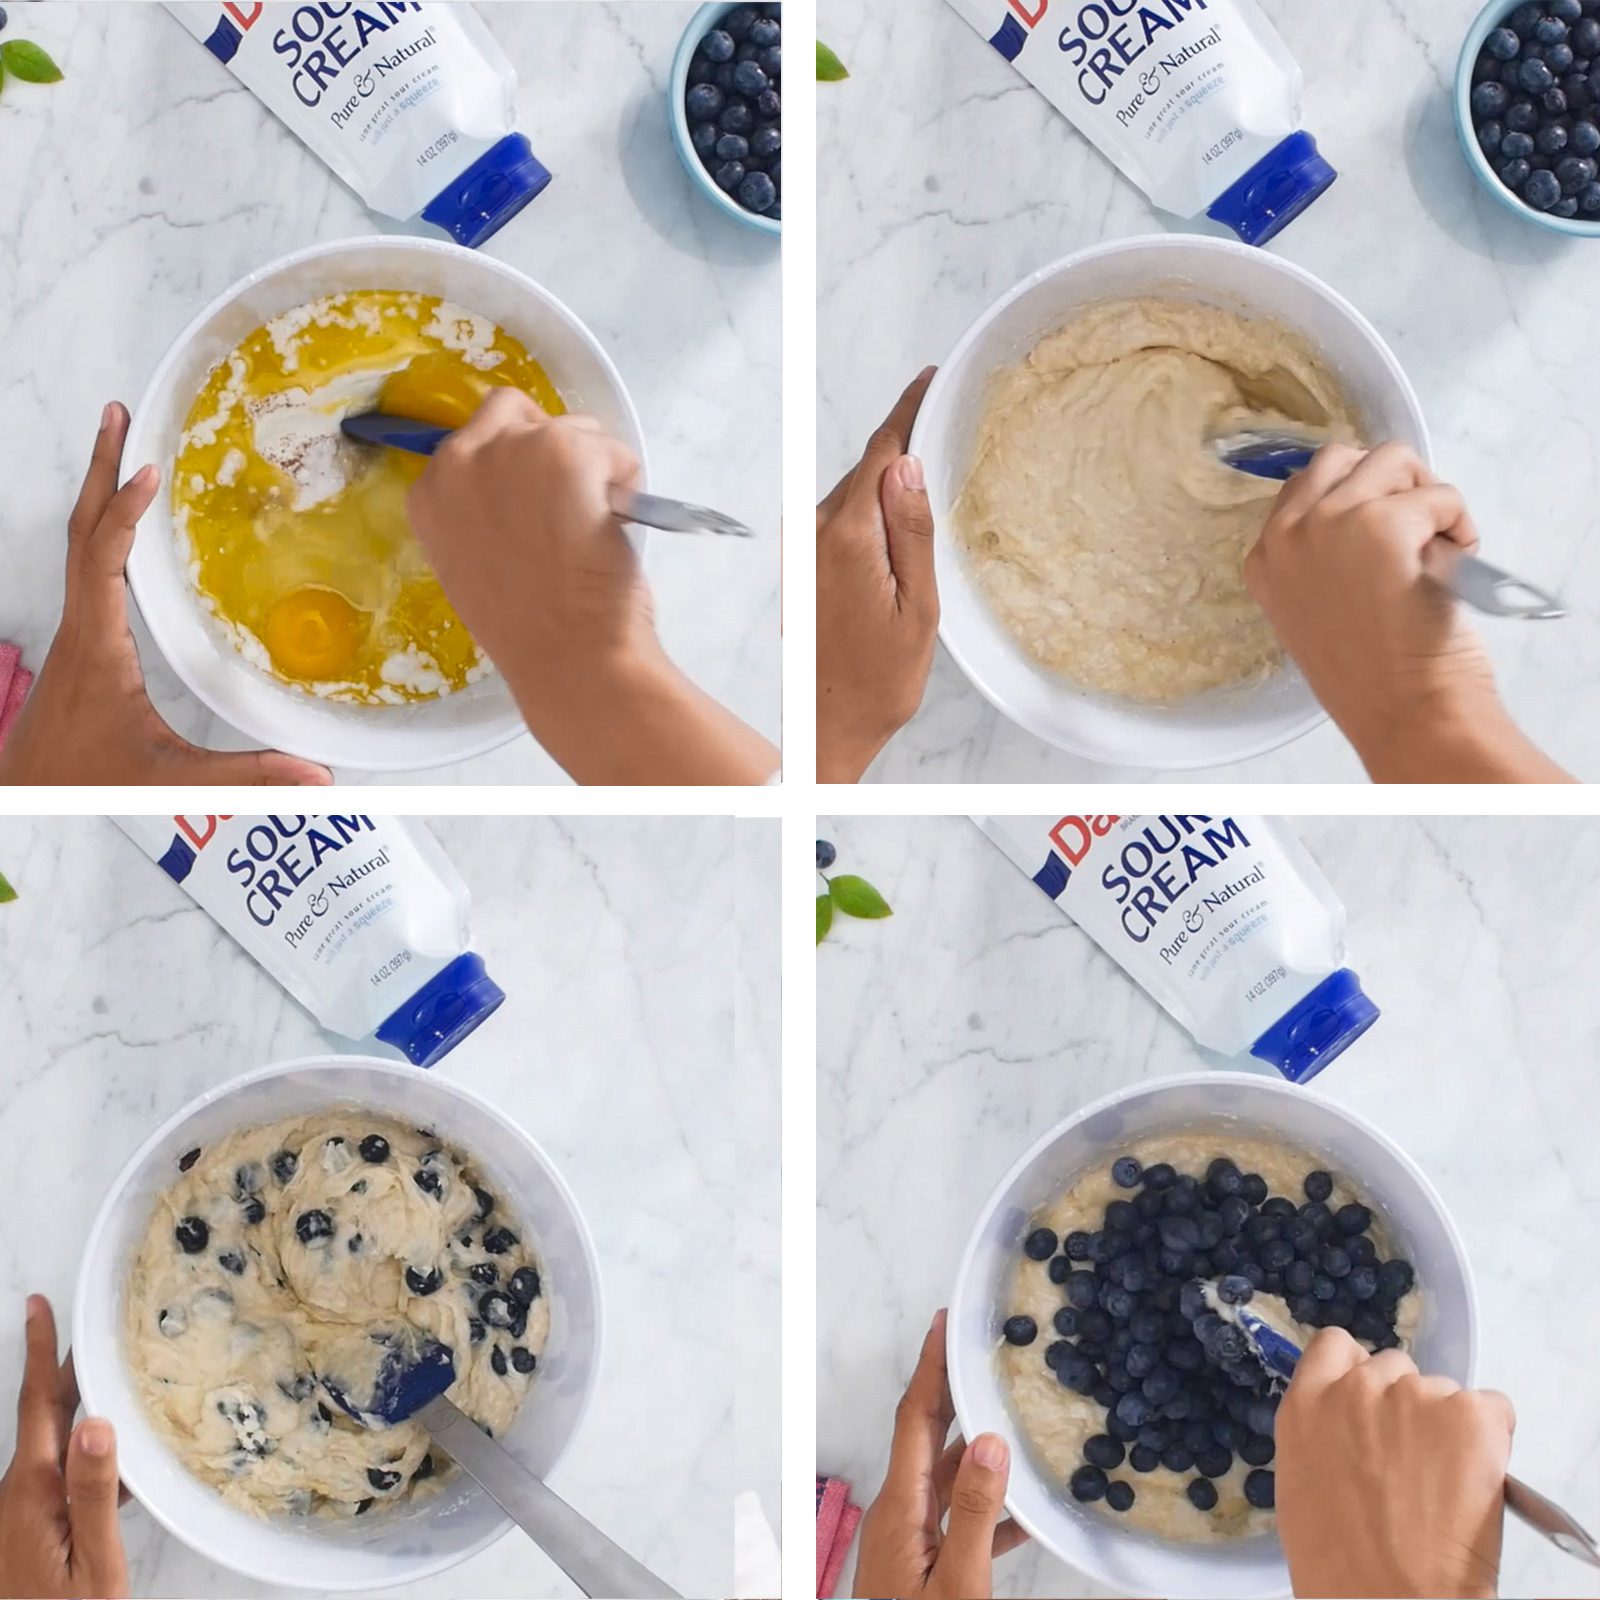
How to Make Blueberry Muffin Batter
- Preheat the oven to 400 degrees.
- Beat 2 cups flour, sugar, baking powder, salt, nutmeg, sour cream, milk, 1/2 cup melted butter, and eggs until thoroughly mixed. Fold in blueberries. Pour into muffin tins.
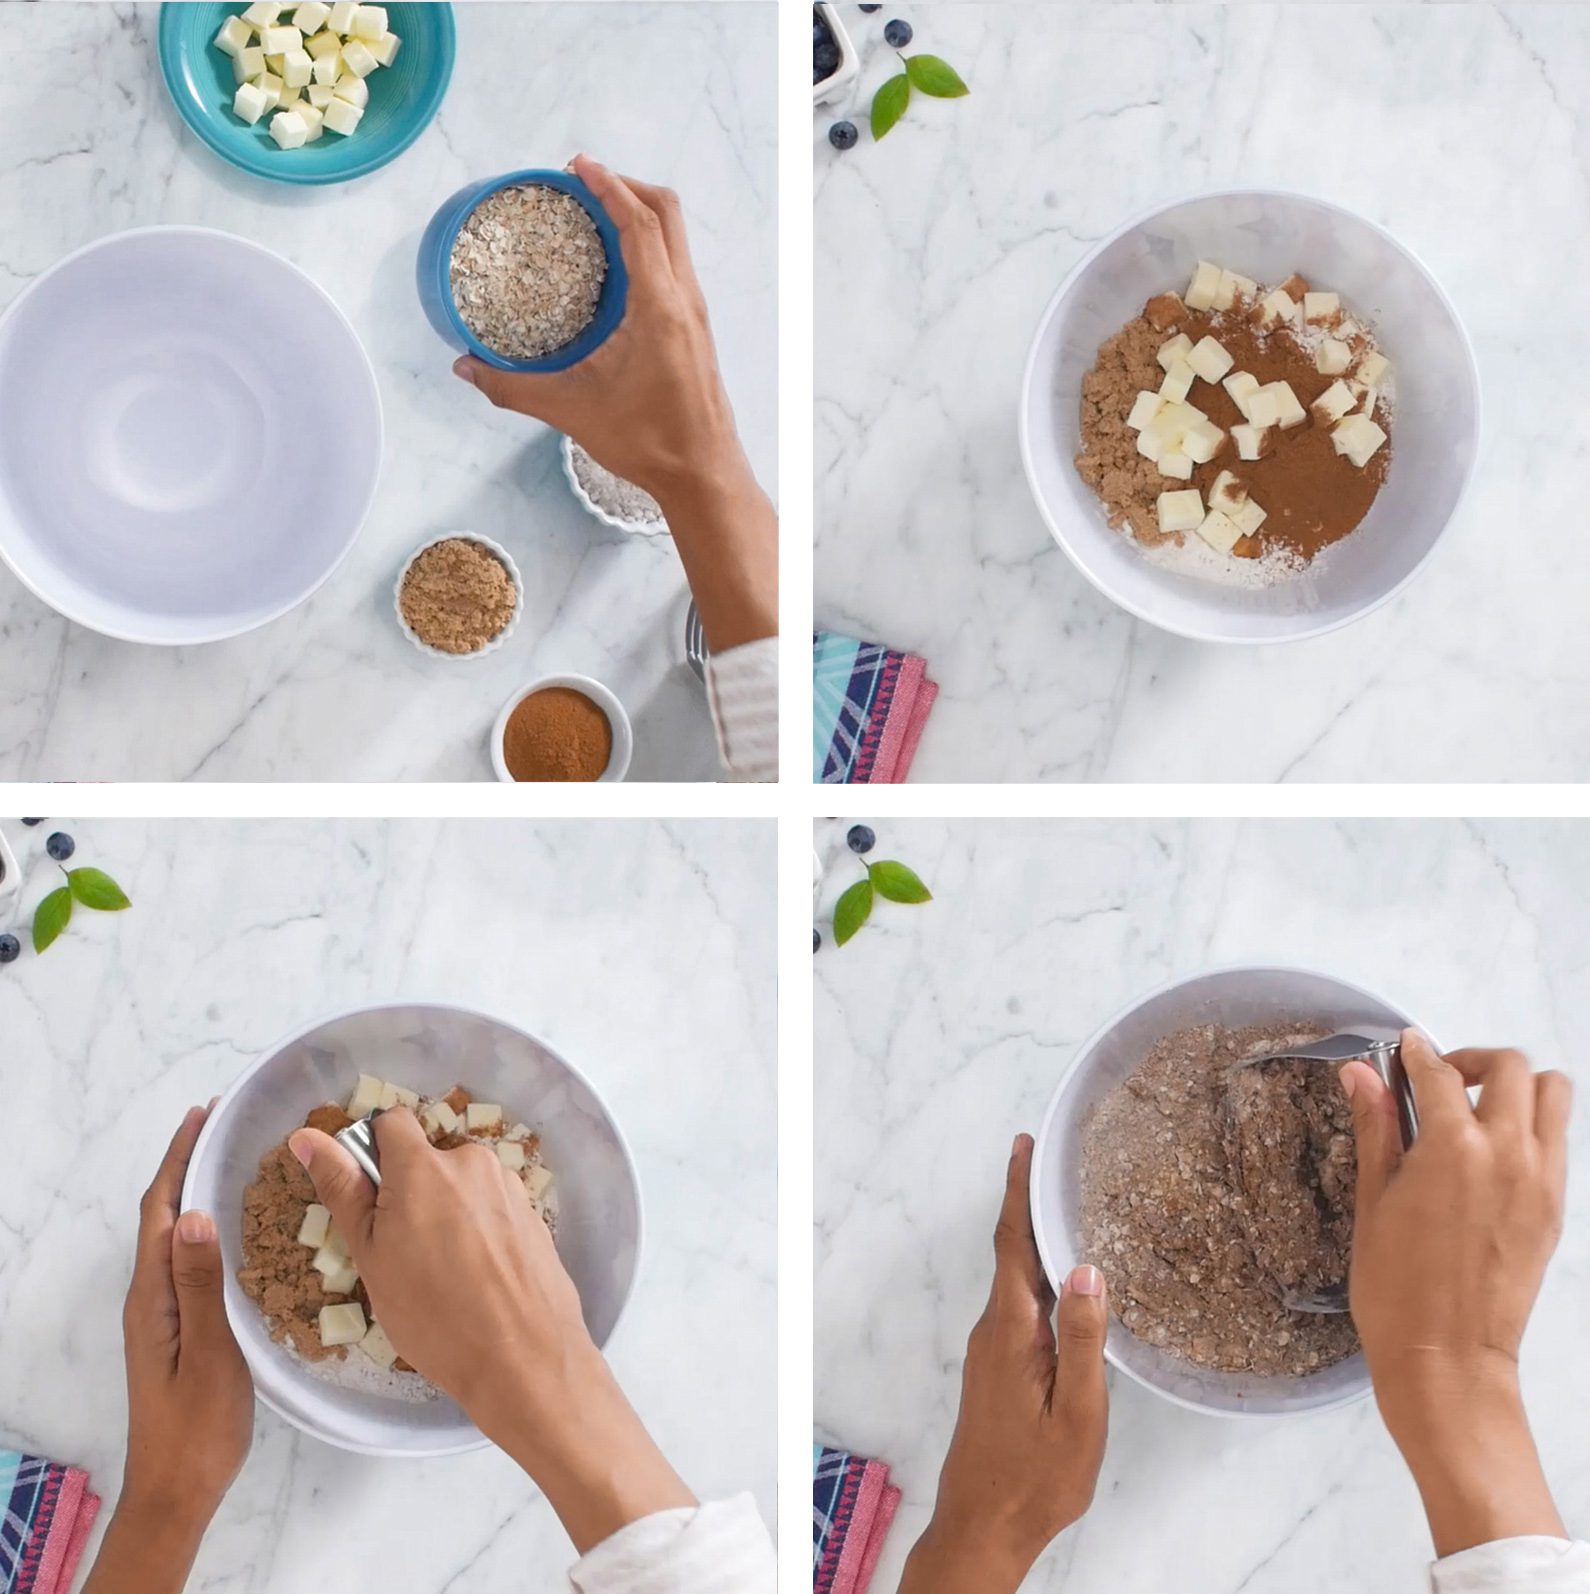
3. Cut the ¼ cup cold butter into small cubes. Mix the oatmeal, 1/2 cup flour, brown sugar, cinnamon, and cubed cold butter together with pie cutter until it forms small pebbles.
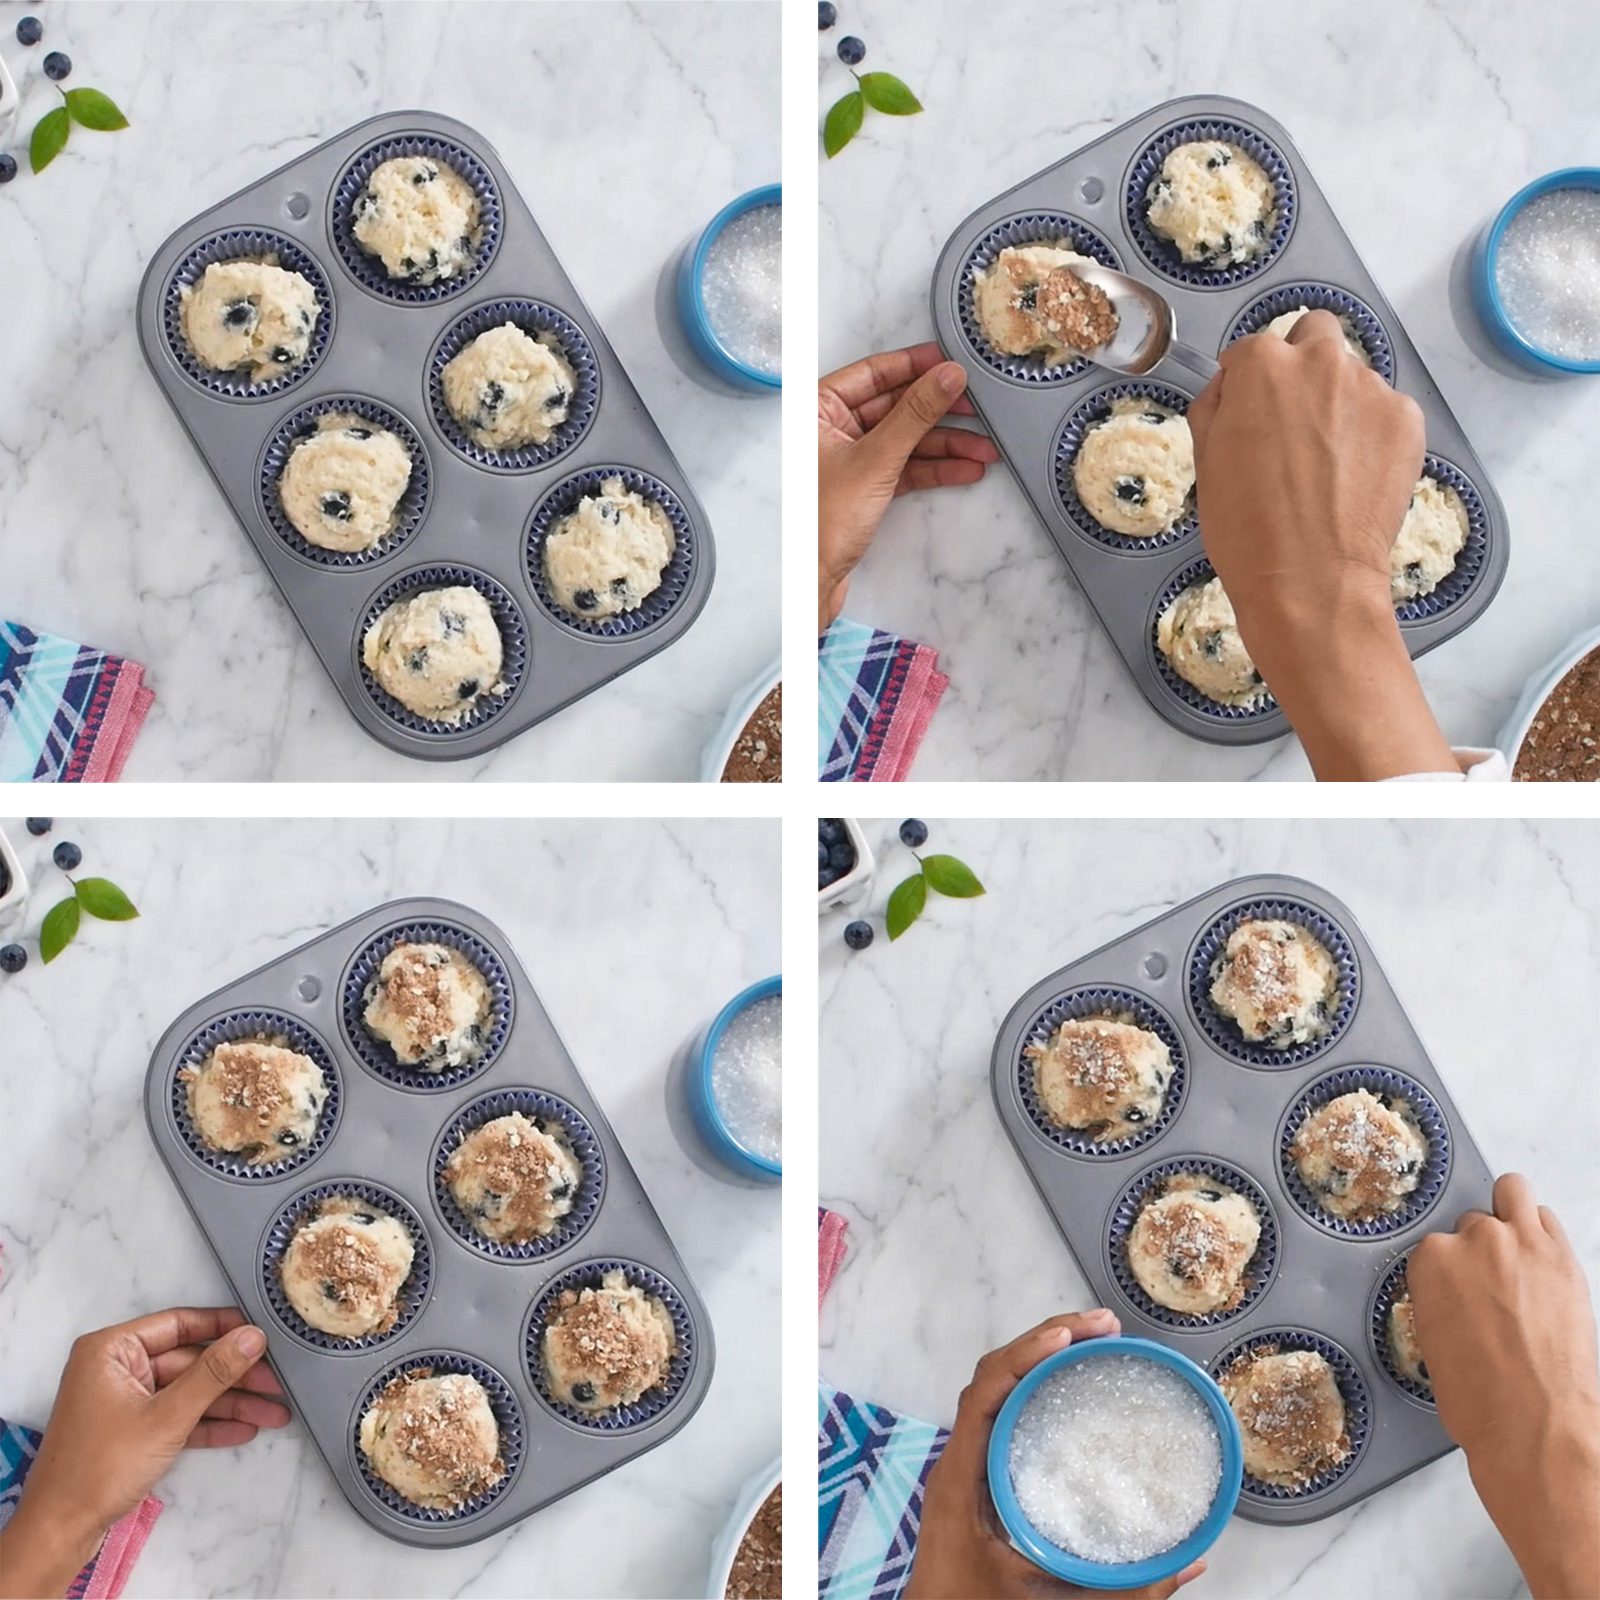
4. Sprinkle the topping mixture on top of the batter in each muffin tin. Sprinkle each with sparkling sugar.
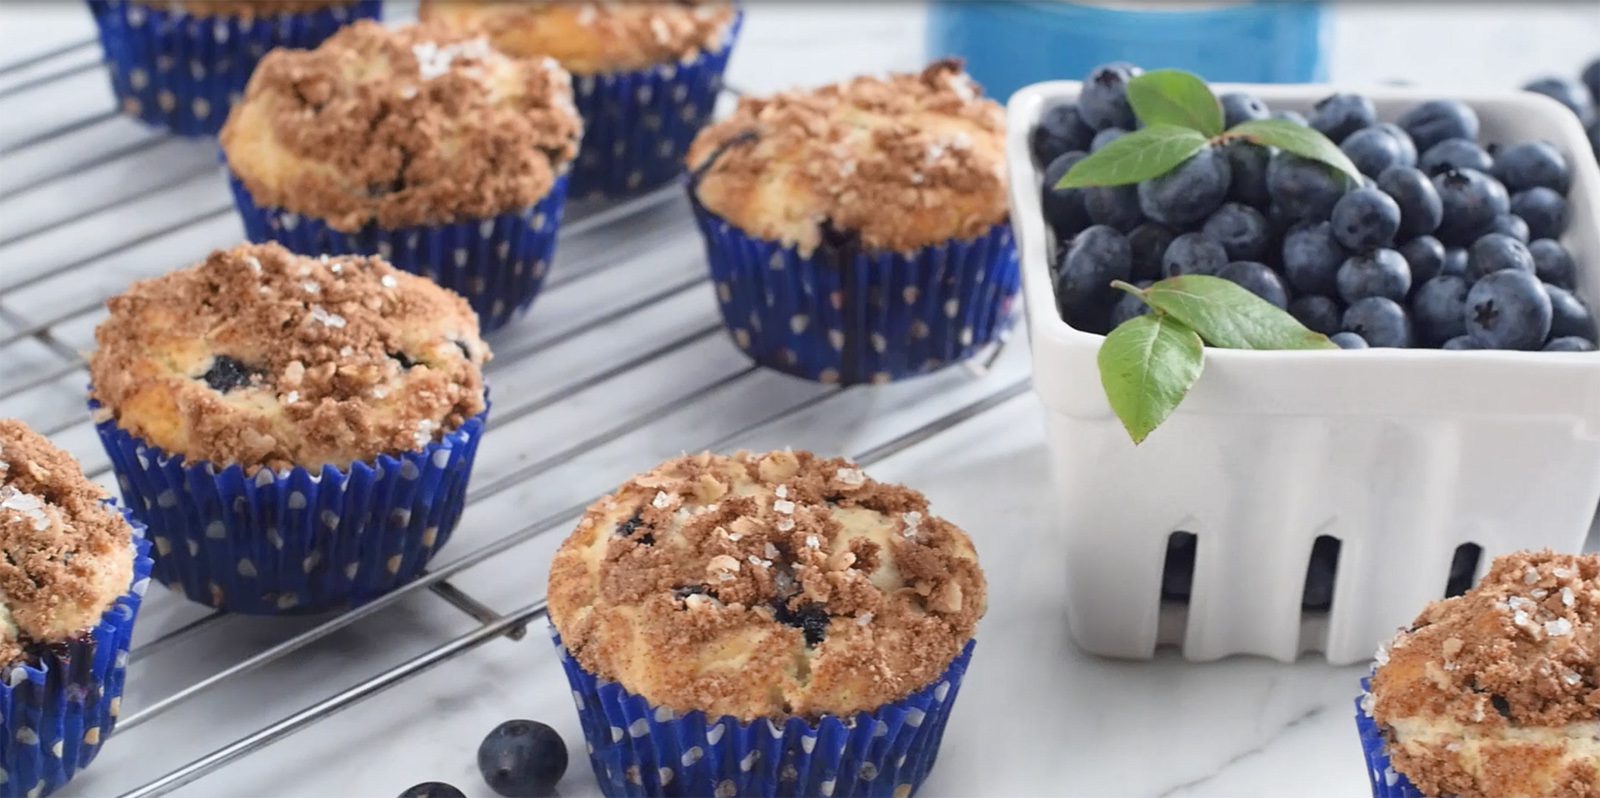
5. Bake the muffins for 25-35 minutes. Serve hot.
Black Forest Waffles
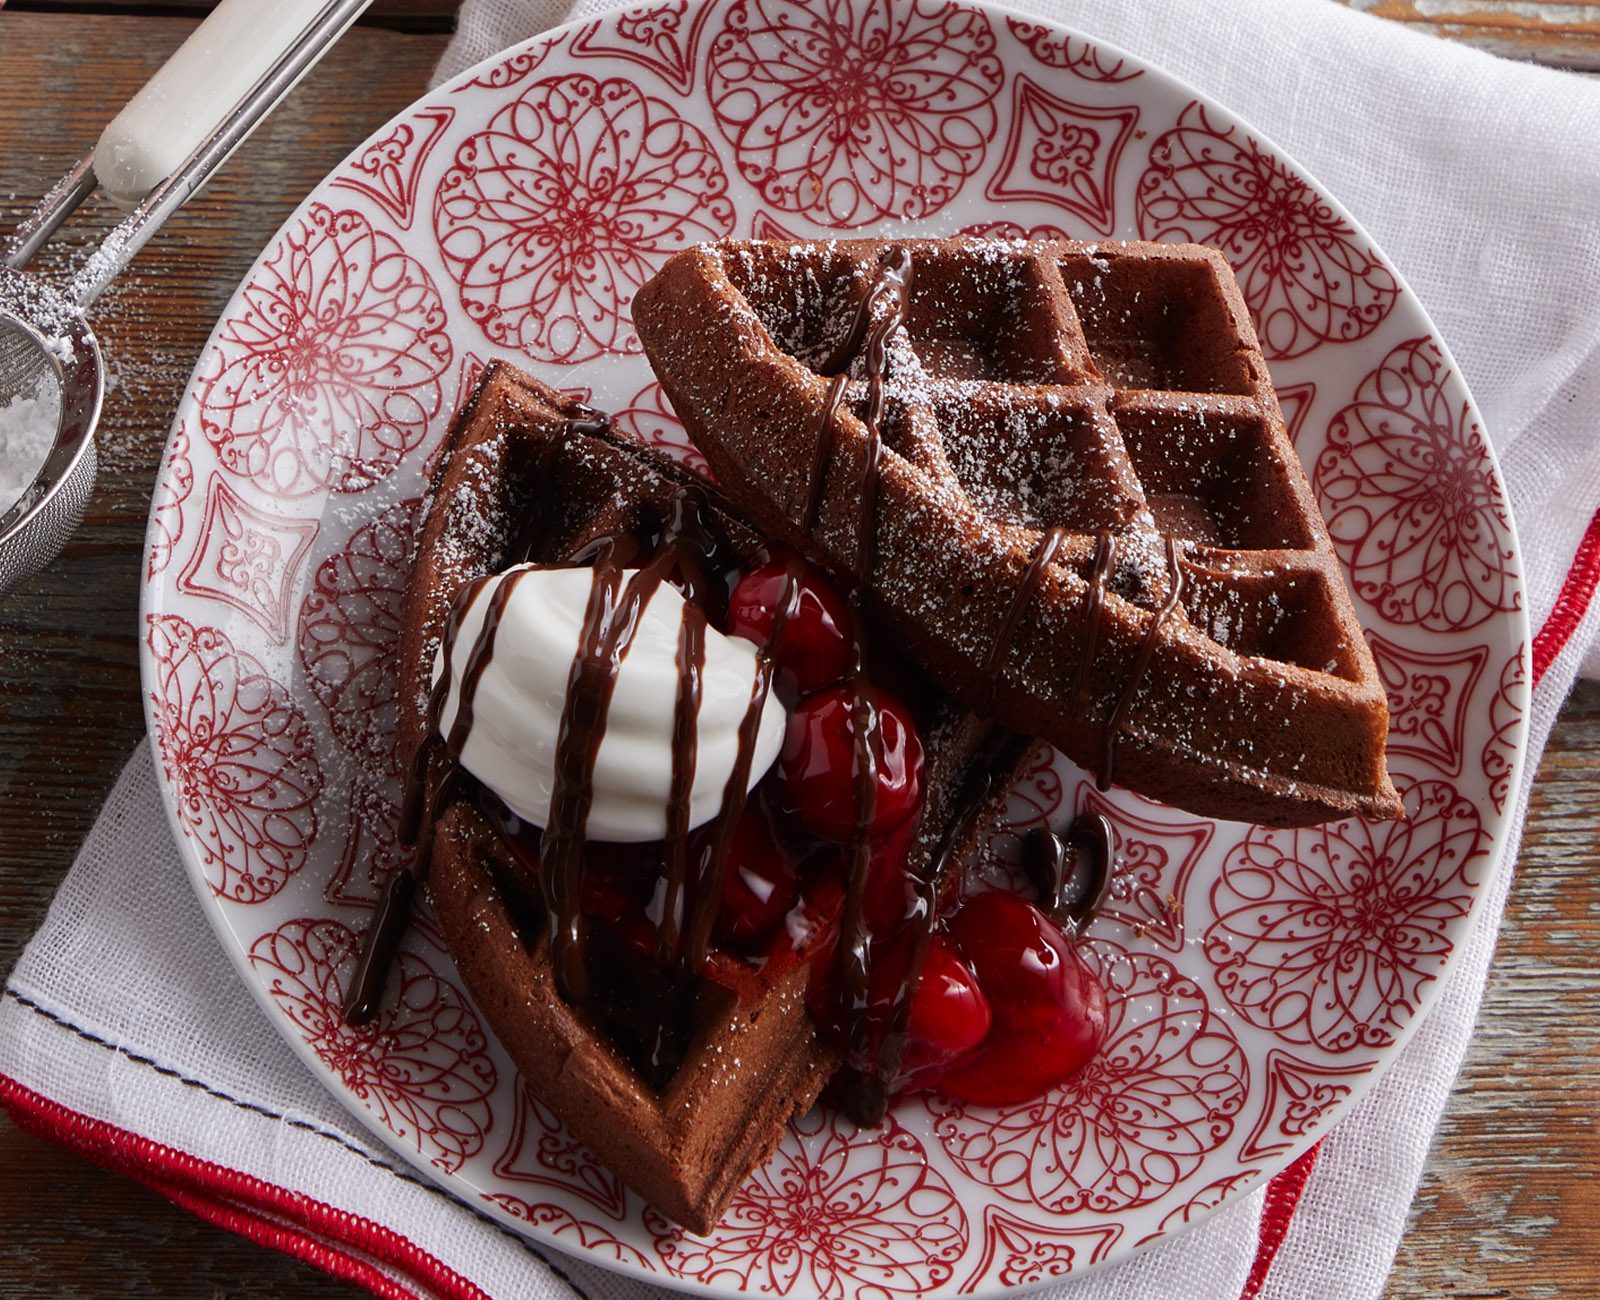
Black Forest Waffles
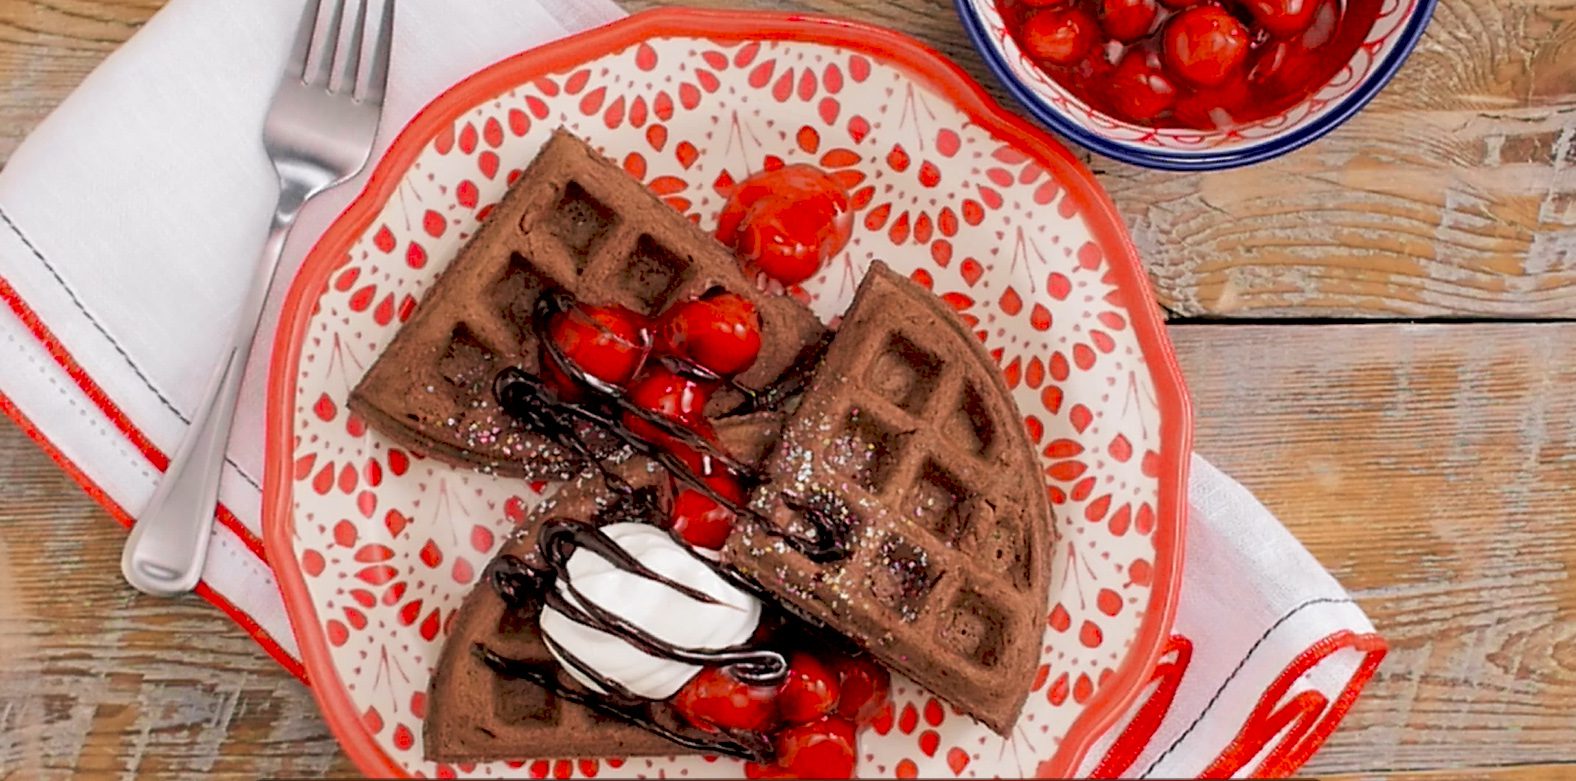
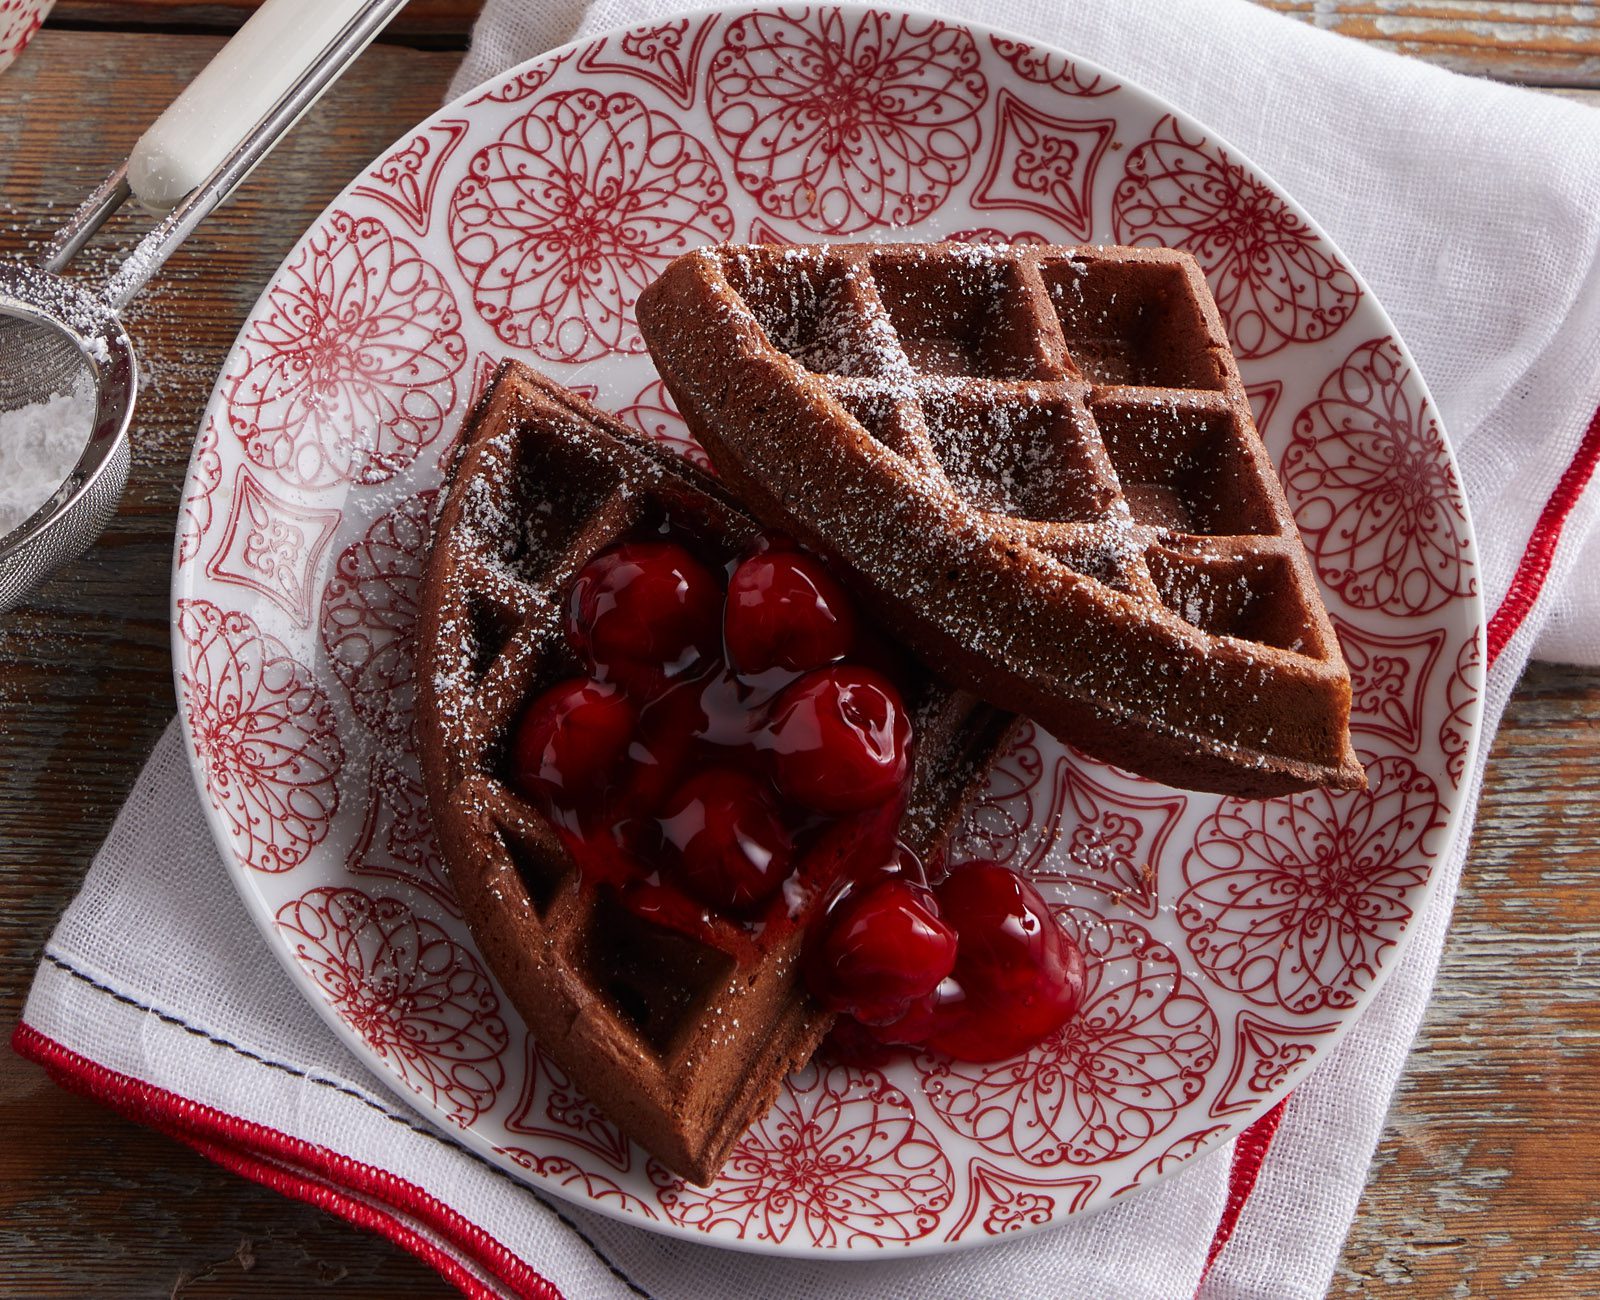
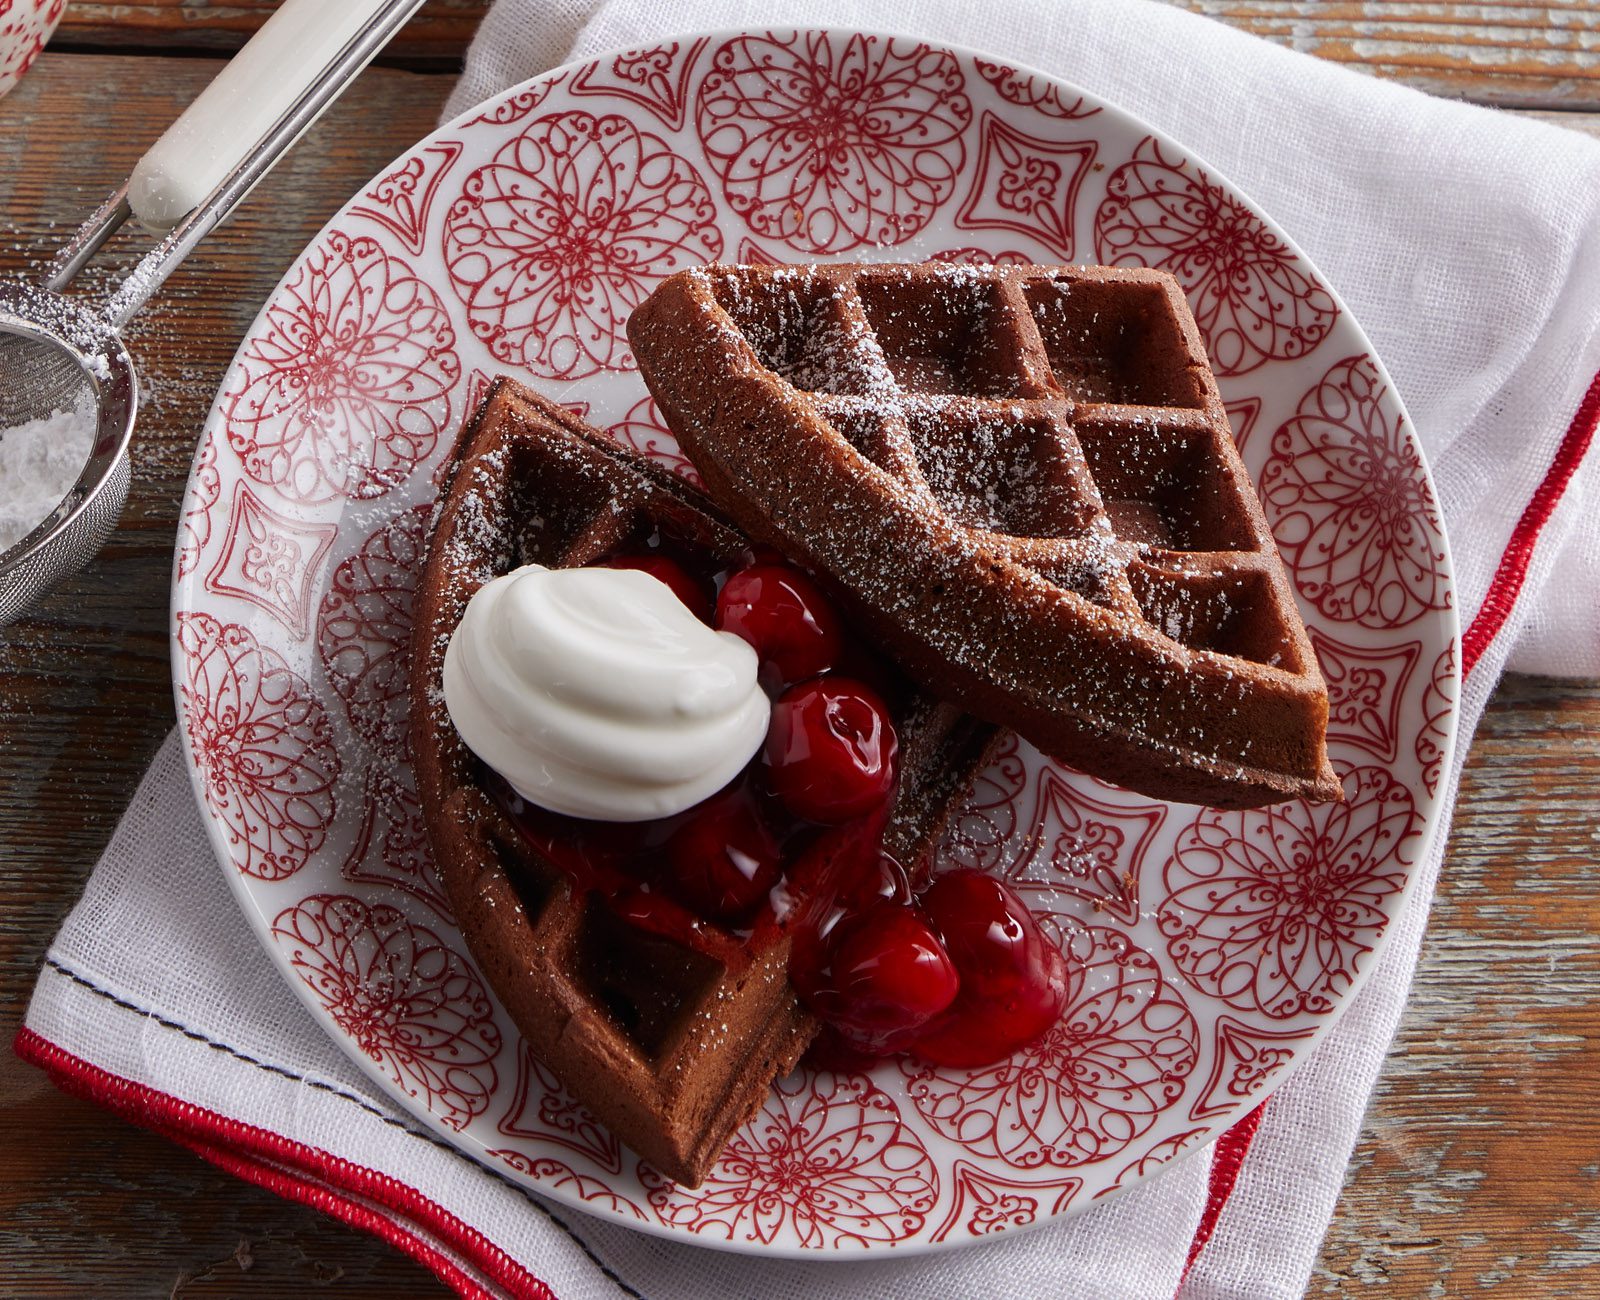
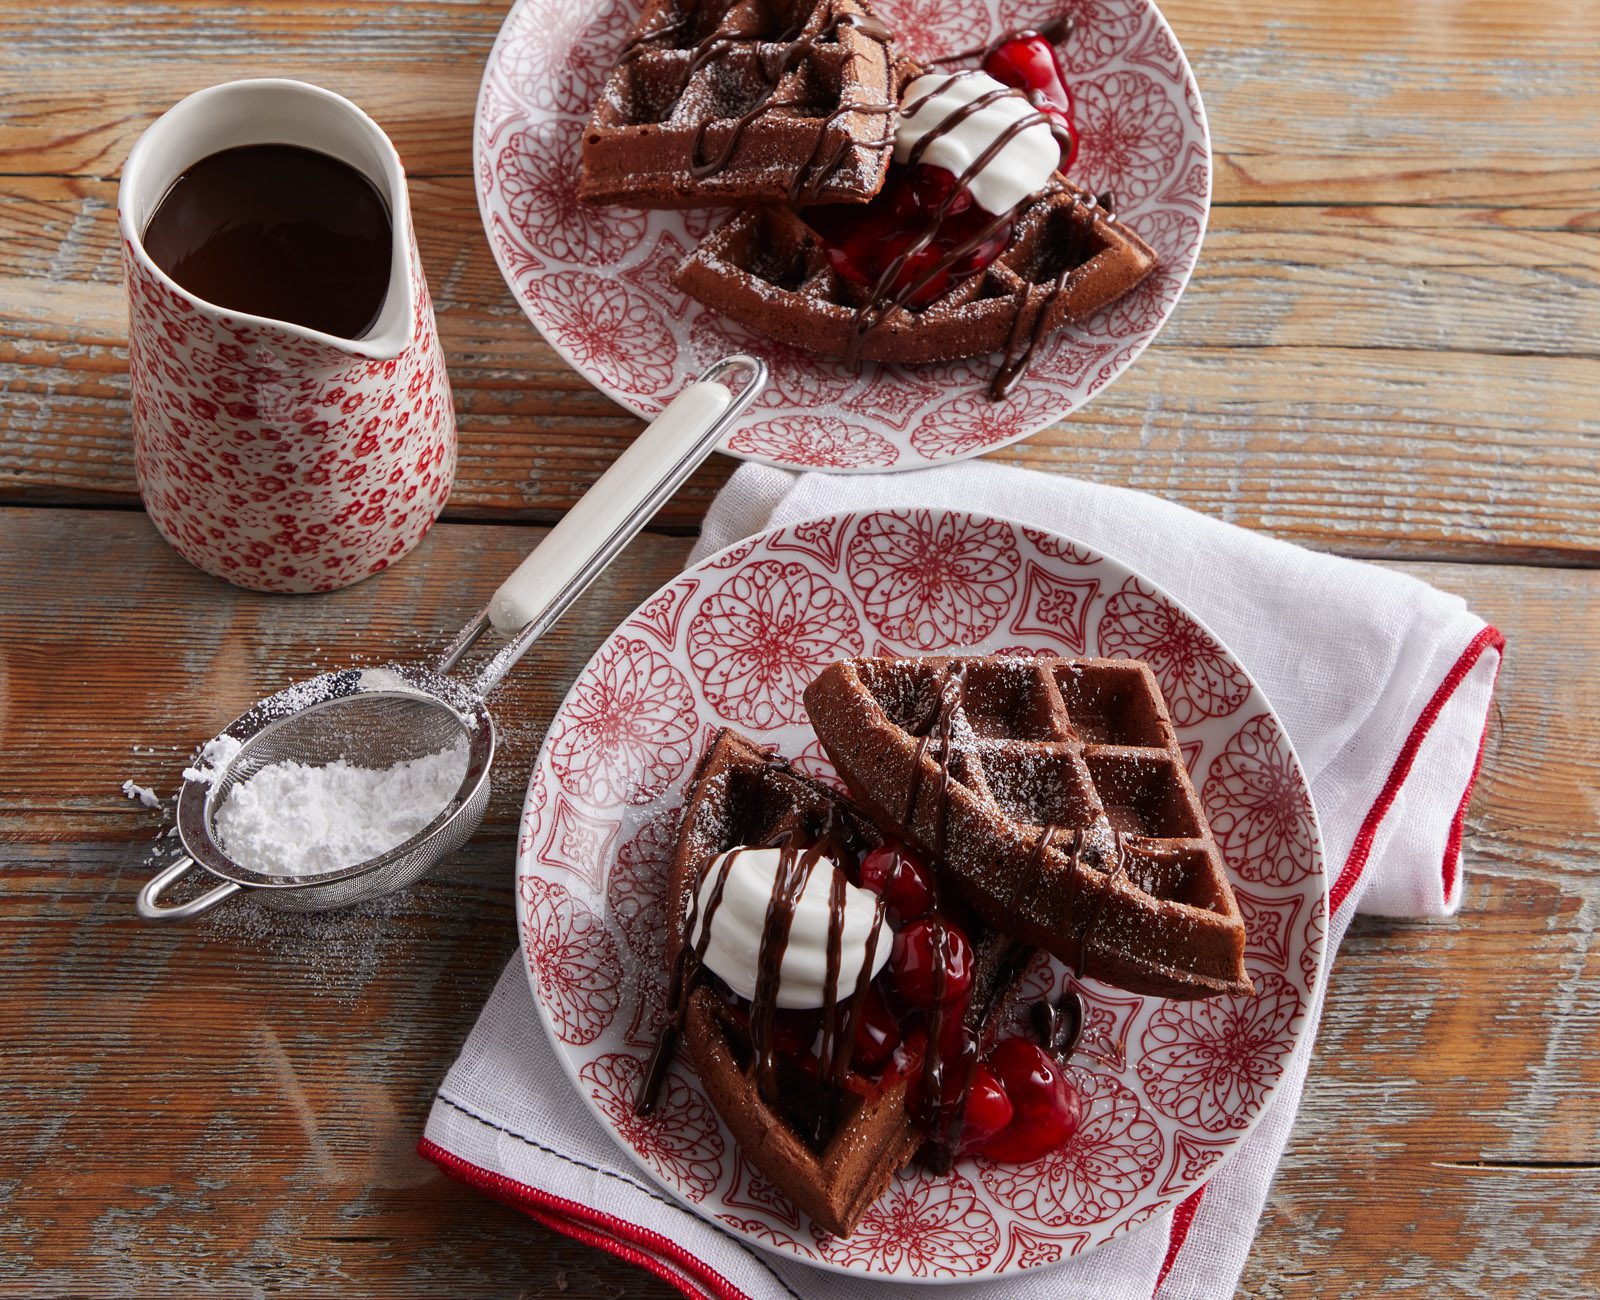
These rich and decadent Black Forest Waffles are loaded with the timeless flavor combination of chocolate and cherries. Daisy Sour Cream brings a moistness and lightness to the batter of these delicious waffles and complements the cherry topping.
Perfect for special holiday brunch or run of the mill weekend breakfast, these waffles are sure to please your family and guests.
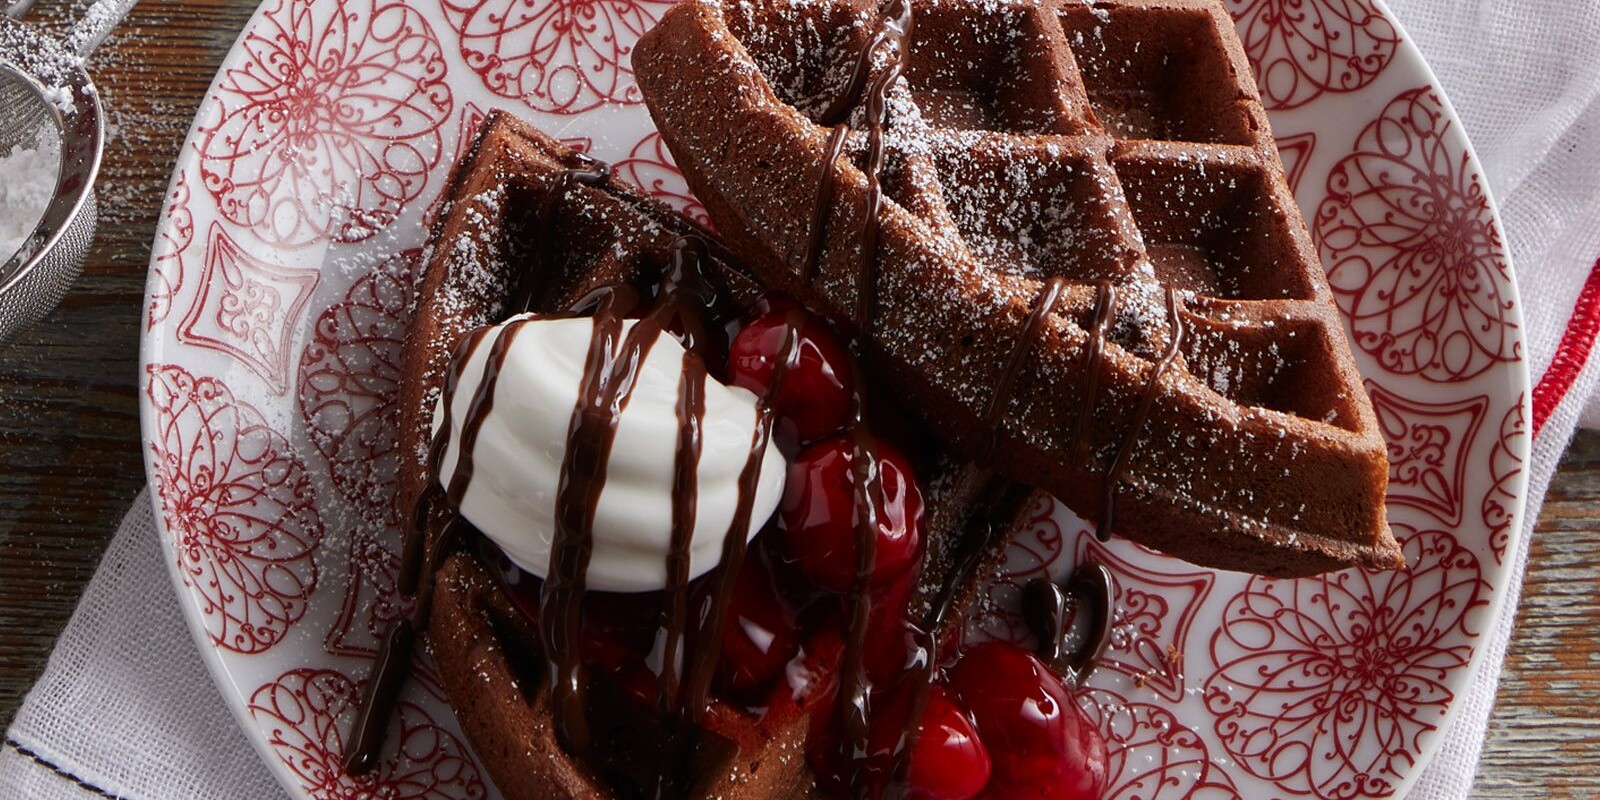
Black Forest Waffle Ingredients
- All-Purpose Flour (1 cup): The gluten in all-purpose flour gives waffles their traditional structure. Finely milled whole wheat flour can be used in place of all-purpose flour.
- Unsweetened Cocoa Powder (1/2 cup): Your favorite unsweetened cocoa powder will work well in this recipe. For a lighter chocolate flavor, try using dark cocoa powder. Dark cocoa powder has a smoother, less bitter, less chocolaty flavor than traditional cocoa powder.
- Granulated Sugar (2/3 cup): Granulated sugar works best in this recipe.
- Baking Powder (2 teaspoons): Gives the waffles their height.
- Daisy Sour Cream (3/4 cup): Know for its creaminess and smooth texture, did you know that Daisy is the secret ingredient to lighter, moister waffles?
- Large Eggs (3, separated): The egg yolks give the batter a richness and add a good dose of protein. The whipped egg whites lighten the batter, creating a light, airy, fluffy waffle.
- Melted Butter (7 tablespoons, melted): Butter adds another layer of richness and helps keep the inside of the waffles soft and pillowy.
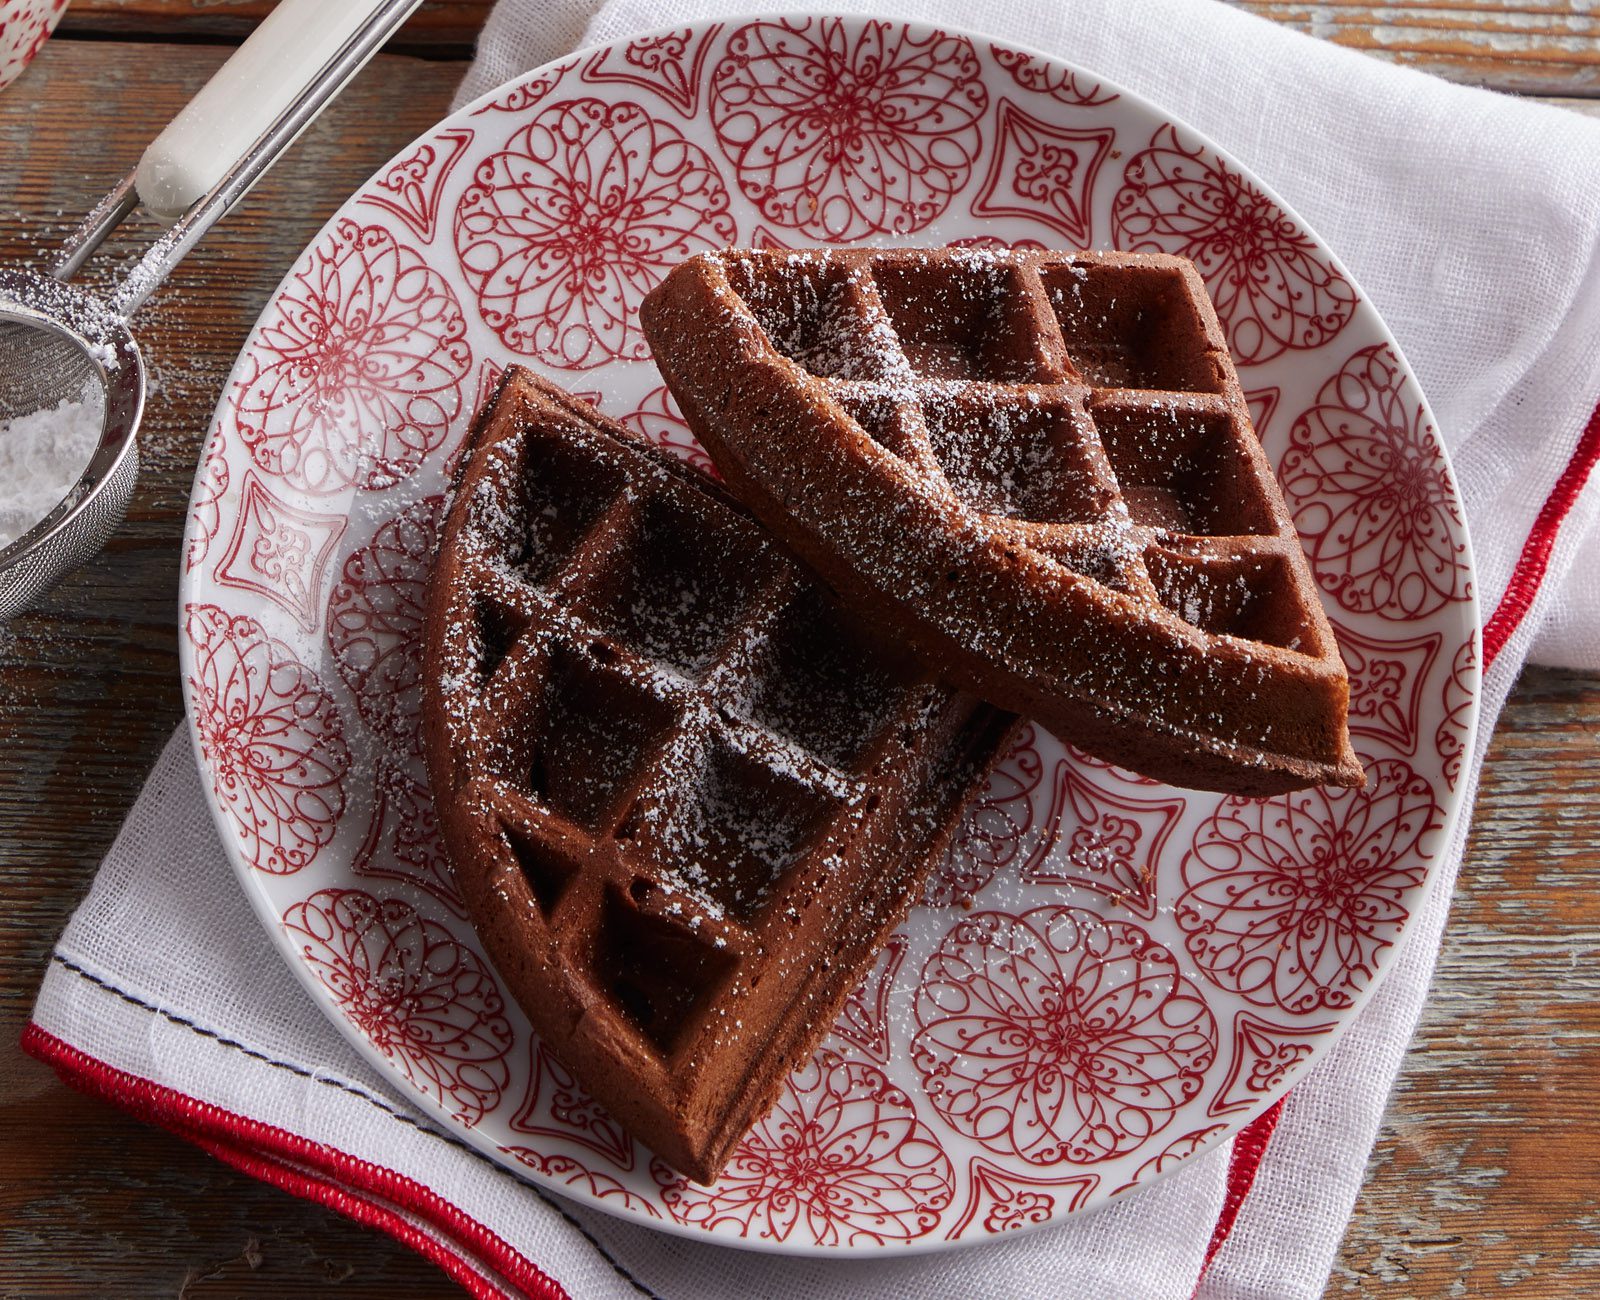
- Powdered Sugar (1 tablespoon): Adds just a touch of sweetness, while making the finished waffles festive.
- Cherry Pie Filling (21-ounce can): Using canned cherry pie filling as a topping adds the “Black Forest” element to these tasty chocolate waffles. Sugar-free pie filling may be used if desired.
- Chocolate Syrup (1/2 cup): Adds just the right amount of chocolaty flavor to the topping, mixing with the cherries to enhance the “Black Forest” flavor profile.
Substitutions, Variations, and Tips
- Gluten-free flour may also be used. If using gluten-free flour, you may need to add a tablespoon or two of milk to thin the batter. Gluten-free flour tends to absorb liquid quicker than all-purpose flour, making a denser batter.
- You can sub out raw cane sugar one-for-one for the granulated sugar.
- A neutral oil, like canola or corn oil can be used in place of the butter.
- Try other toppings with the chocolate waffle base. Feel free to add dried fruit, chopped nuts, or bananas to the batter.
- Other tasty twists on toppings: Hazelnut spread, peanut butter and butterscotch syrup can be substituted for the cherry pie filling and chocolate syrup.
- Make sure to beat the egg whites until soft peaks form. The whipped egg whites lighten the batter and make airy, fluffy waffles.
- Make sure your waffle iron is hot before starting. If your waffles are coming out pale or soft, the iron isn’t hot enough.
- Adding a tablespoon of cornstarch makes extra crispy waffles.
- Keep waffles warm in the oven set to 200°F. Place the waffles directly on the oven rack. The low heat will keep the waffles crispy, while you finish preparing all the batter.
How to Make Black Forest Waffles
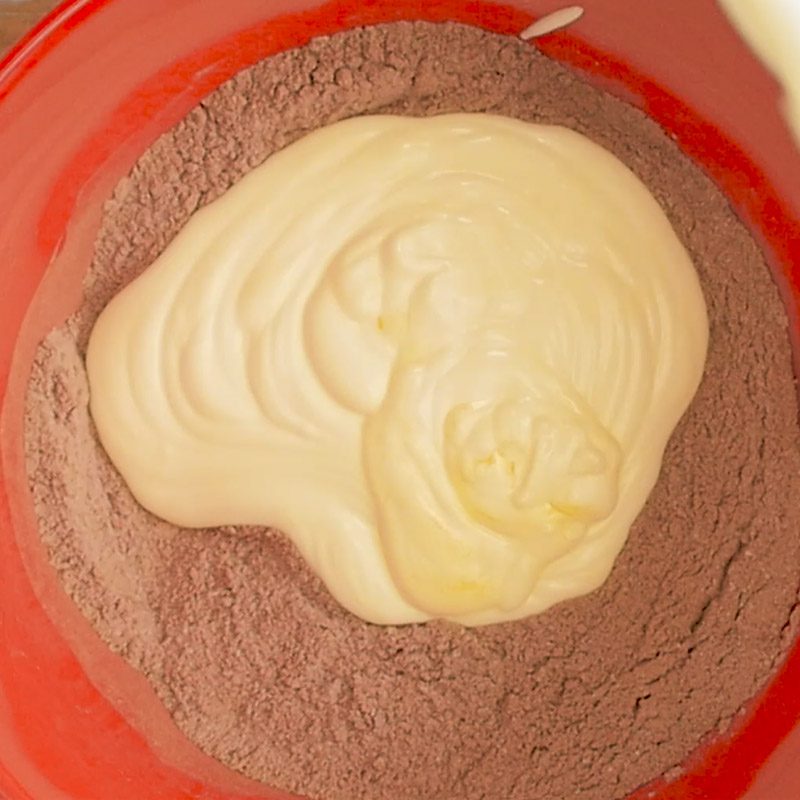
- Whisk the flour, cocoa, sugar, and baking powder in a large bowl until combined.
- In a separate bowl, whisk ¾ cup of the sour cream, egg yolks, and 6 tablespoons of the butter in a medium bowl until combined. Stir the wet ingredients into the flour mixture until moistened (the batter will be thick).
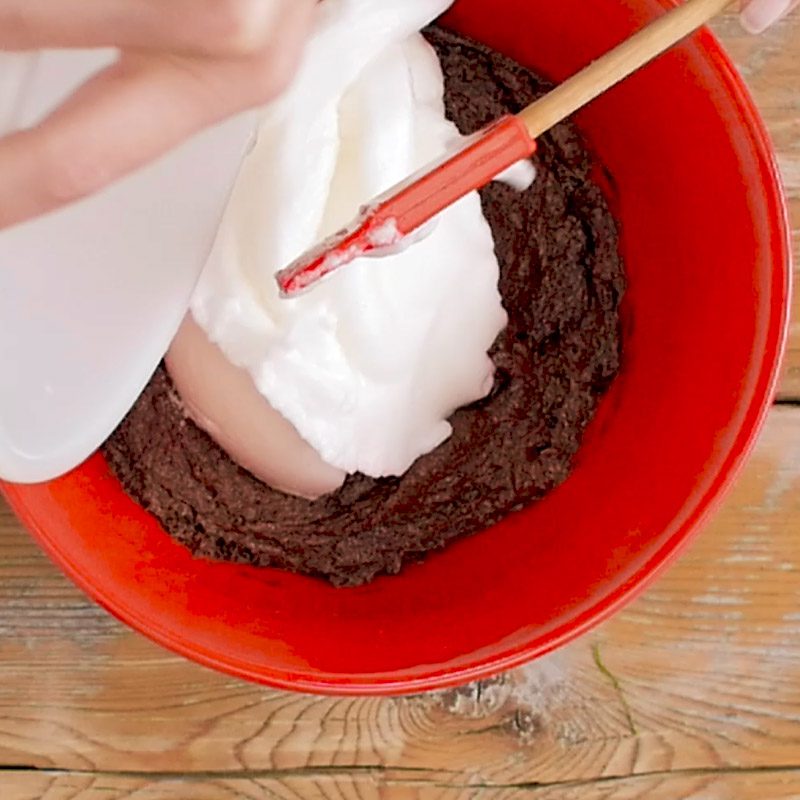
- Beat the egg whites in a small bowl at high speed until soft peaks form. Gently fold them into the batter with a rubber spatula.
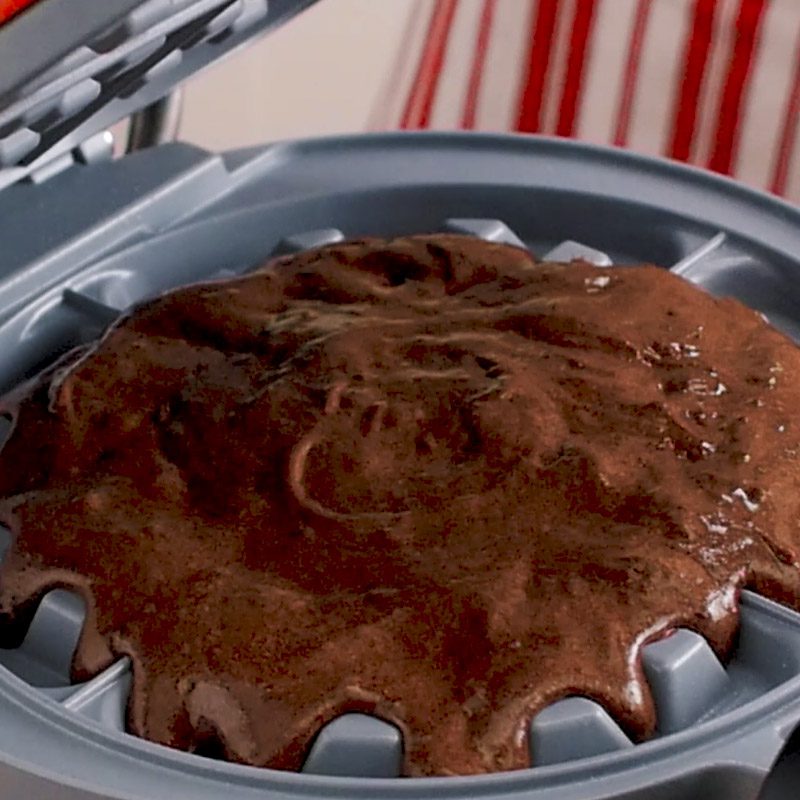
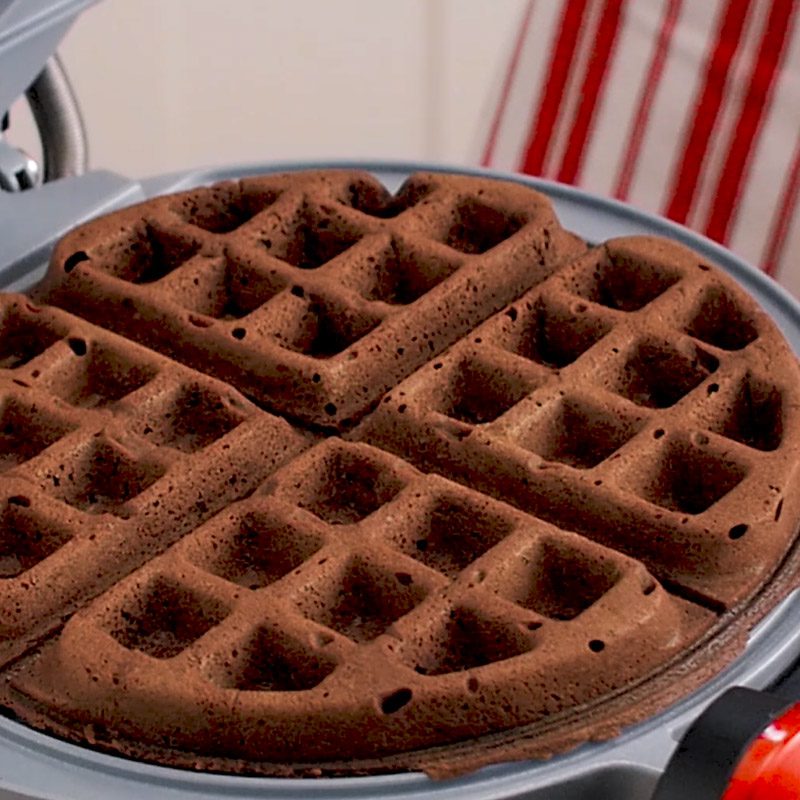
- Meanwhile, heat a waffle iron until hot. Lightly grease with the remaining butter. Pour ½ cup of batter per waffle. Cook each for 3 minutes or until lightly crisp. Store cooked waffles in the oven set on 200°F while cooking the remaining batter.
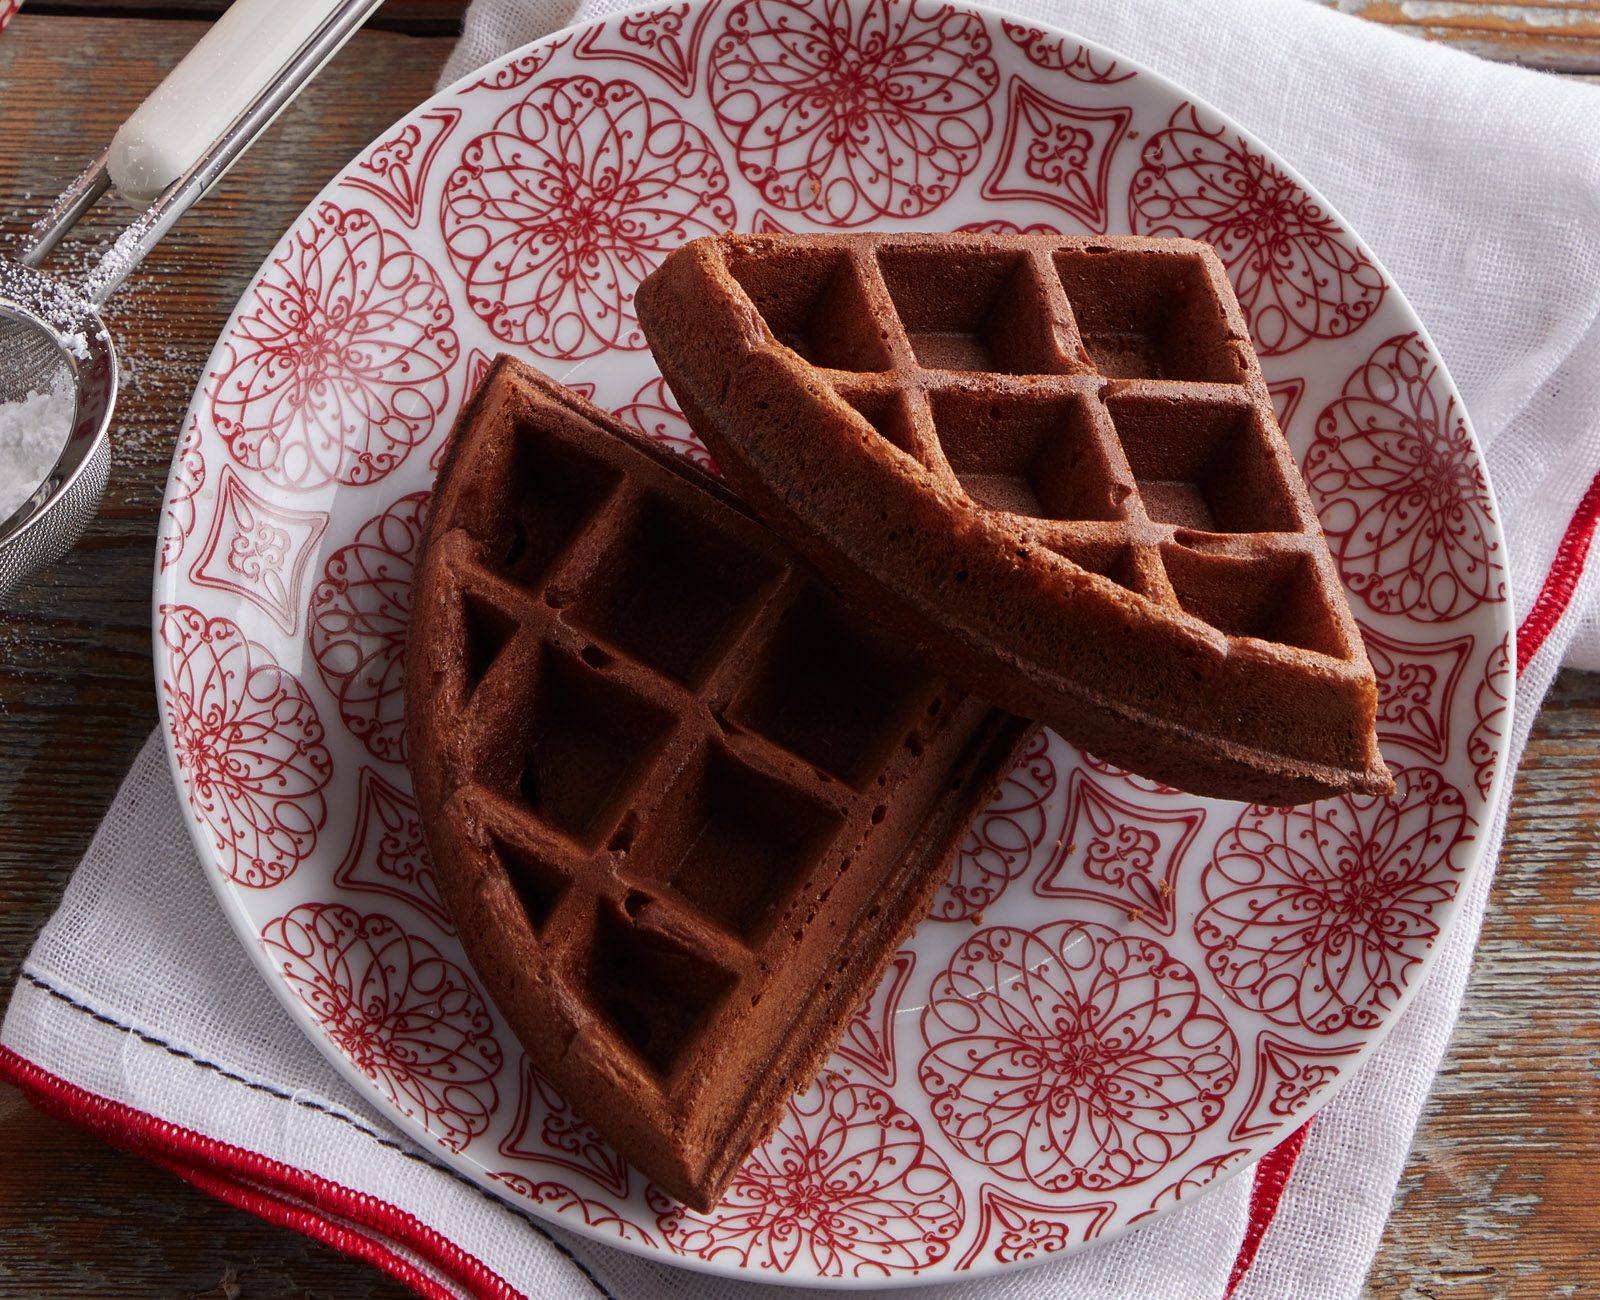
- Serve sprinkled with powdered sugar, top with cherries, and chocolate sauce. Add an additional dollop of sour cream for added richness, if desired.
Cheesy Pesto One-Pan Pasta
Cheesy Pesto One-Pan Pasta
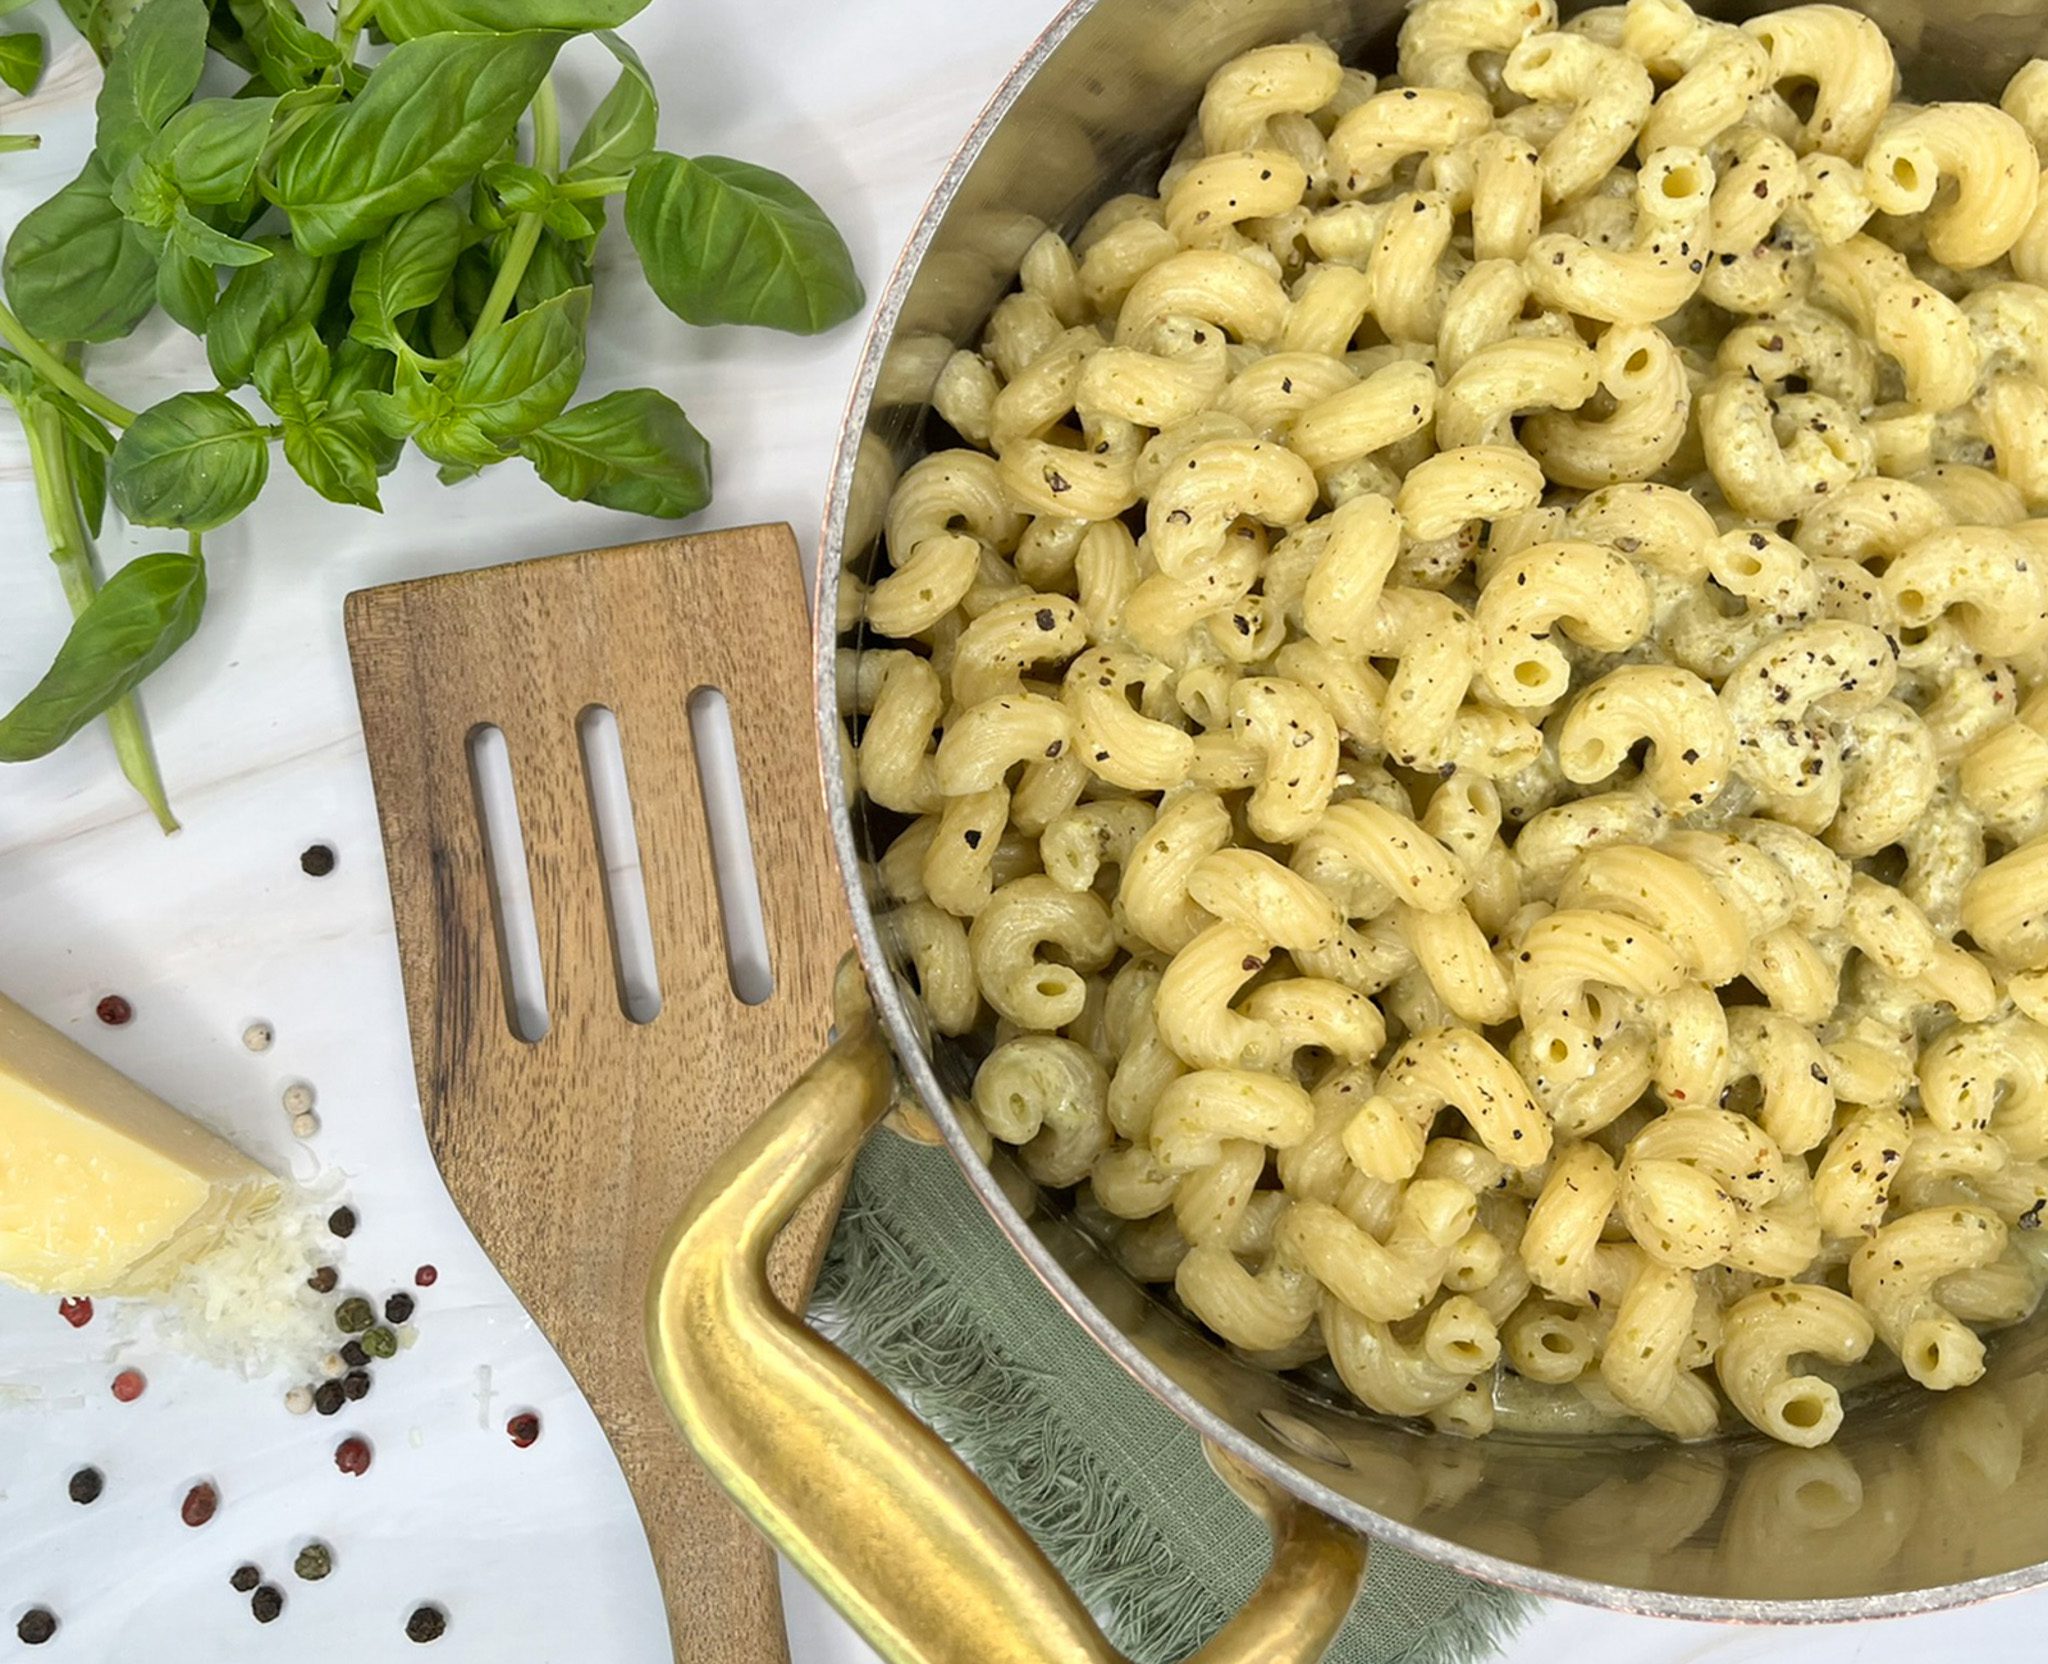
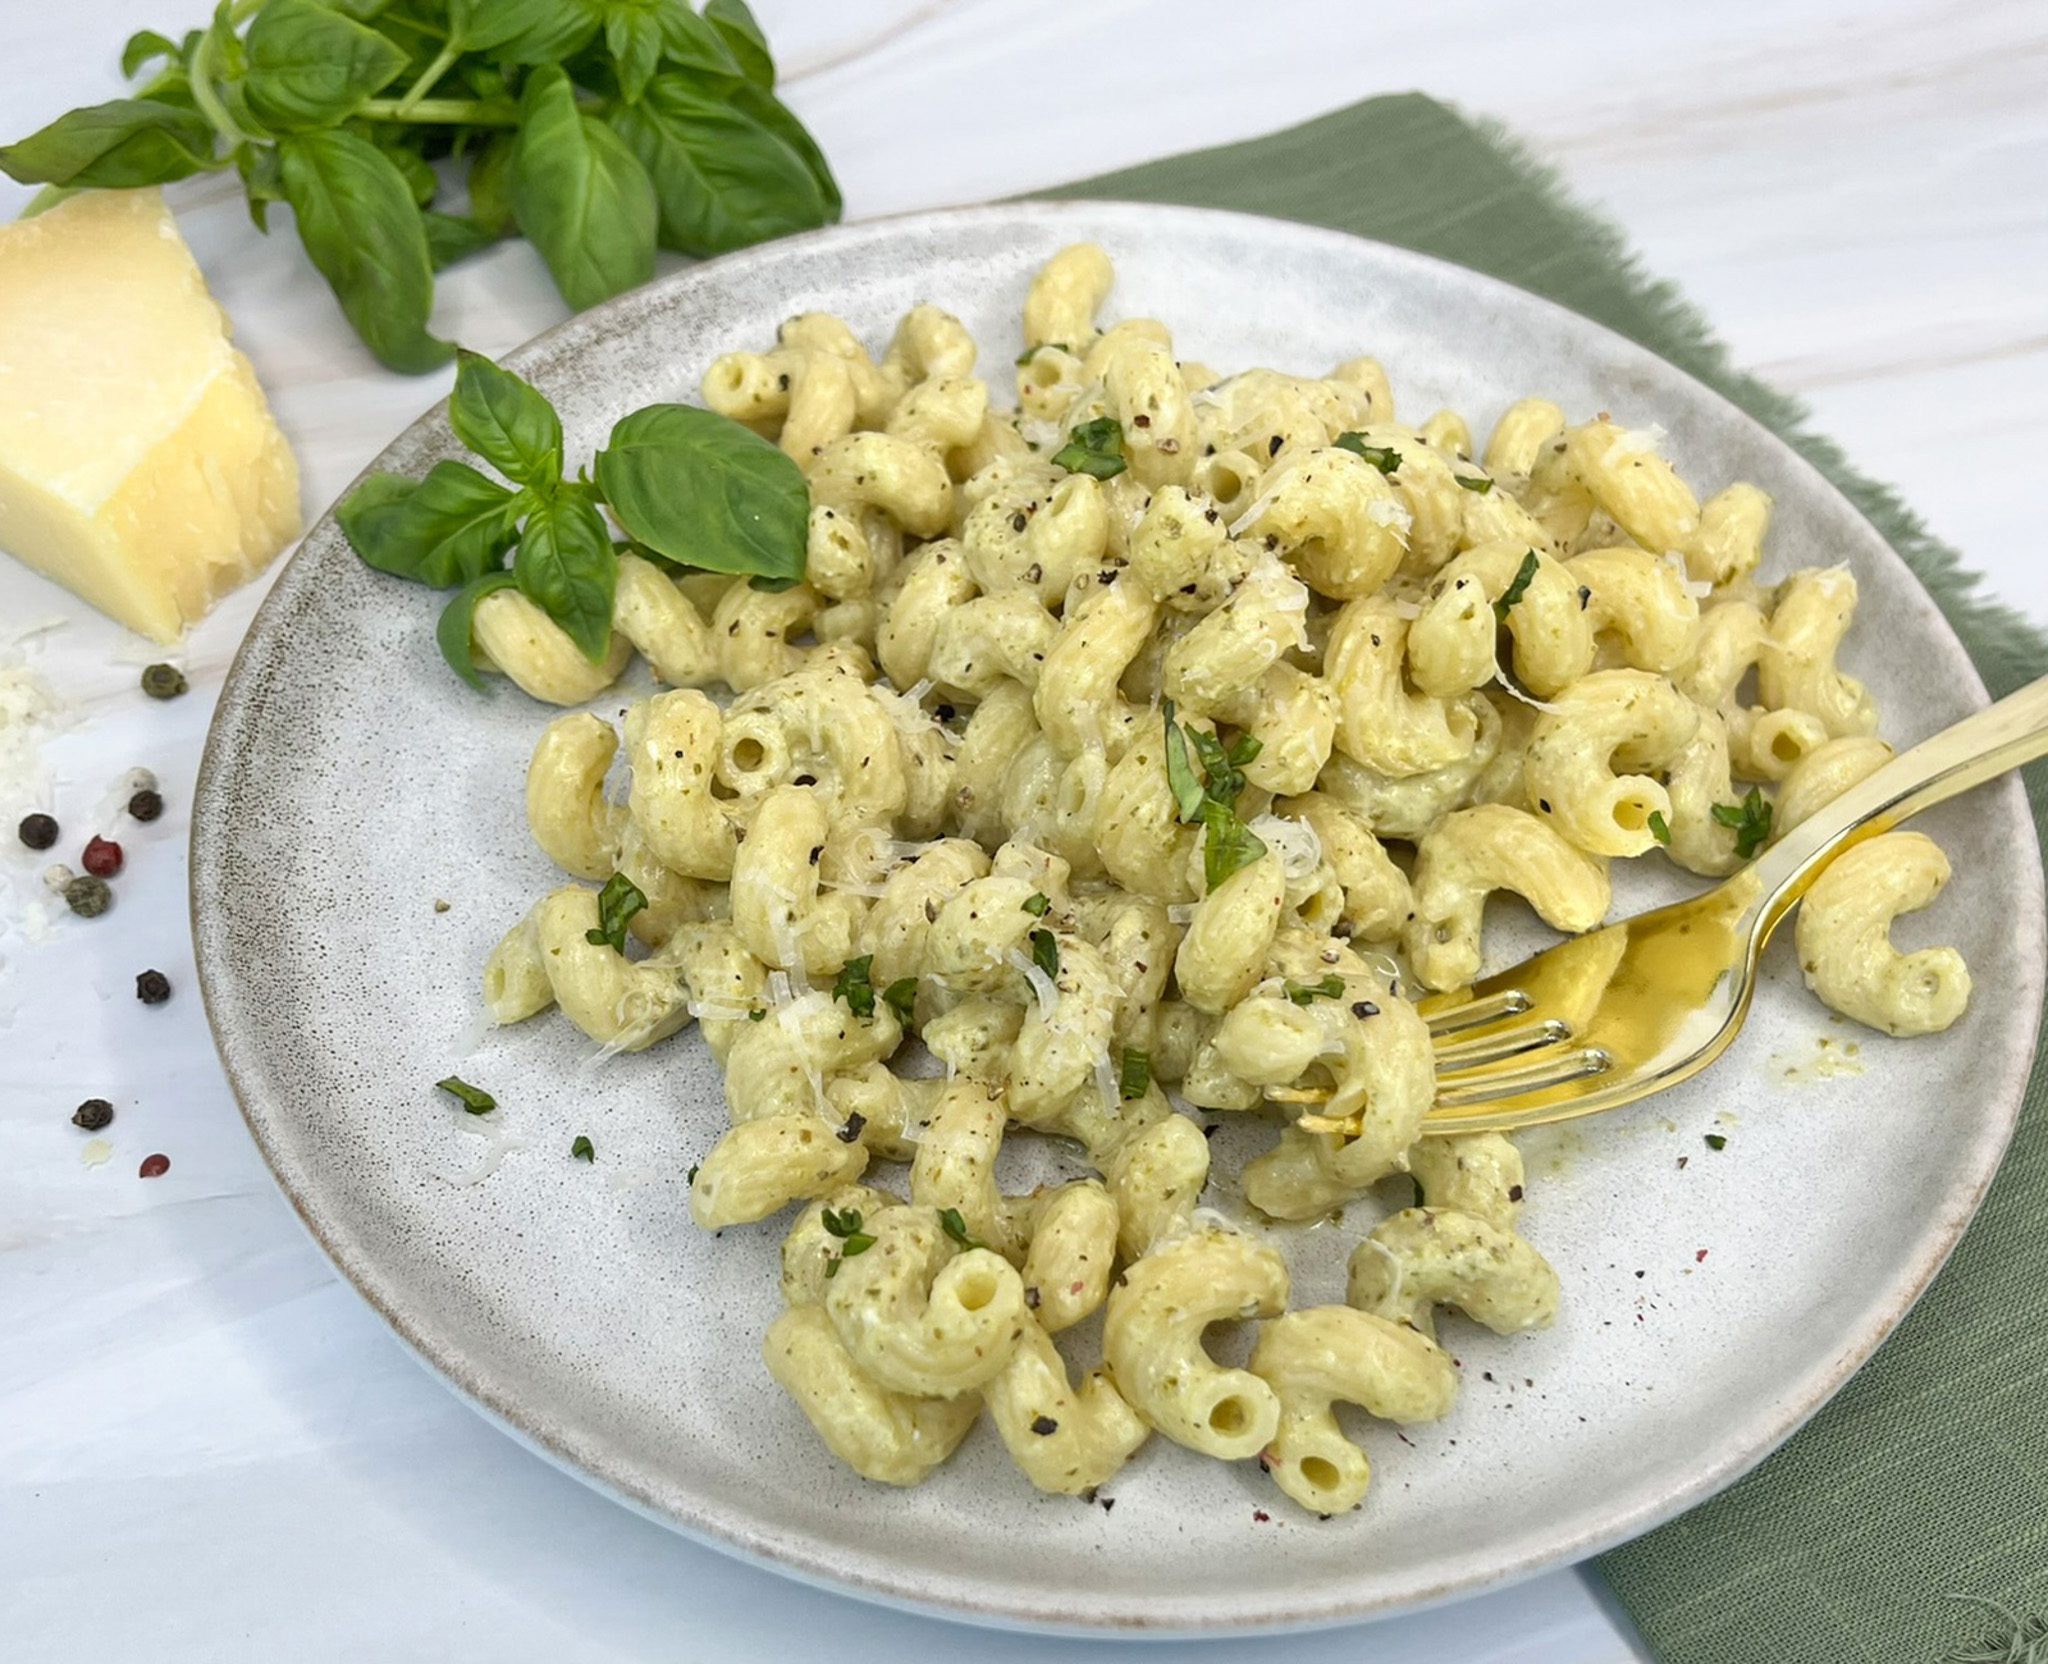
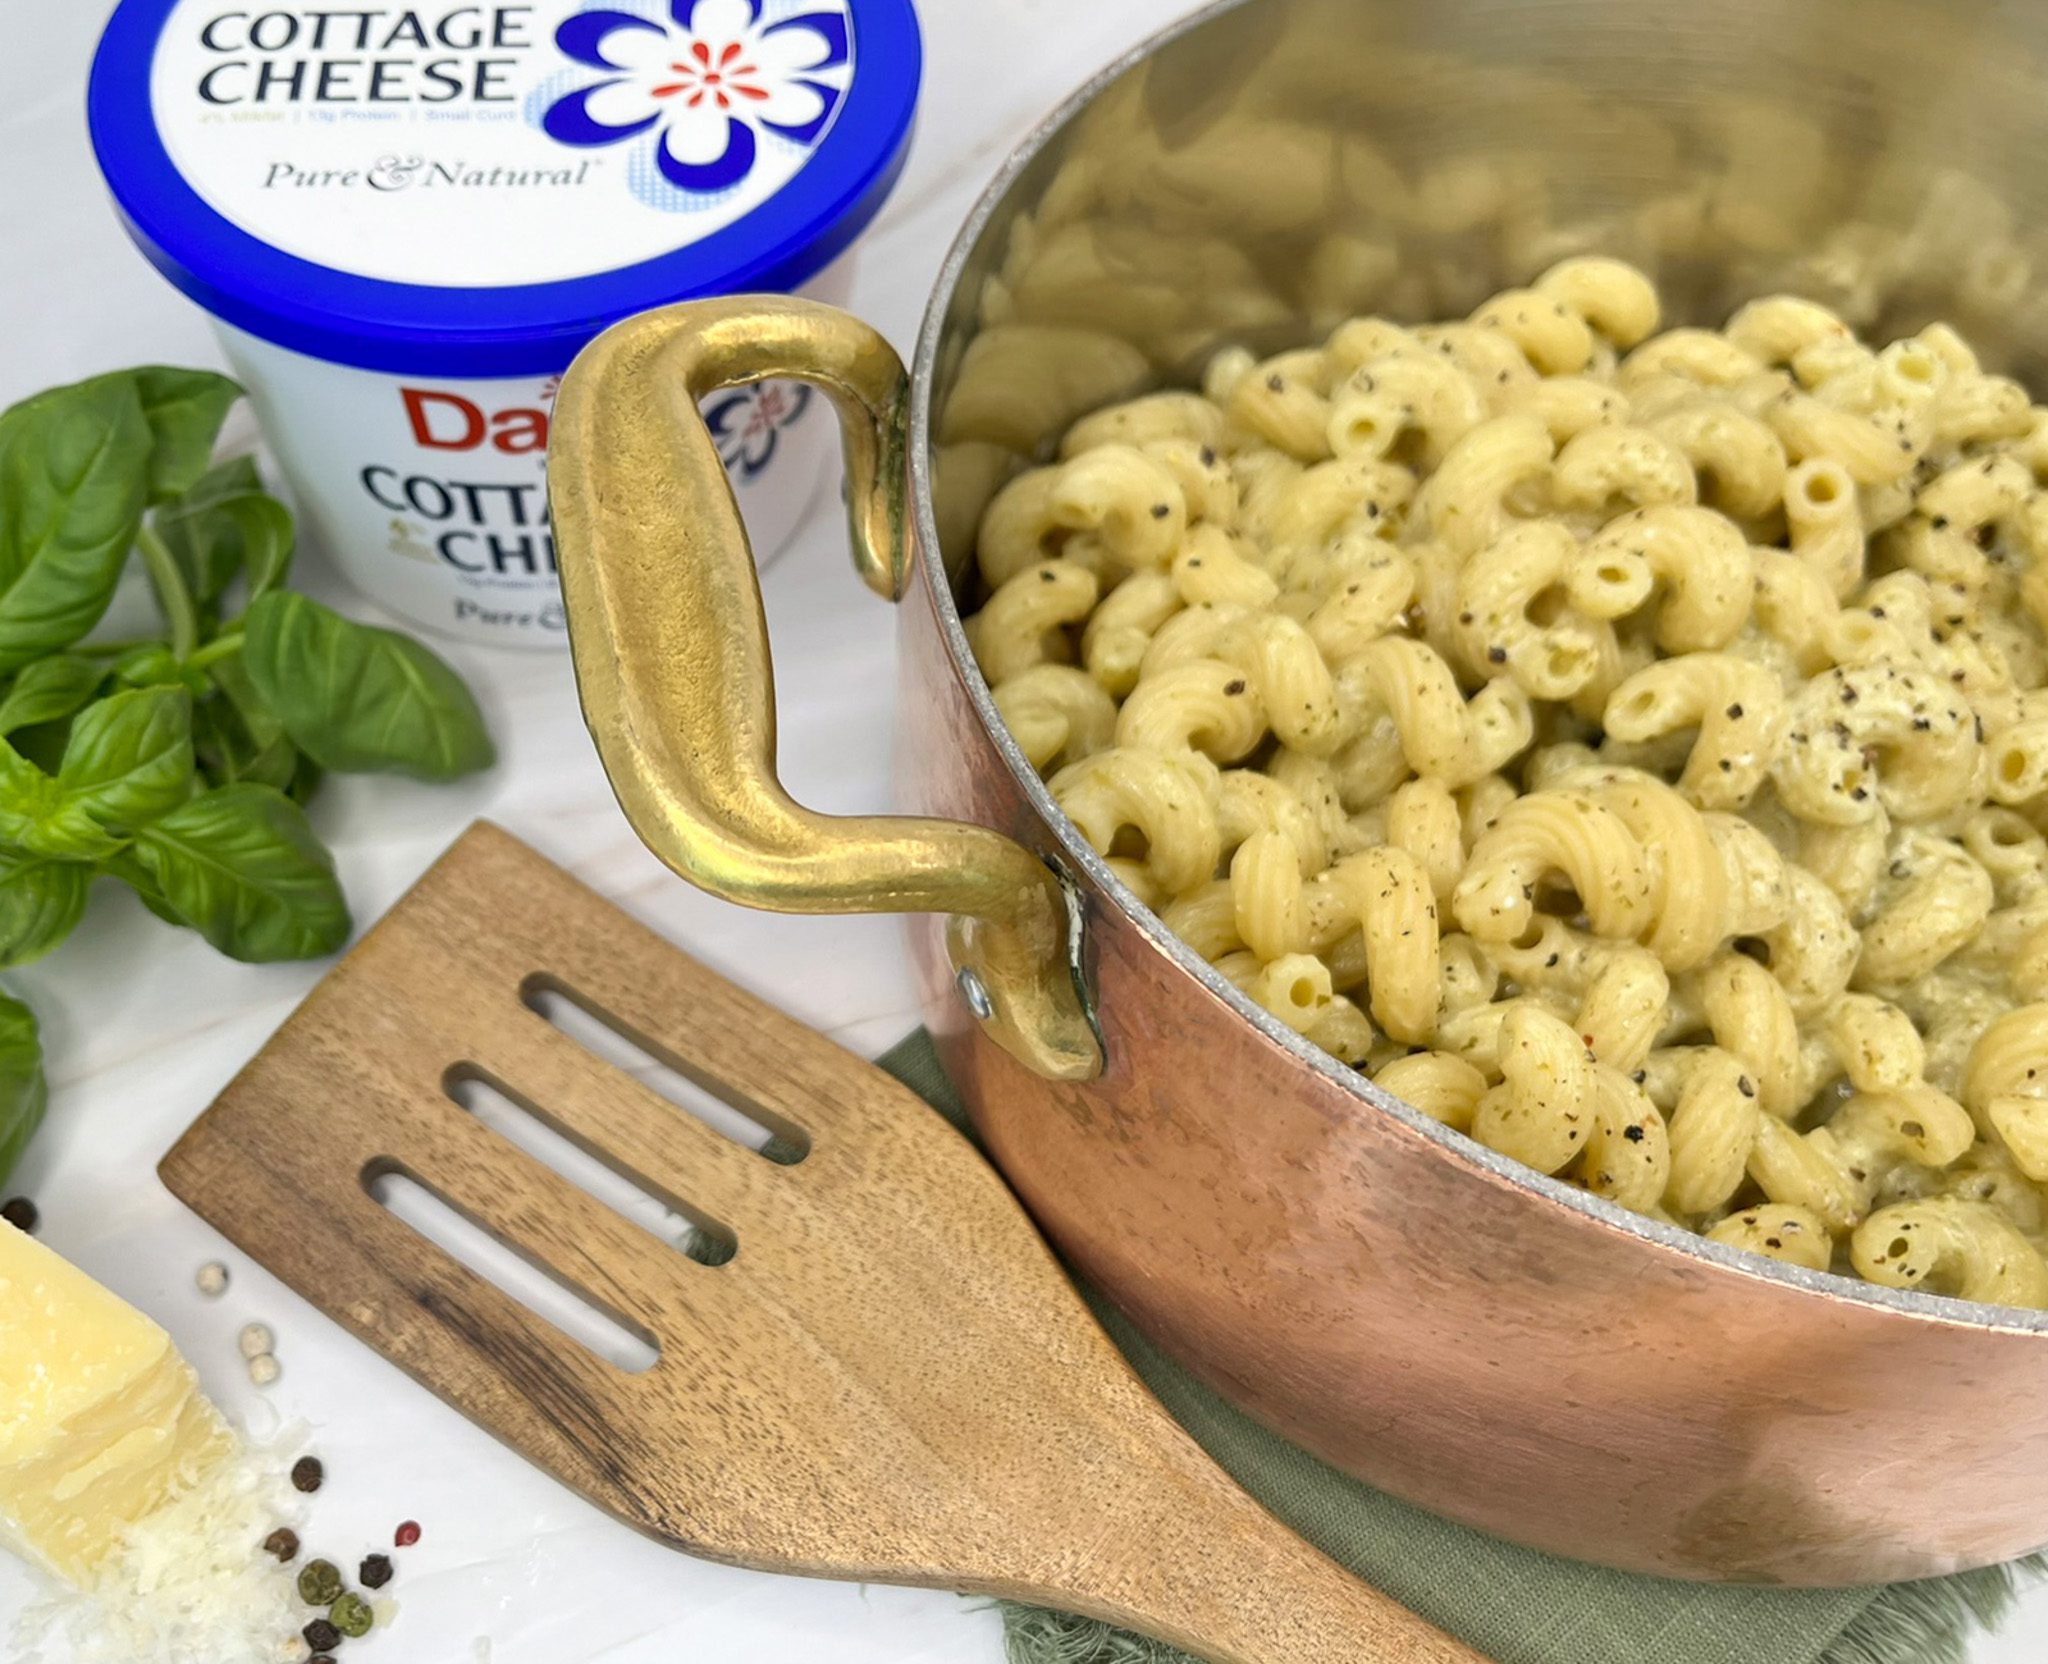
No time for dinner? This quick and easy, this Cheesy Pesto One-Pan Pasta is ready in only 15 minutes and is a cinch to clean up. Made with a handful of fresh ingredients and dried pasta, this dinner comes together in mere minutes using only a blender and one pot. Just blend up the sauce, add to the hot pasta, toss, and serve.
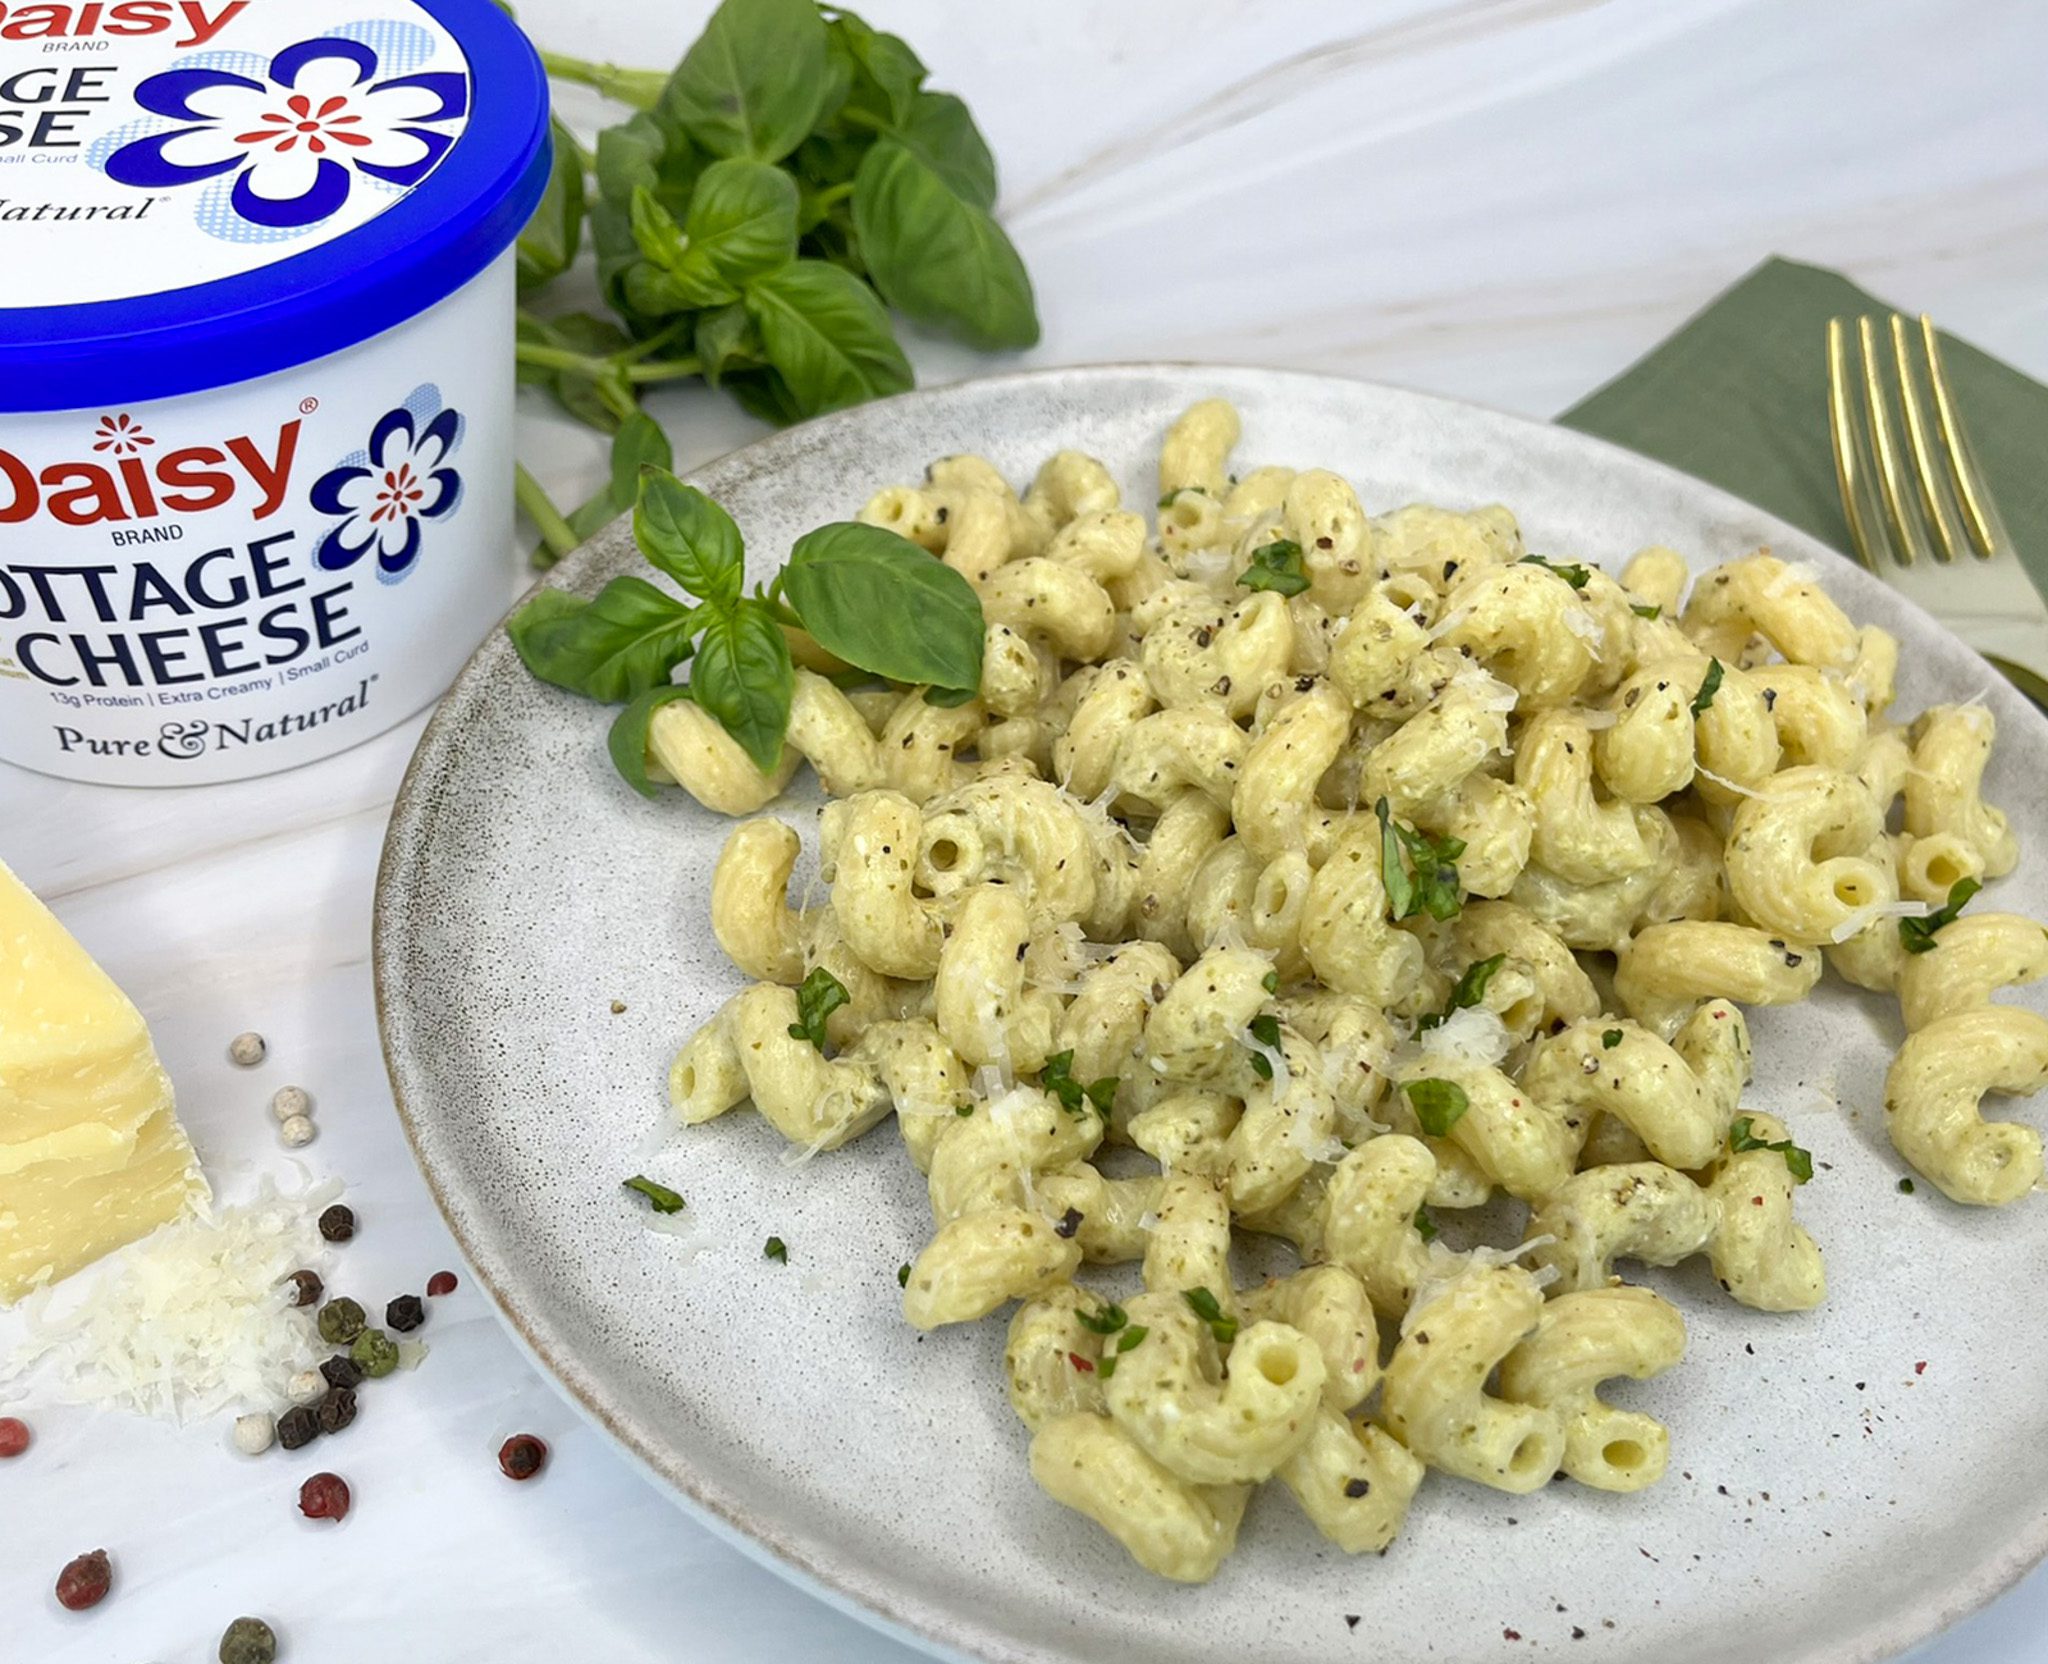
The bite-sized pasta marries with the aromatic, bright, and herby basil, and the salty, rich, creamy cottage cheese to form a savory, rich dinner quick enough for weeknights yet elegant enough for special occasions. Light and satisfying, this pasta is easily customizable. Try adding vegetables and your favorite protein for a tasty twist.
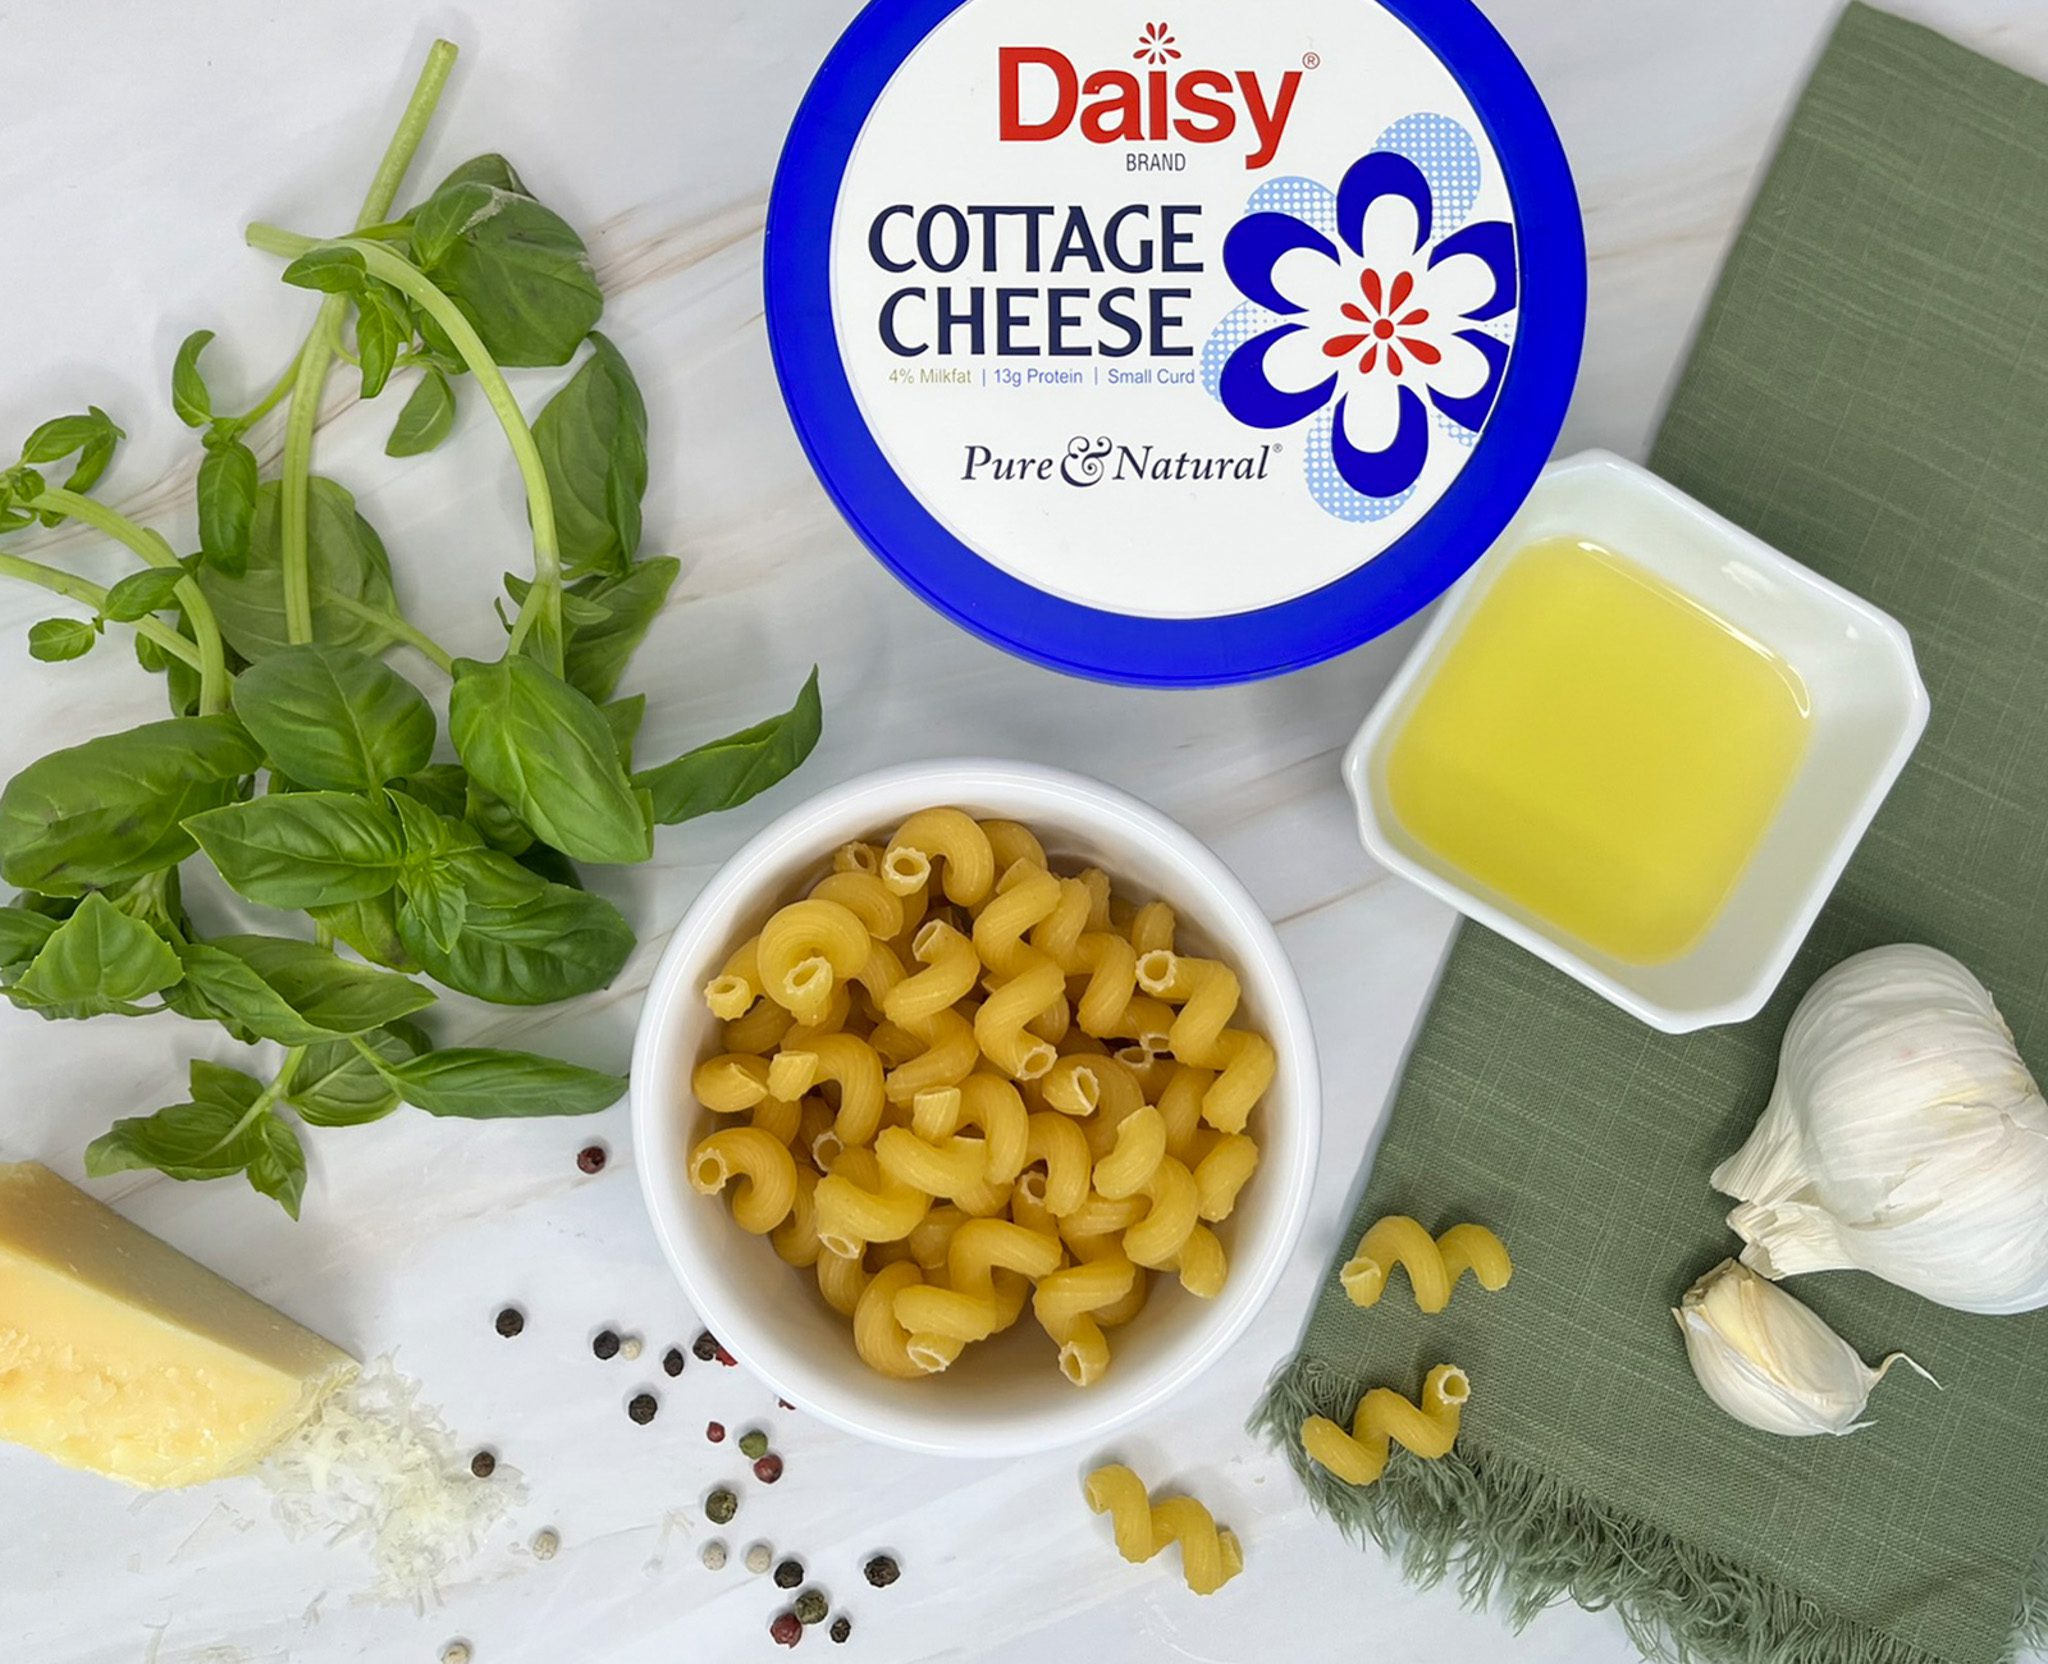
Cheesy Pesto One-Pan Pasta Ingredients
- Water (2 ½ cups): To cook the pasta and thin the pesto sauce.
- Dry Bite-Sized Pasta (8 ounces): Found in most pantries, dried pasta is economical and great for saucy dishes. Any bite-sized pasta will work for this recipe.
- Daisy Cottage Cheese (1/2 cup): A protein powerhouse, the cottage cheese adds a creamy and slightly salty taste to this easy sauce. It’s the main source of protein in the recipe.
- Minced Garlic (1 heaping teaspoon): One of the flavors of pesto, it adds a savory bite to the sauce.
- Fresh Basil Leaves (1 cup, packed): Fresh, herby, sweet, pungent, and slightly spicy, the basil combined with the cottage cheese is the base of the pesto sauce.
- Fresh Cracked Black Pepper (1/8 teaspoon): Fruity and earthy, this classic spice adds a pinch of warm heat to the sauce.
- Extra-Virgin Olive Oil (1/3 cup): Adds a richness to the sauce with hints of spicy, pungent, peppery flavor.
Substitutions, Variations, and Tips
- Gluten-free pasta may be used in place of wheat pasta.
- Crushed red pepper flakes may be added for a punch of heat.
- A sprinkle of parmesan cheese may be added for a richer flavor and a classic finishing touch.
- Try adding your favorite toppers for a heartier meal, such as cooked protein such as chicken or shrimp, and/or add fresh veggies such as asparagus or tomatoes.
- Great for leftovers! To reheat, add a few drops of water to help revive the sauce. Cover and microwave in short intervals, stirring between intervals, until warm (about 1-2 minutes).
How To Make Cheesy Pesto One-Pan Pasta
- Add water to a medium saucepot, cover, and bring to a boil. Add pasta, stir, cover, and reduce to a simmer. Cook 12-15 minutes. Keep covered and stir occasionally.
- Place cottage cheese and garlic in food processor. Process 10 seconds. Add basil leaves and pepper. Process 1 minute. Add olive oil. Process a few seconds more until completely smooth.
- Add sauce to undrained, cooked pasta. Stir to coat evenly and serve.
Sour Cream Chicken Enchiladas
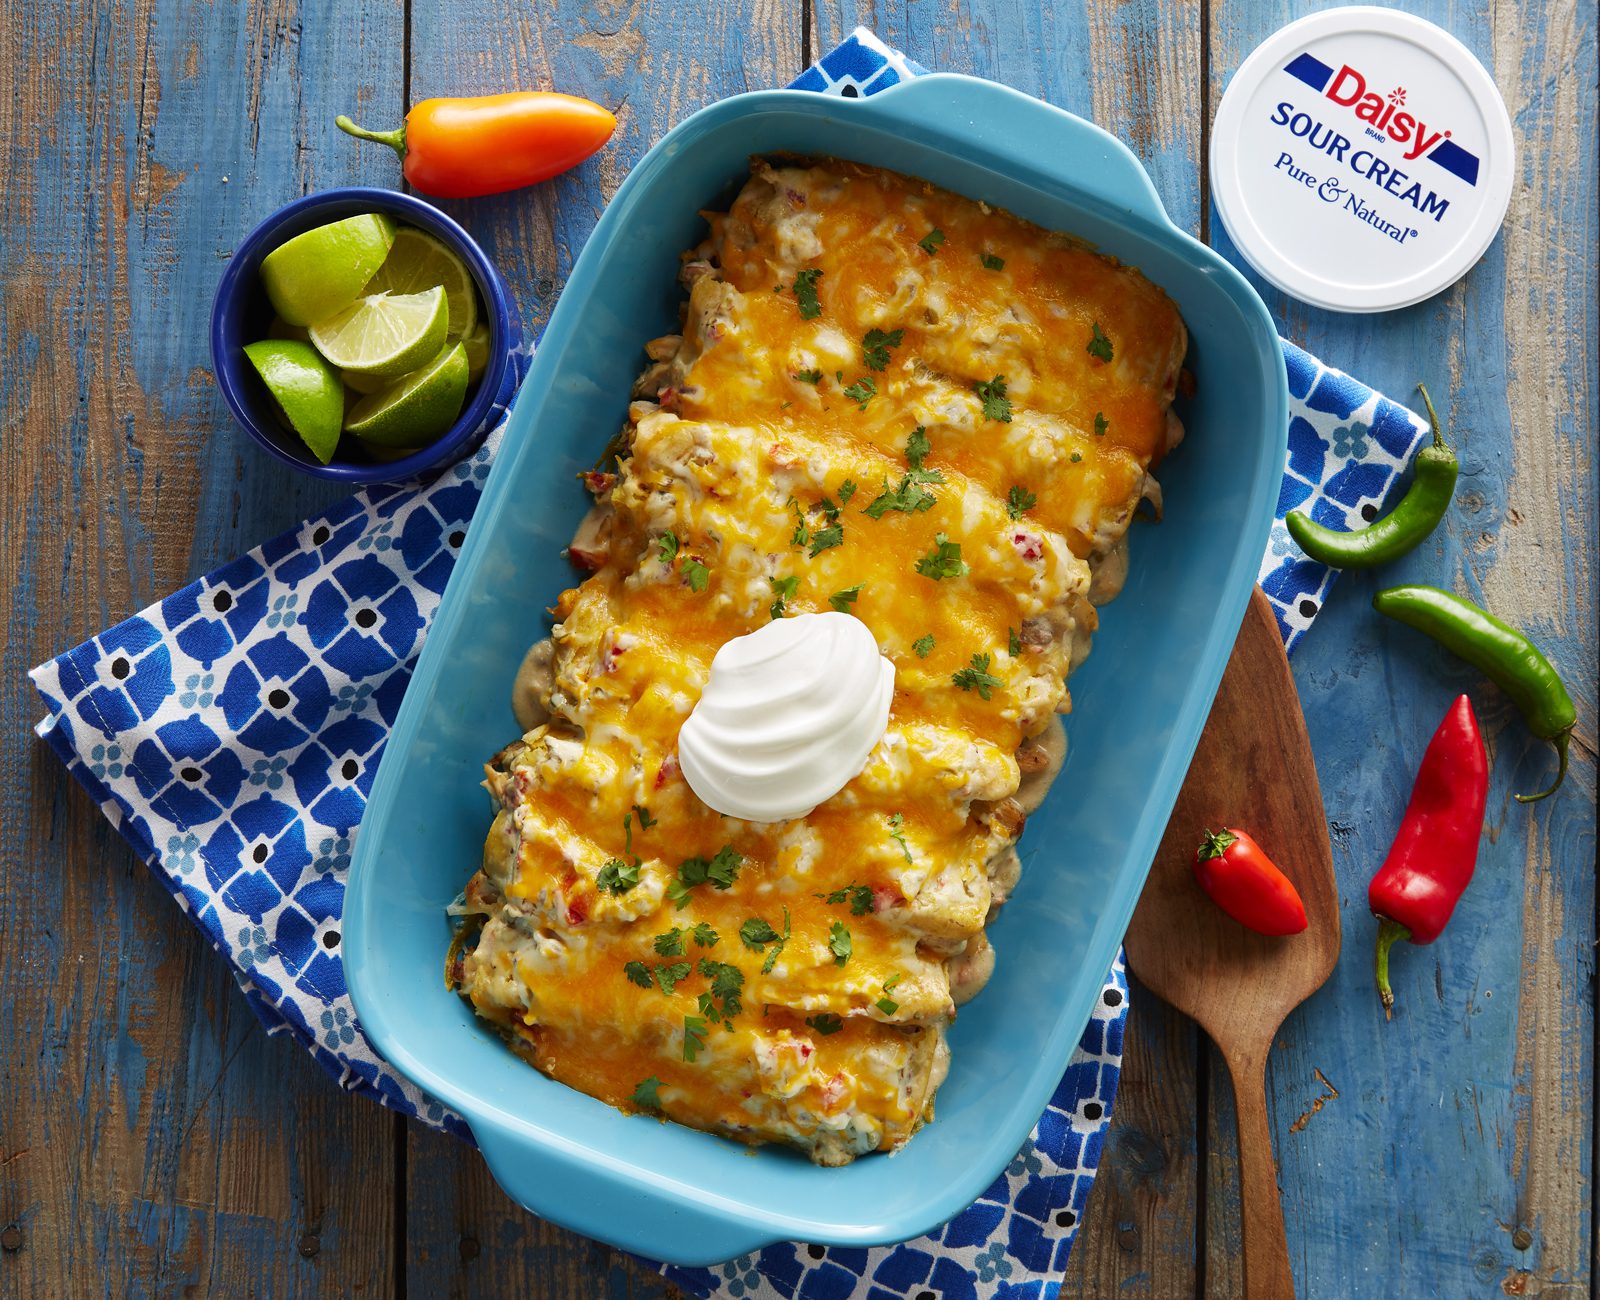
Sour Cream Chicken Enchiladas
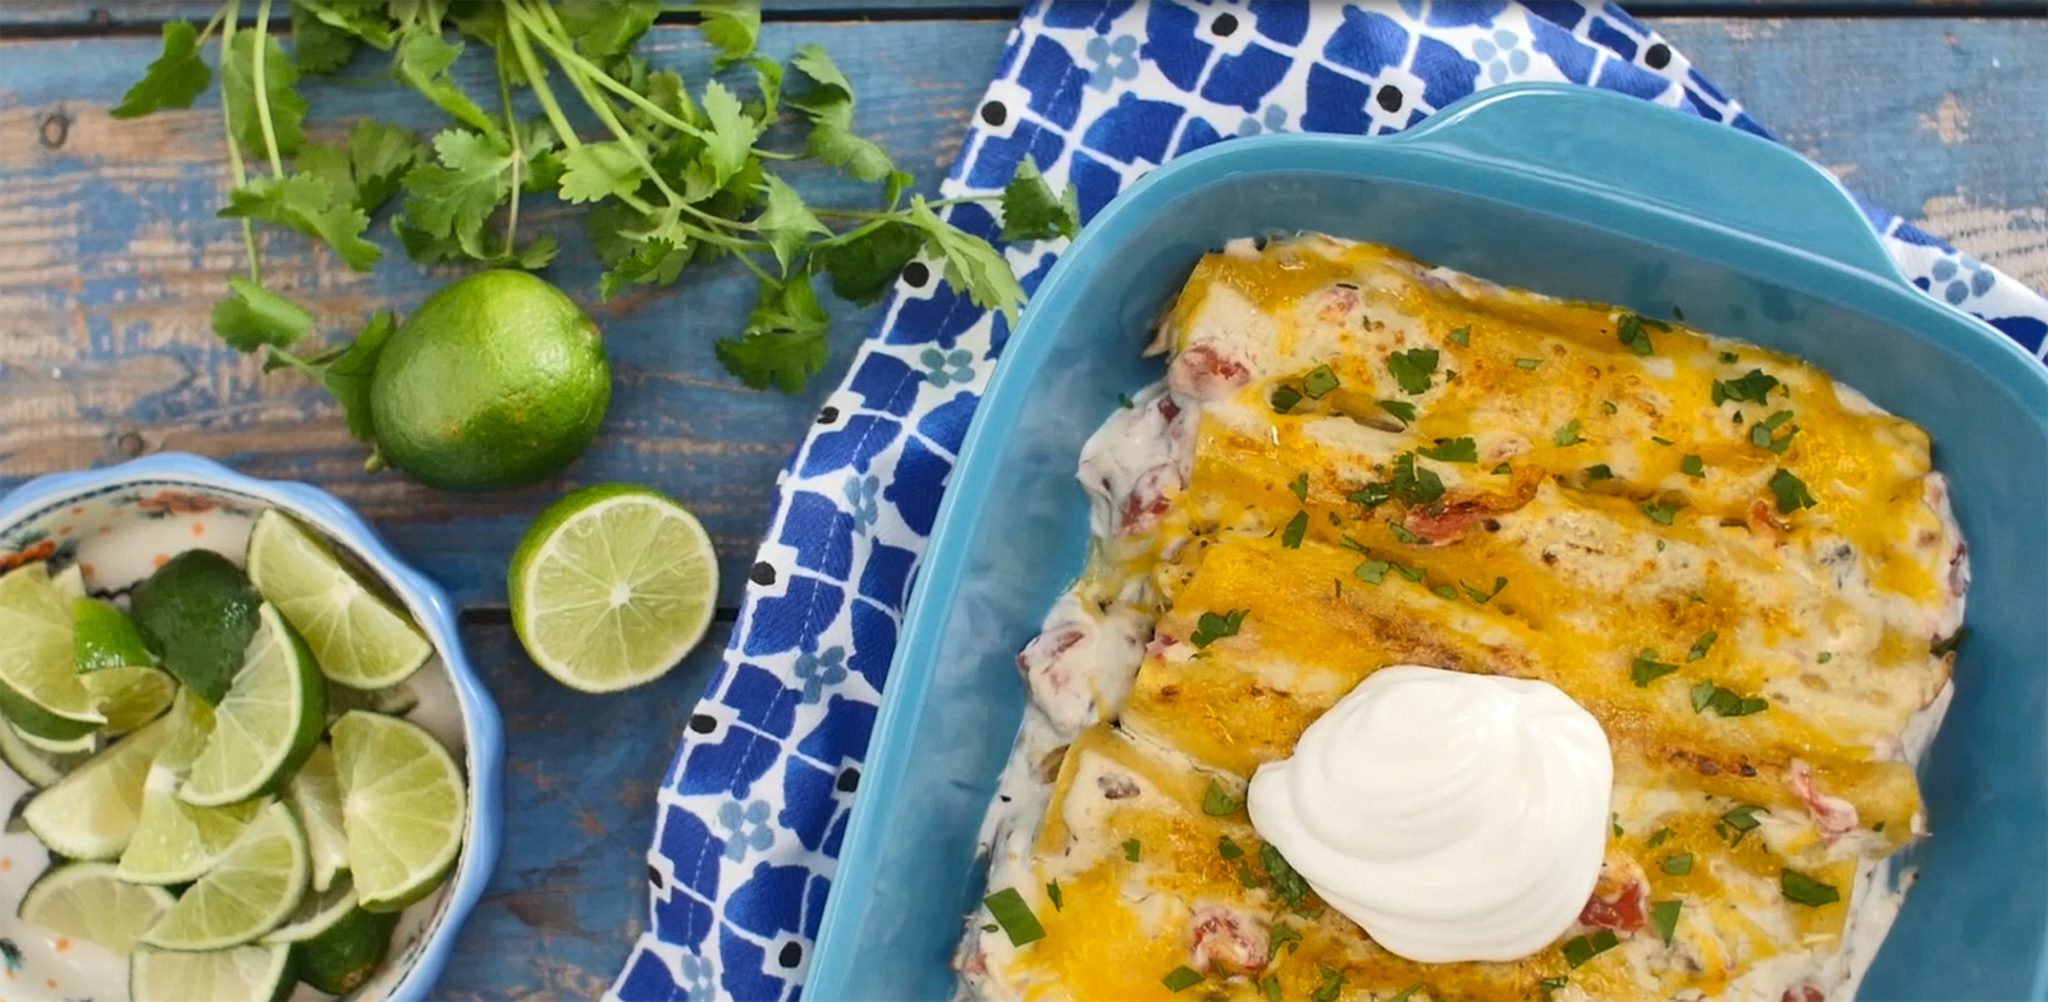
These warm and comforting Sour Cream Chicken Enchiladas are packed with shredded chicken, oozy cheese, and a delicious sour cream sauce that you will crave long after the last bite. You will make these enchiladas again and again. Get ready creamy, cheesy, gooey goodness.
Easy to prep, these enchiladas are an excellent choice for weeknight dinners. Even better, they freeze wonderfully so you can make two batches at once, one for now and one for later. You can also easily double or half the recipe.
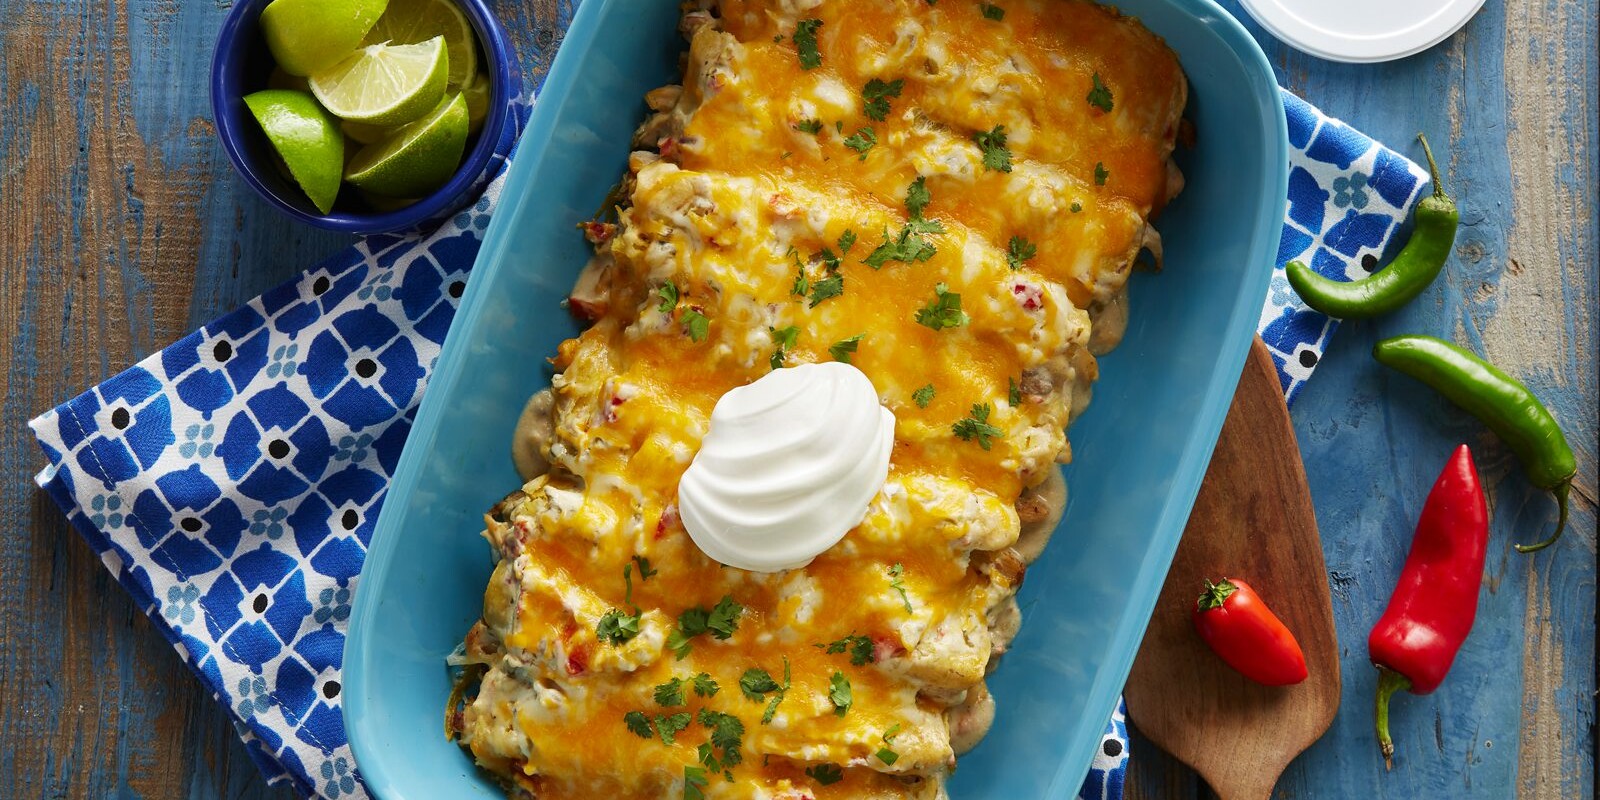
As the name suggests, Daisy Sour Cream is the key to this creamy, luscious sauce. It is the base of this sauce and lends a hint of tang, which pairs wonderfully with the green chiles. These enchiladas are so good, they will melt in your mouth.
Sour Cream Chicken Enchiladas Ingredients
- Spice Rub Ingredients
- Onion Powder (1 teaspoon): Adds a concentrated, punchy onion flavor to the rub.
- Ground Cumin (1 teaspoon): Earthy, warm, and slightly nutty in flavor, it is the dominant flavor of taco seasoning you know and love.
- Chili Powder (1 teaspoon): Adds a bit of smoky heat and kick to the spice rub.
- Oregano (1/2 teaspoon): Brings a warm, earthy, and aromatic flair to spice rub.
- Salt (1/2 teaspoon): Helps enhance other flavors.
- Black Pepper (1/4 teaspoon): Simple spice found in every kitchen, it elevates dishes and enhances the other flavors.
- Boneless, Skinless Chicken Breasts (1 ½ pounds): The protein in our enchiladas made delicious by the combination of the spice rub and a quick grilling.
- Cream Cheese (3 ounces, softened): A mild cheese that helps bind the sauce and, along with the sour cream, adds a velvety texture to the sauce.
- Verde Sauce (1 ¼ cups): A green sauce made of spicy green chiles and tangy tomatillos, spicy white onions, and spice. You can find Verde sauce in the produce section of many markets or in the Mexican food aisle.
- Canned Tomatoes with Chiles (10 ounce can, drained): Diced tomatoes picked at the peak of ripeness along with diced green chiles. They add a bit of kick to the sauce.
- Cream of Mushroom Soup (5 ounce can): Adds to the creamy base of the sauce and helps thicken the sauce.
- Daisy Sour Cream (1 cup): Adds a luscious richness and creaminess to the sauce, while also adding a slightly tangy component that balances the savory flavors.
- 6-inch Corn Tortillas (12): Corn tortillas are best for this recipe since they hold up better to baking than flour tortillas.
- Shredded Mexican cheese blend (2 cups): A mixture of shredded Mexican cheese works great adding the gooey texture to our enchiladas. Mexican cheese blend is usually made of a combination of Monterey Jack, Queso Quesadilla, Asadero, and cheddar cheese.
Substitutions, Variations, and Tips
- 1 ½ cups of shredded rotisserie chicken mixed with ¼ cup of Daisy Creamy Ranch Dressing may be used in place of grilled and shredded chicken.
- Seasoned ground beef may be used in place of the chicken.
- Drained and rinsed kidney or black beans may be added to the protein or used in place of the protein for a vegetarian option.
- To add a little heat, diced jalapenos may be added to the sauce.
- Any shredded cheese may be used in place of the Mexican blend.
- Fresh Pico de Gallo or prepared salsa may be used in place of canned tomatoes with chiles.
- Flour tortillas may be substituted for corn. They will absorb liquid quicker than corn so they may not hold their shape as well.
- Either yellow or white corn tortillas will work well in this recipe.
- To freeze enchiladas, prepare as recipe directs, then cover the pan with two layers of plastic wrap and then cover with foil. No need to thaw before cooking. Simply remove the plastic wrap, replace foil, and increase the cooking time by 1 hour. Cook covered with foil for the first 40 minutes.
- This recipe is easily halved or doubled.

How to Make Sour Cream Chicken Enchiladas
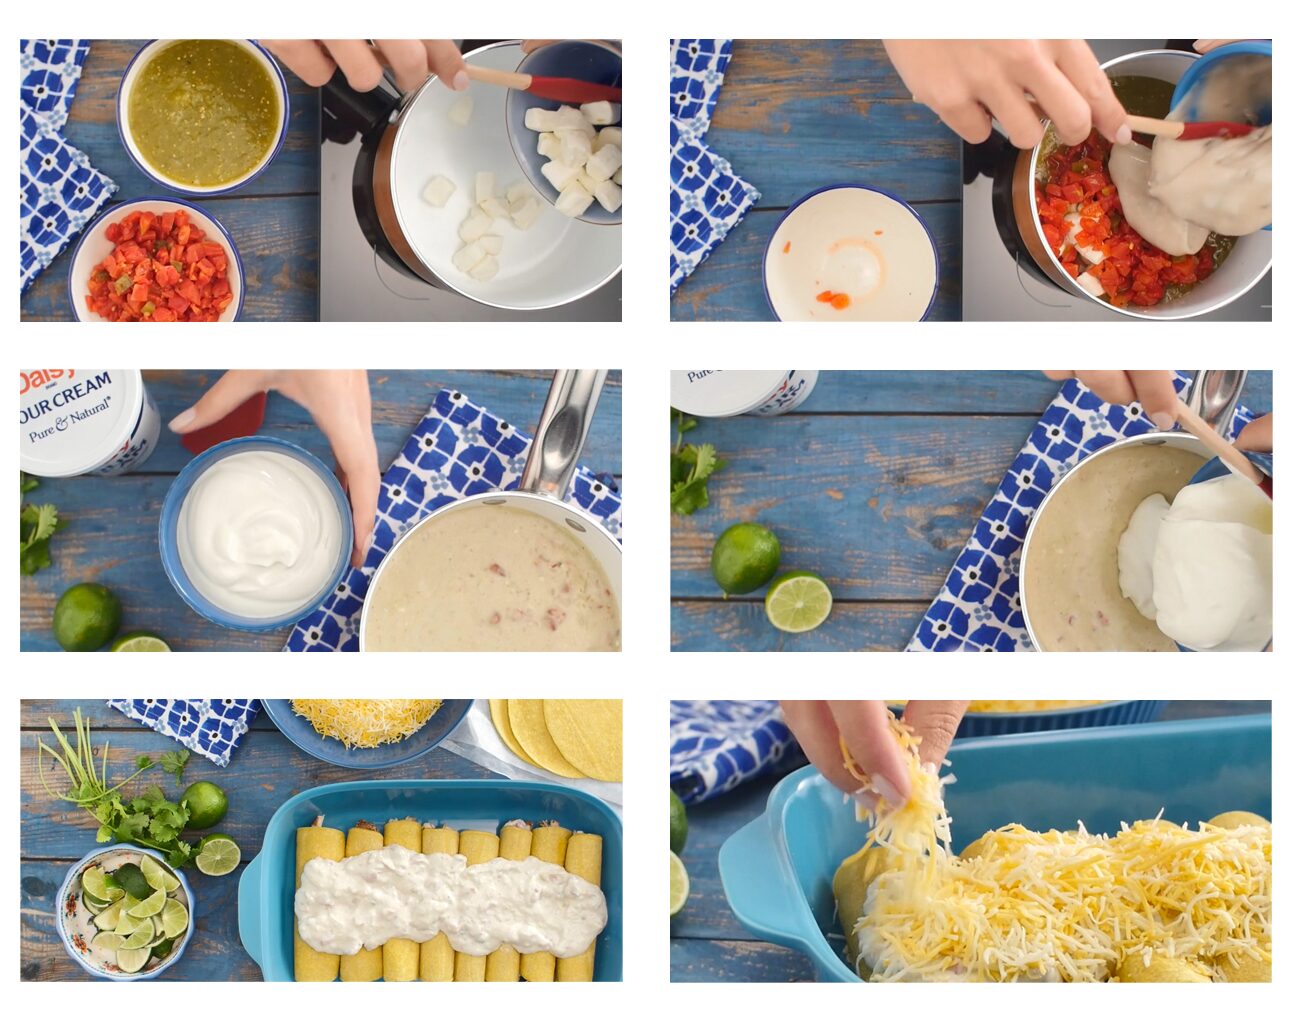
- Heat grill. Combine onion powder, cumin, chili powder, oregano, salt, and pepper. Coat each chicken breast thoroughly with seasoning blend. Grill on each side for 5 minutes or until cooked through. Allow it to rest for 10 minutes and then pull apart with two forks to shred.
- Cut softened cream cheese into chunks. Place cream cheese, Verde sauce, drained tomatoes with chiles, and cream of mushroom soup. Heat on medium-low, until cheese melts being careful not to bring to a boil. Remove from heat and fold in sour cream.
- Heat tortillas according to package directions. In each, spoon 1 1/2 tablespoons sauce and some shredded chicken. Roll up and place seam side down in a 9×13” baking dish.
- Pour remaining sauce over top of enchiladas. Sprinkle with cheese and bake at 350°F for 30 minutes, or until hot and bubbly.
Pasta with Cheesy Vodka Sauce
Pasta with Cheesy Vodka Sauce
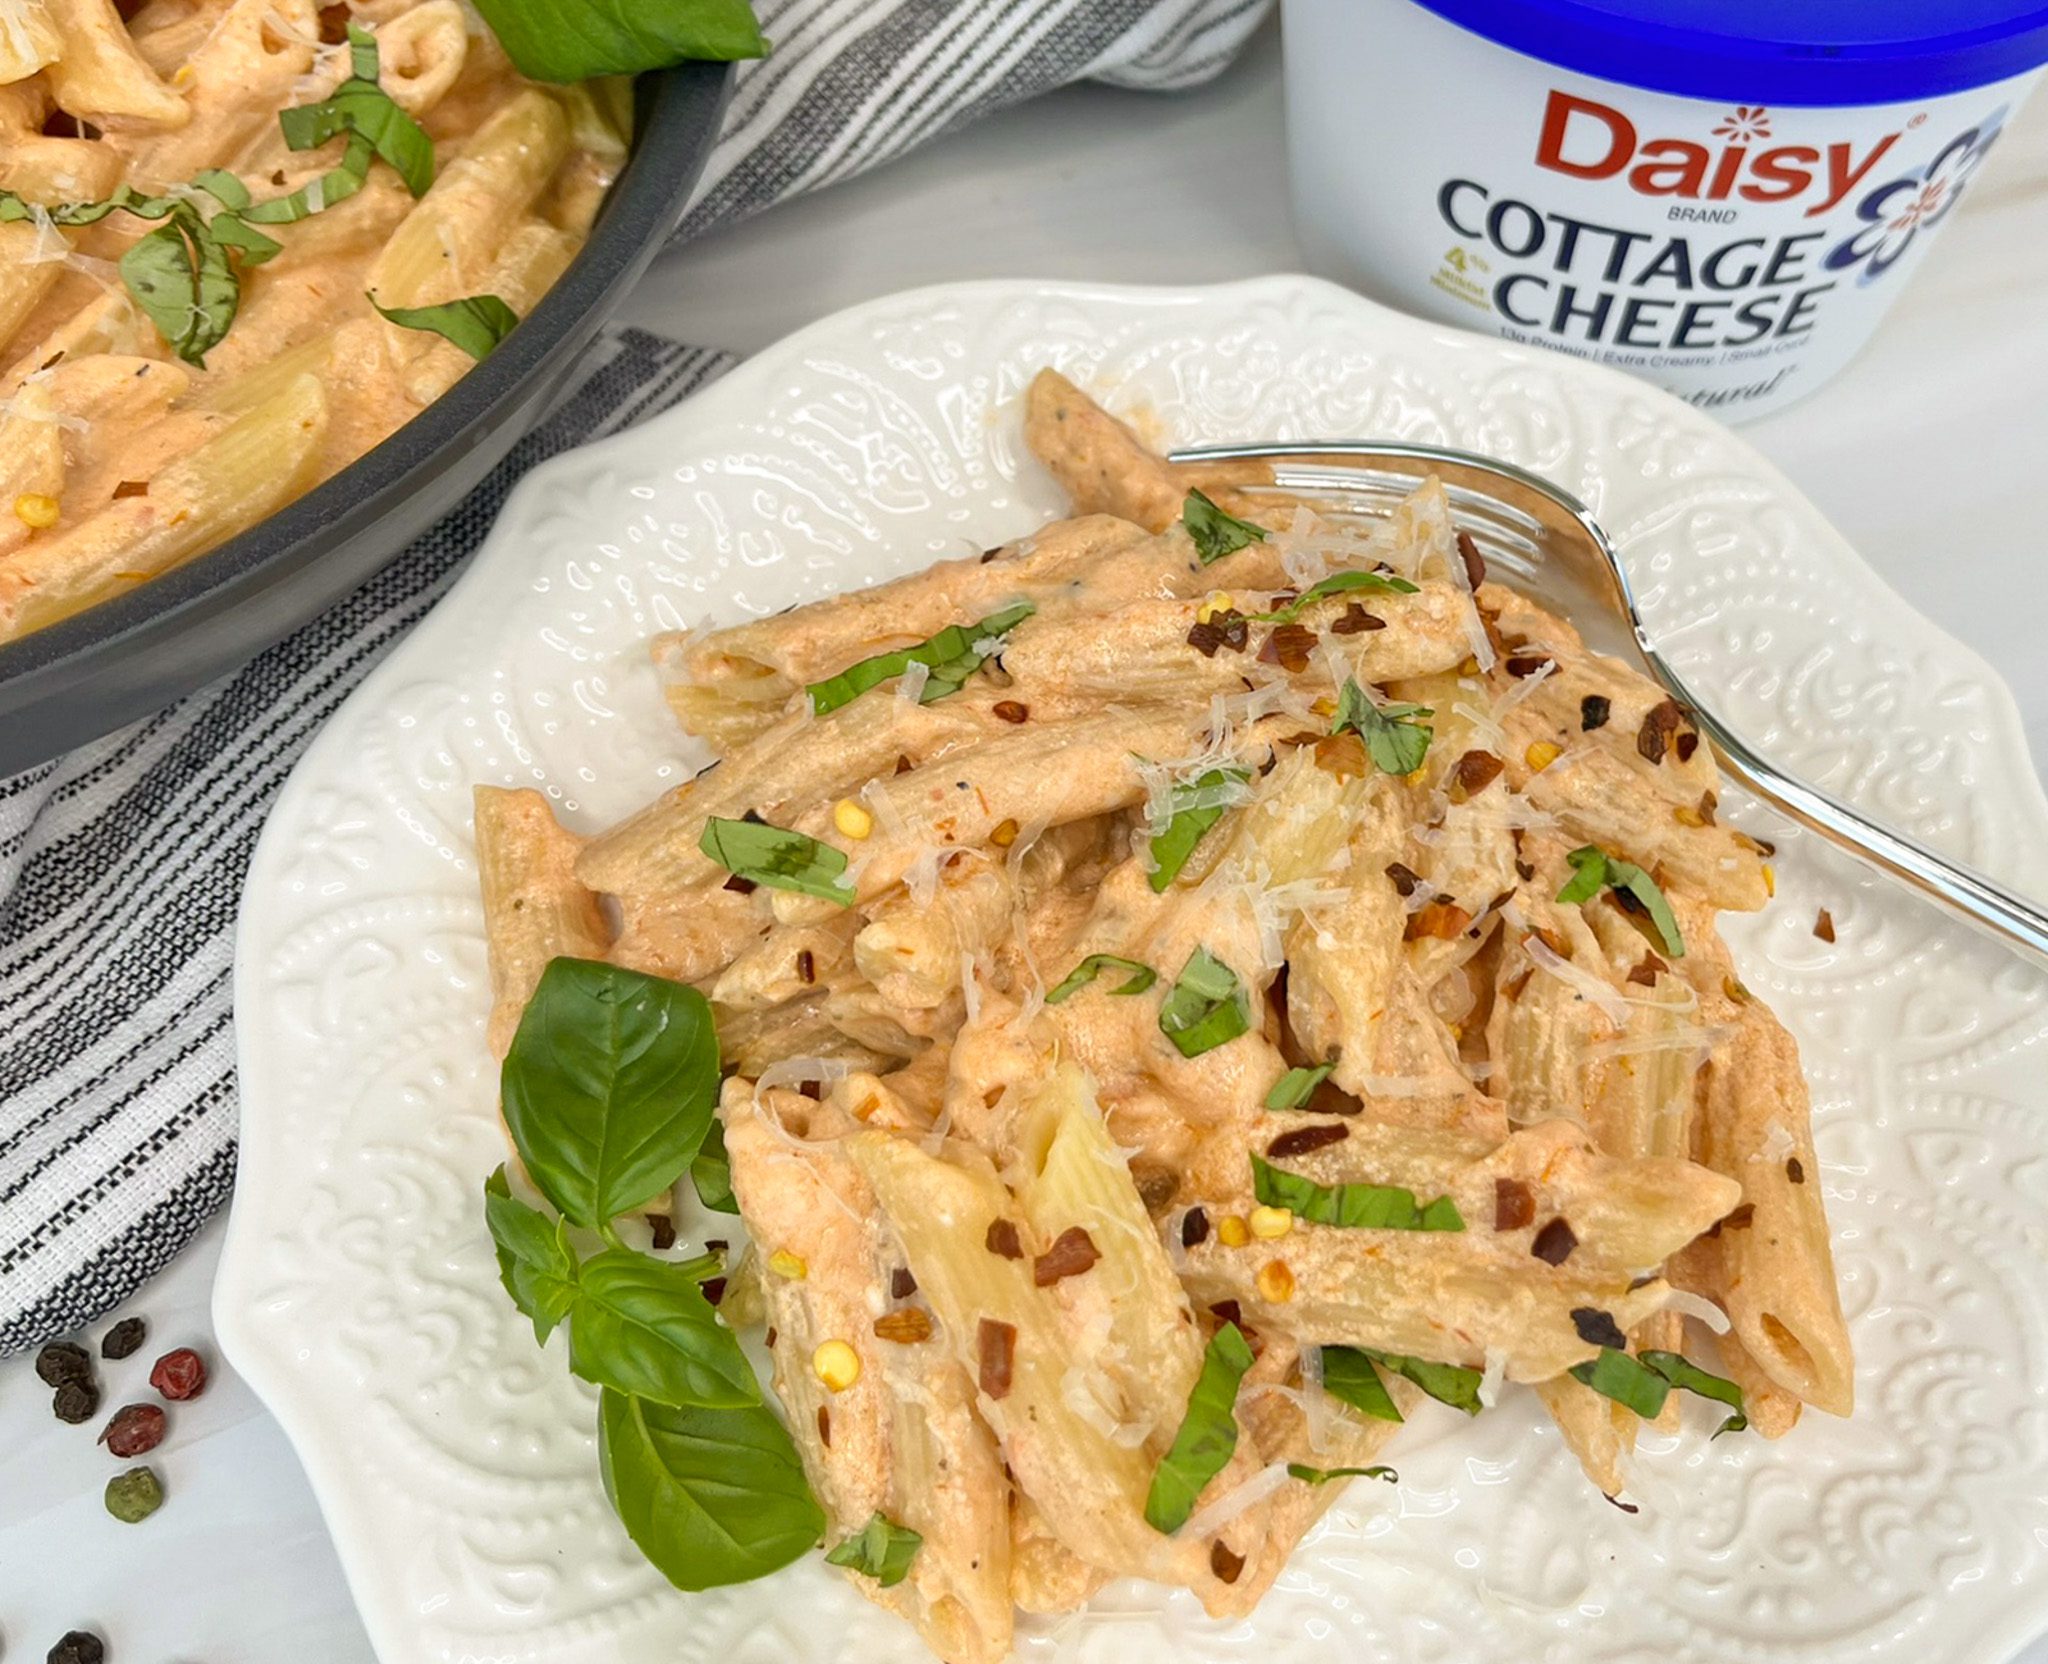
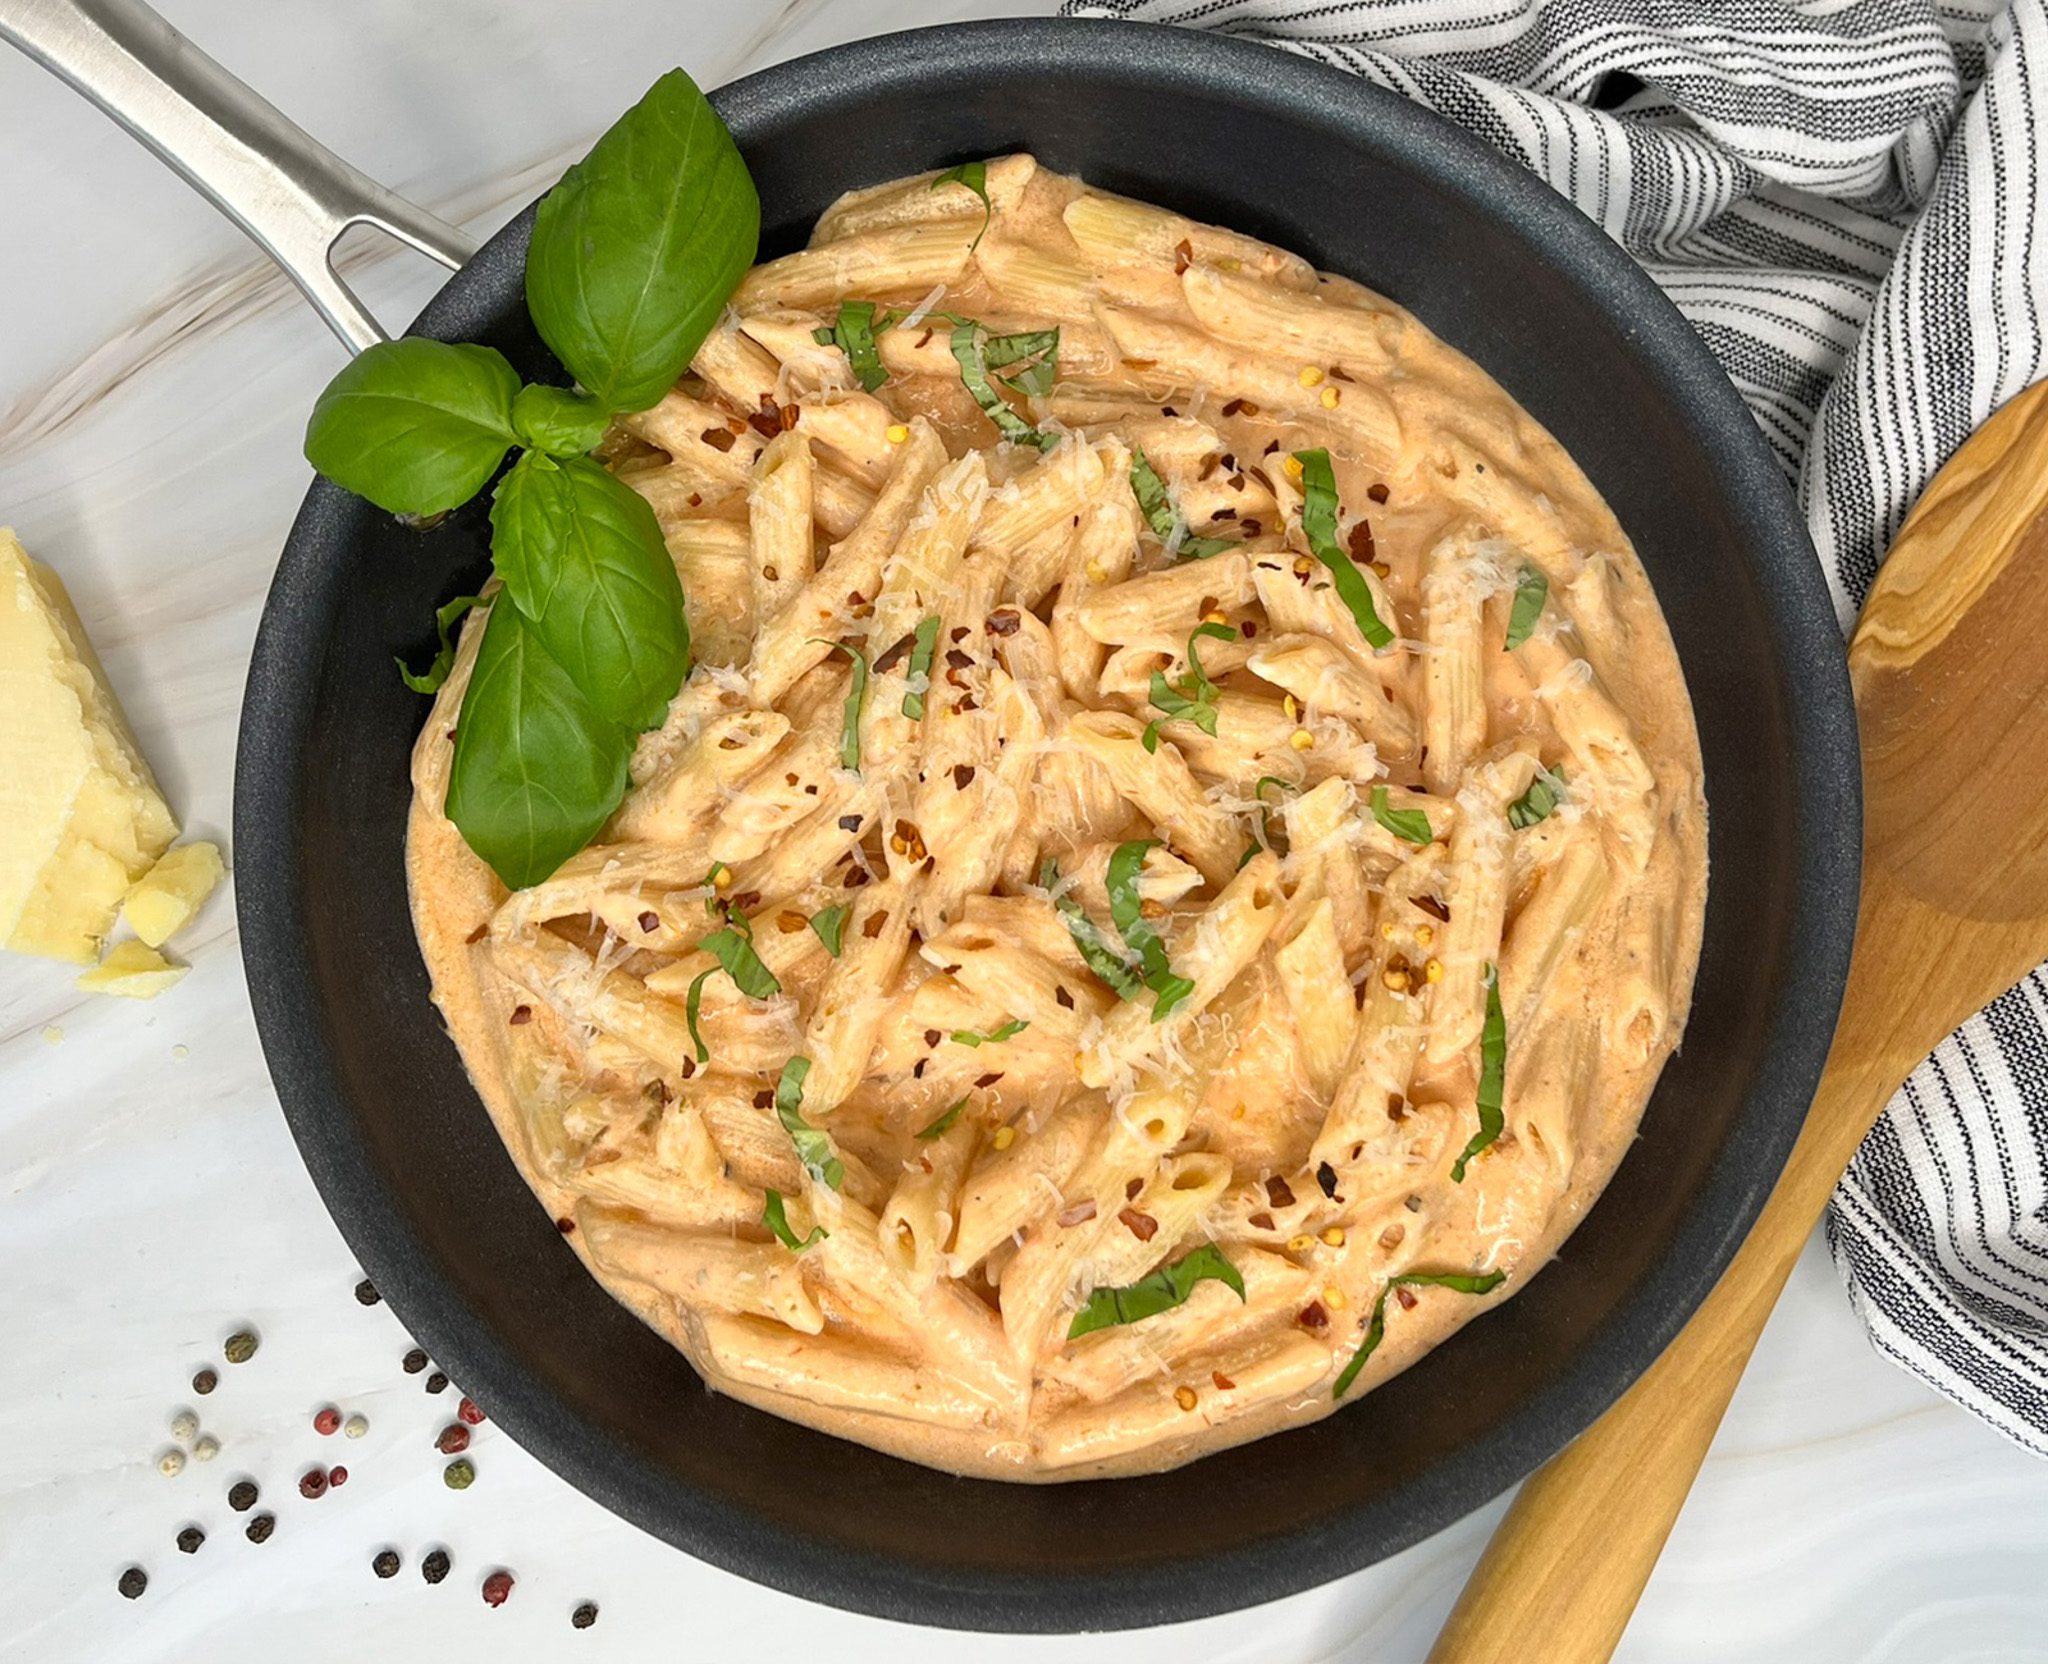
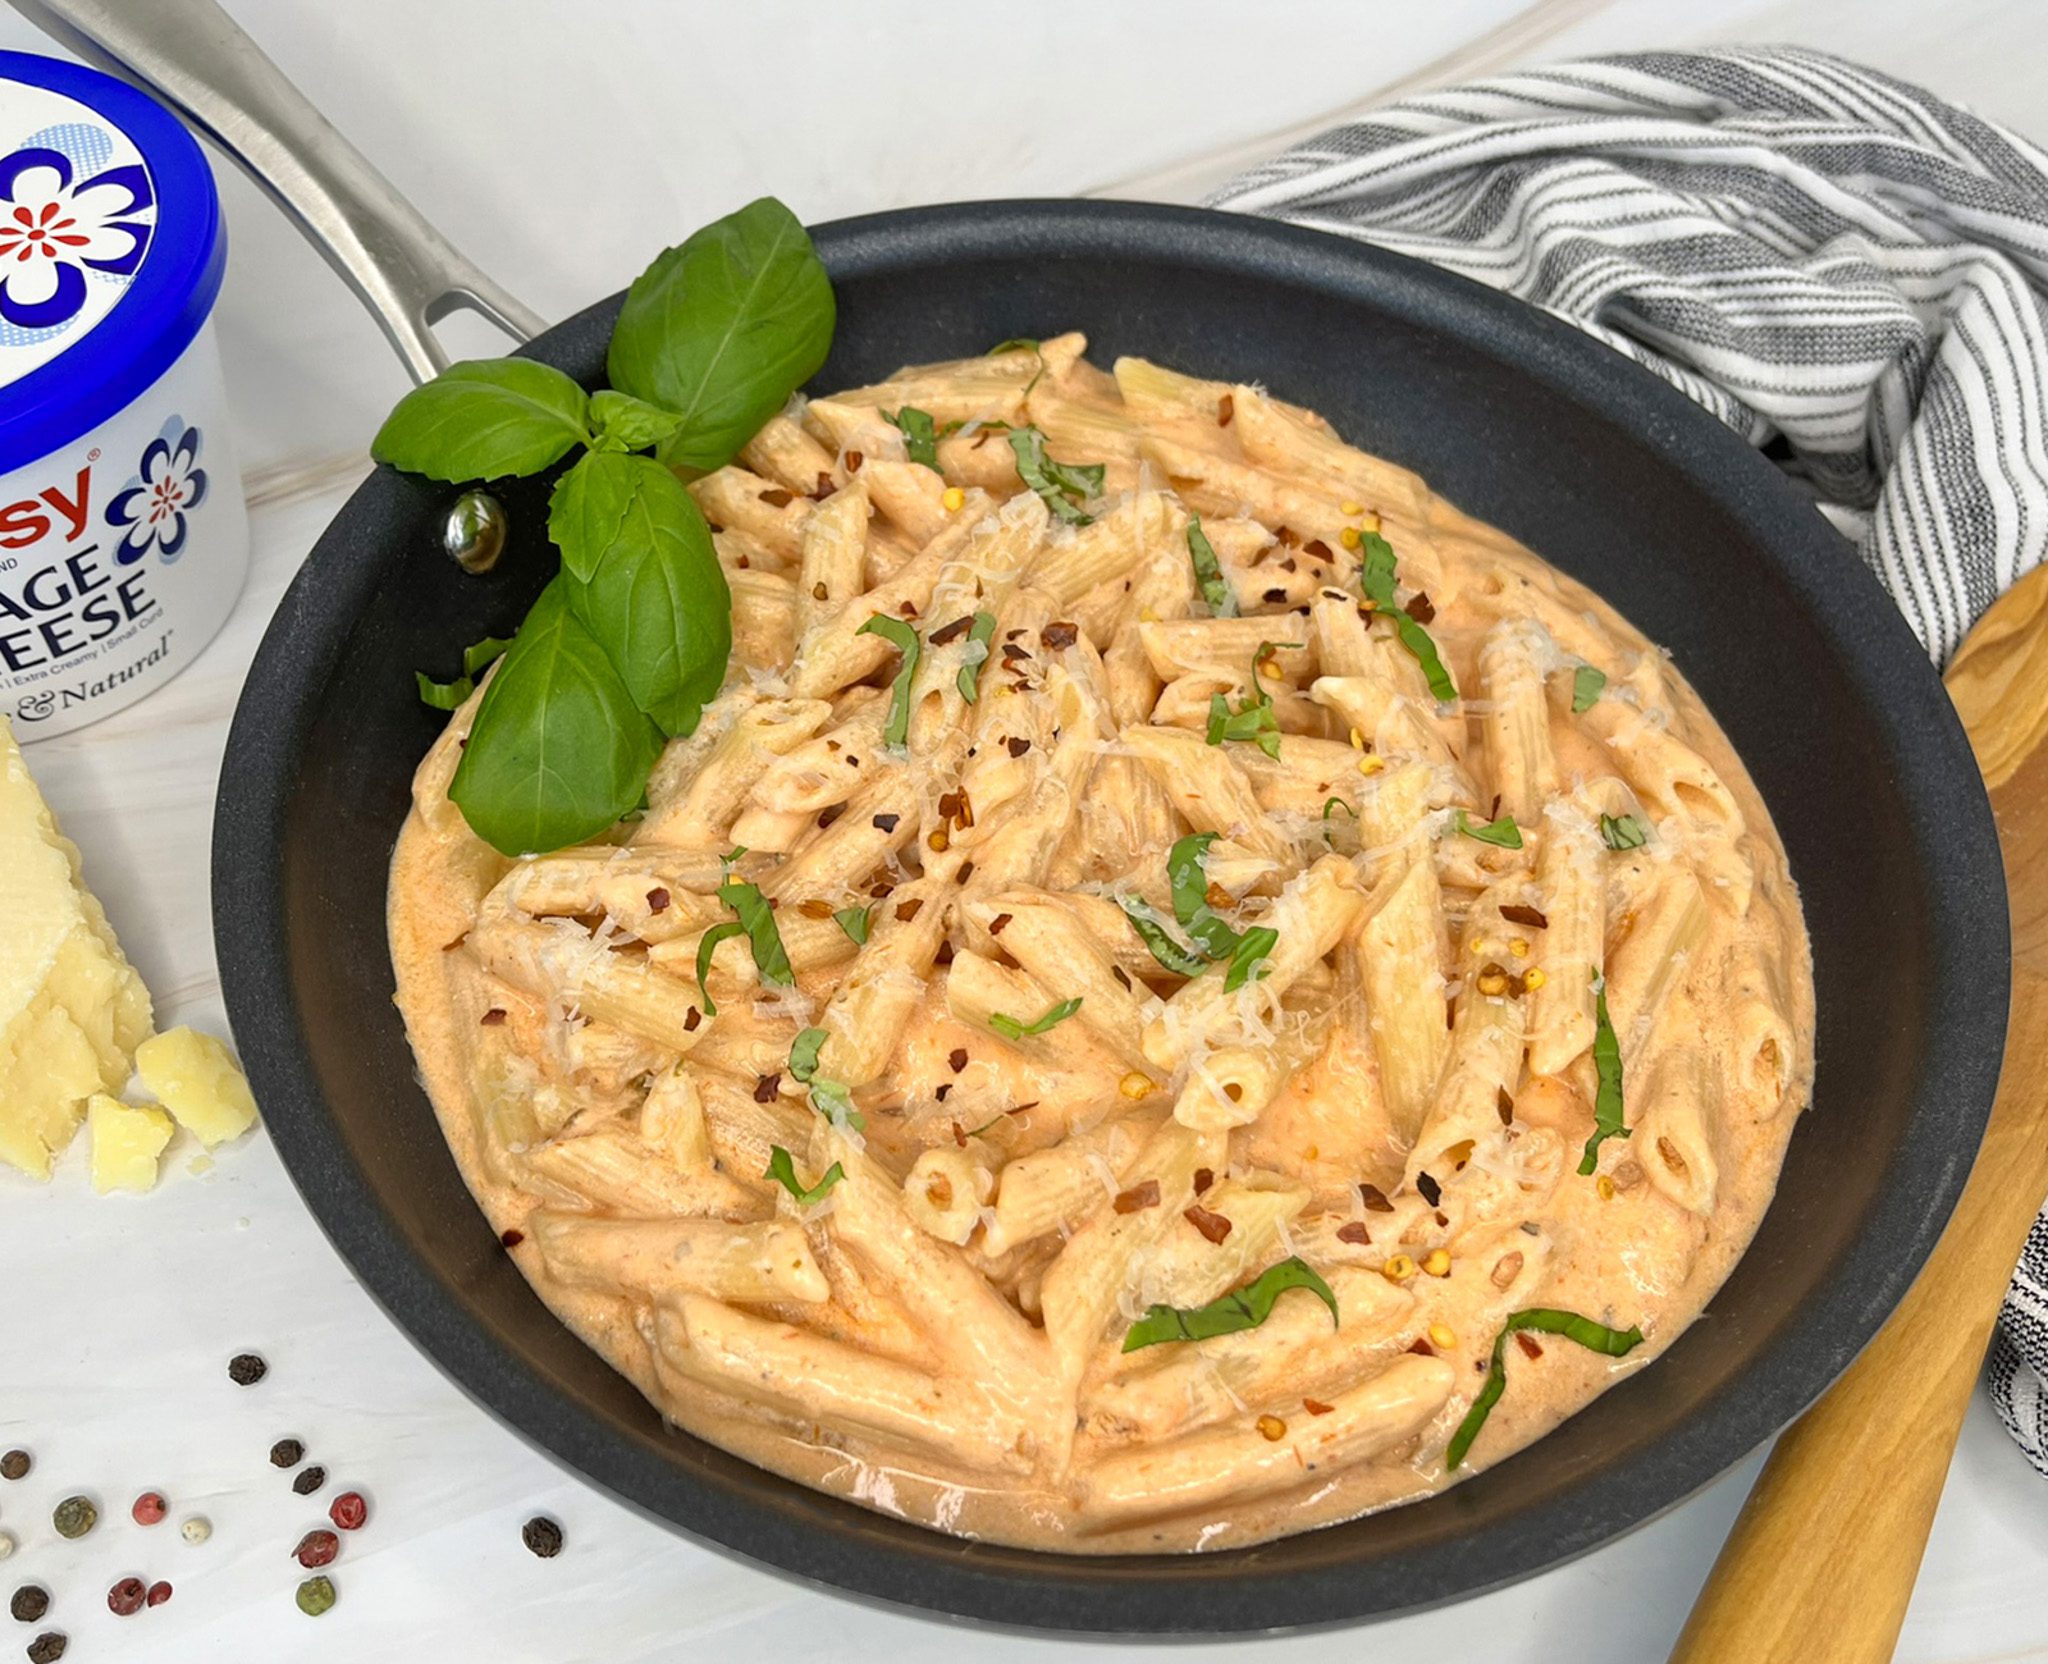
Family-friendly and affordable, this Pasta with Cheesy Vodka Sauce is made with only 6 ingredient staples and comes together in 20 minutes. It is perfect for busy weeknights when you cannot figure out what to make for dinner. Pasta is the ultimate comforting food, making it an easy, delicious choice after a long day.
This nutritious pasta will fill you up without adding inches to your waistline. Using cottage cheese as the creamy element of the sauce, it is lighter in fat and calories than traditional creamy vodka sauce.
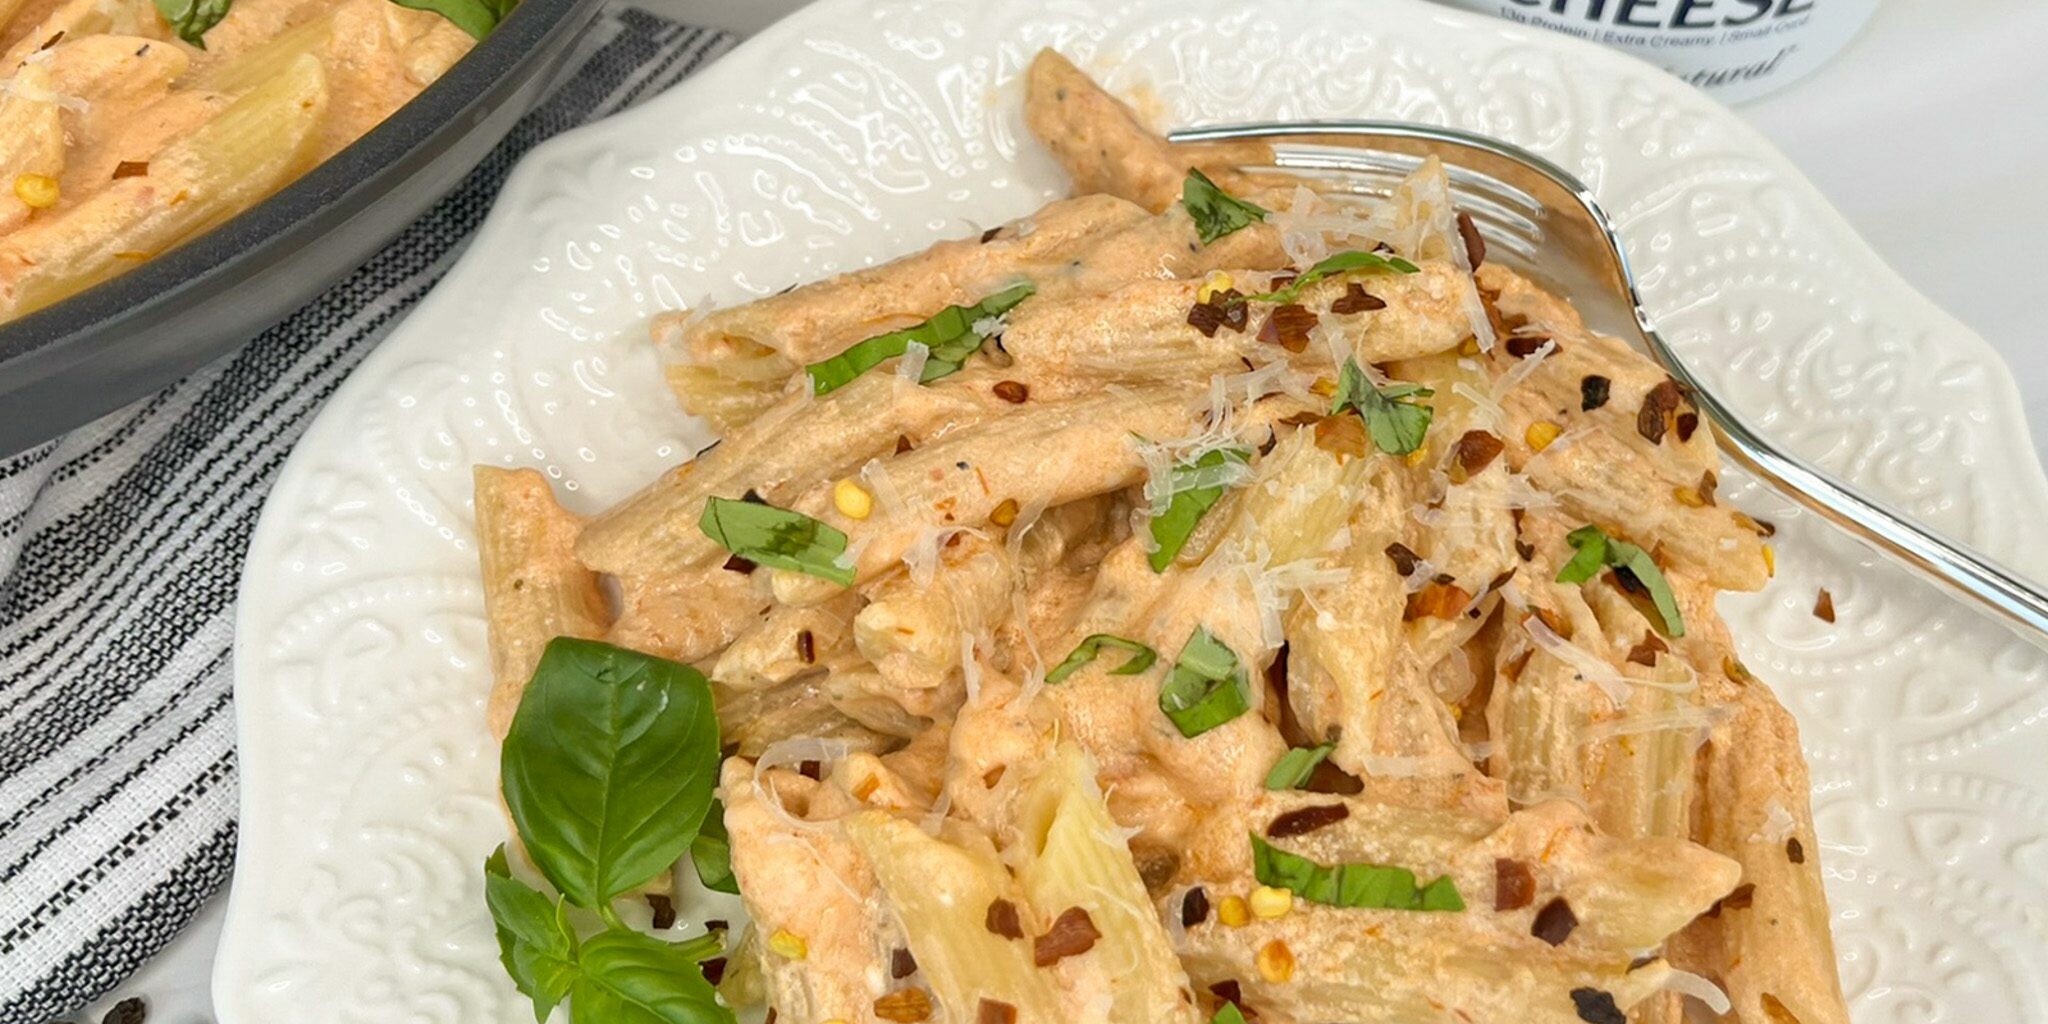
Incredibly versatile, this pasta can be paired with any cooked protein or vegetables. The variations are endlessly delicious.
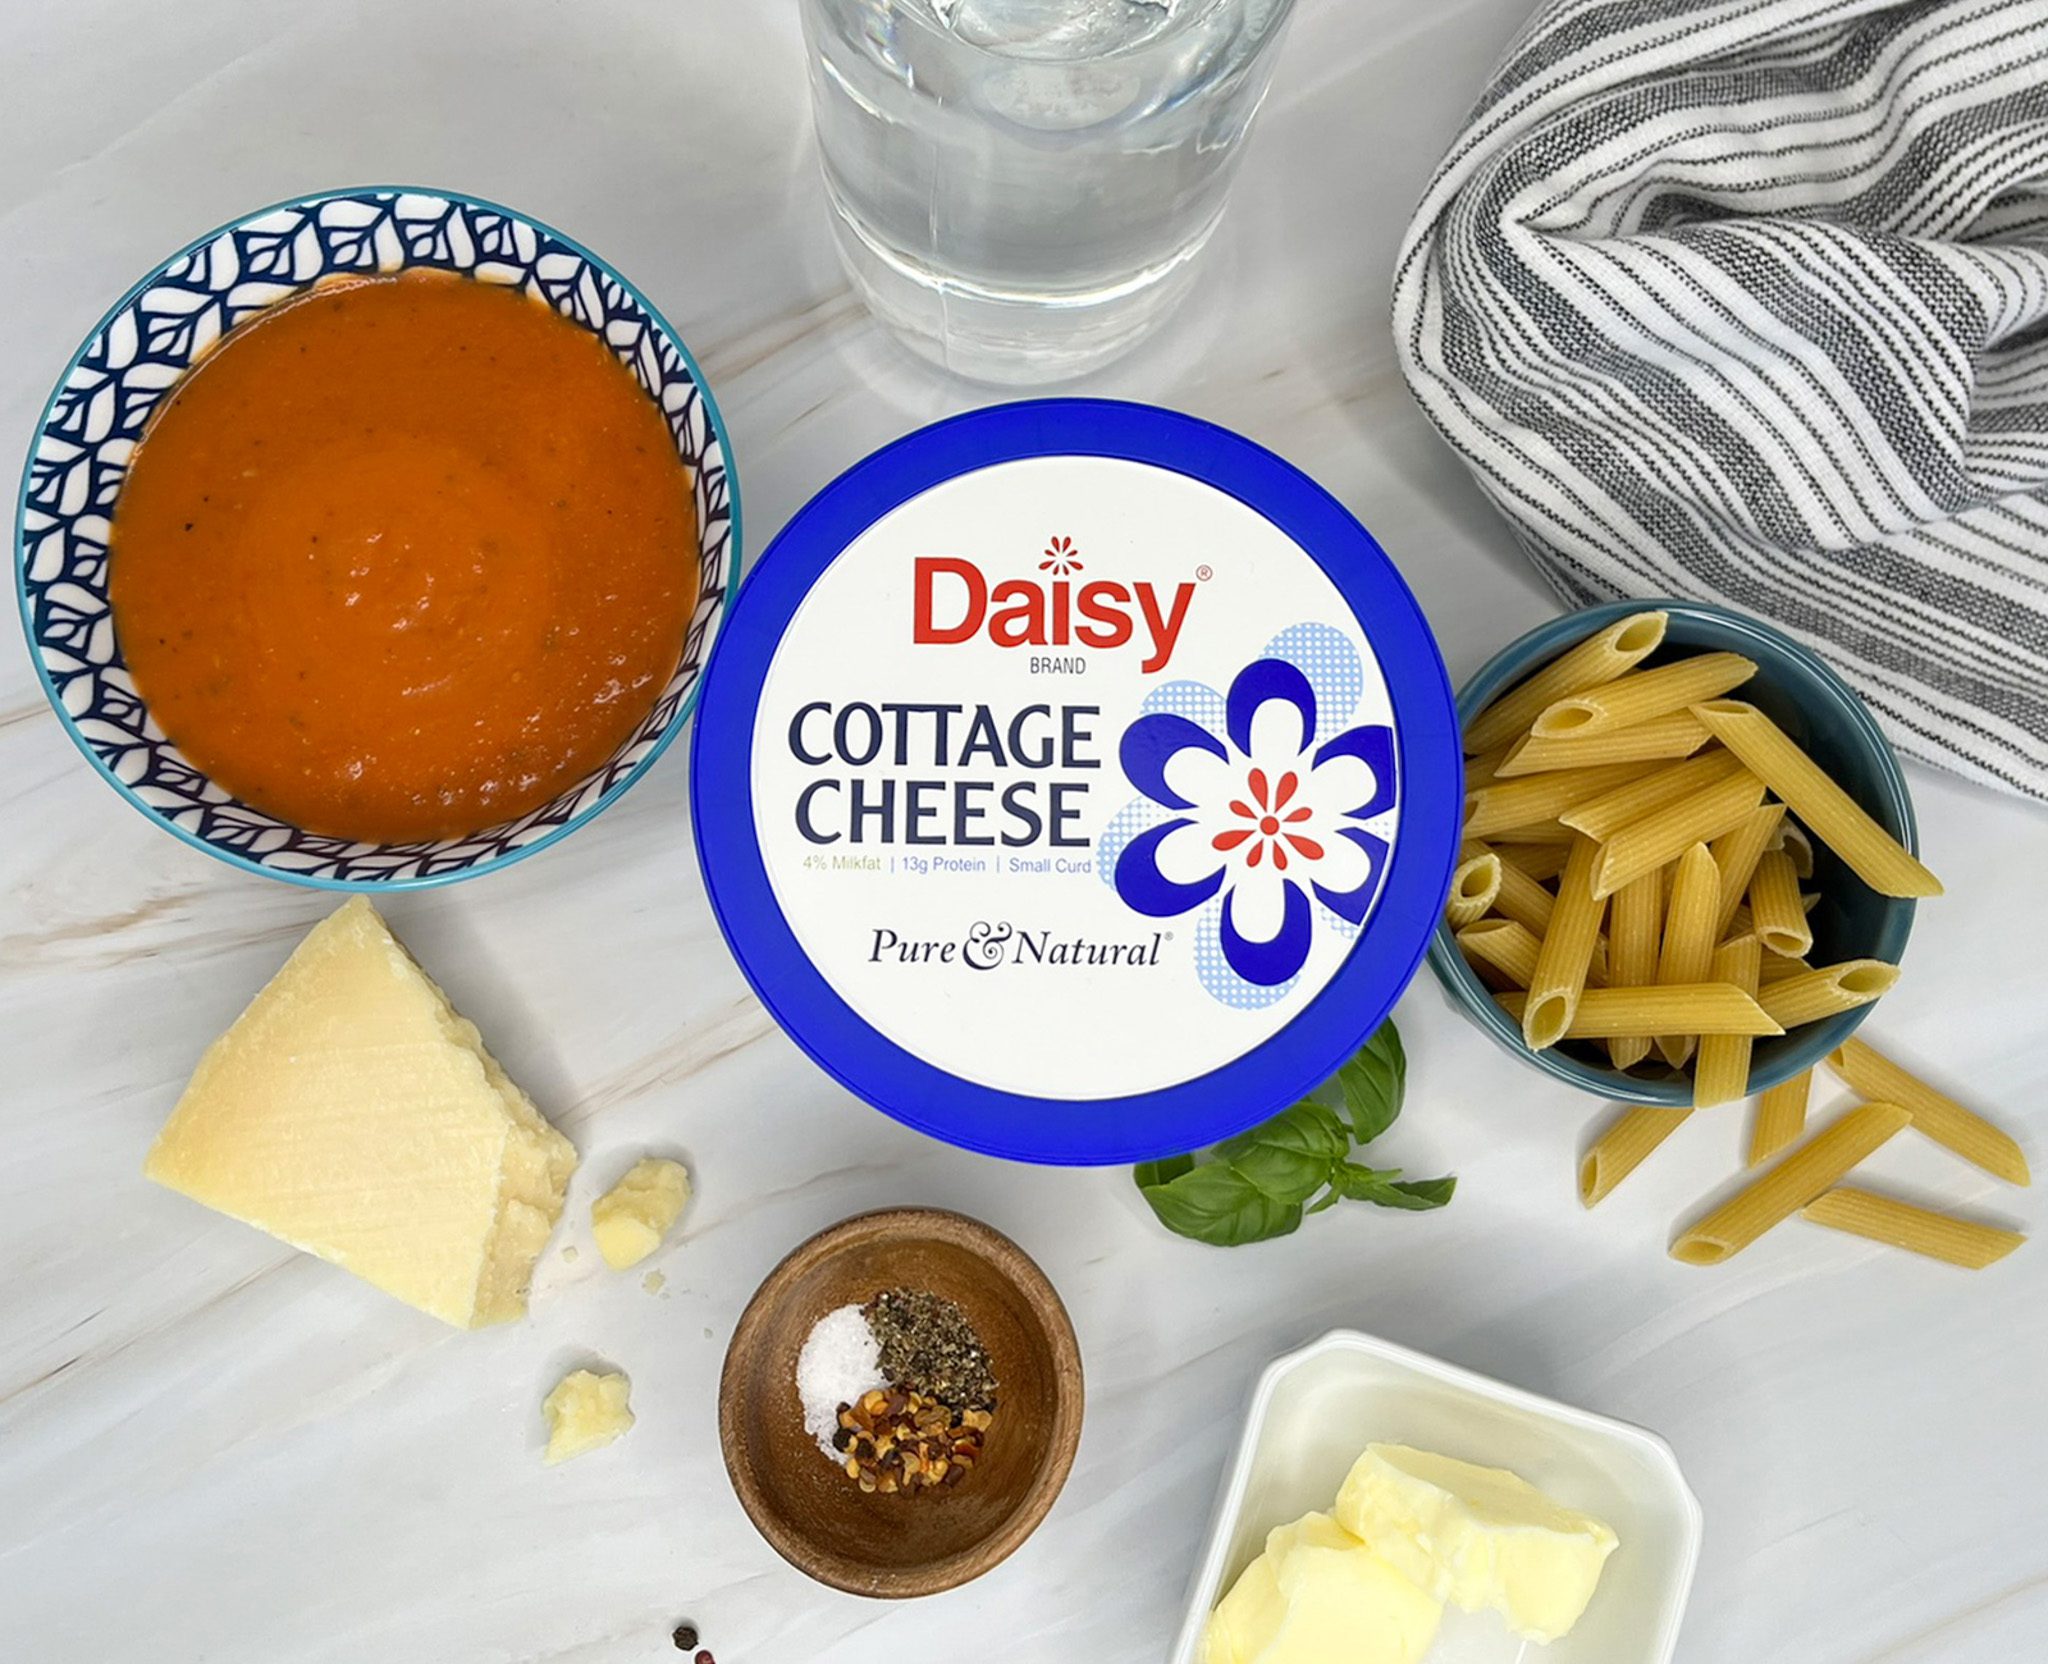
Pasta with Cheesy Vodka Sauce Ingredients
- Chicken Stock (2 ½ cups): Enhances the flavor of the pasta and adds another layer of flavor.
- Dry Penne (8 ounces): Found in most pantries, dried pasta is economical and great for saucy dishes. While penne are traditional, any bite-sized pasta will work for this recipe.
- Jarred Tomato Vodka Pasta Sauce (2/3 cup): A convenient time-saver, jarred sauce comes in a variety of flavors and is perfect for weeknight dinners.
- Daisy Cottage Cheese (1/2 cup): A protein powerhouse, cottage cheese adds a creamy and slightly salty taste to the easy sauce. It contains a type of protein called casein protein, which absorbs slowly into the body, helping you stay full longer.
- Melted Butter (2 tablespoons):Adds richness and helps accentuate the other flavors of the sauce.
- Salt and Pepper (to taste): The classic combination of seasonings, they enhance the flavor of savory dishes.
Substitutions, Variations, and Tips
- Other bite-sized dried pasta may be used in place of penne, including gluten-free pasta.
- Crushed red pepper flakes may be added for a punch of heat.
- A sprinkle of freshly shredded parmesan cheese may be added for a richer flavor and a classic finishing touch.
- Try topping with some fresh herbs, such as basil for a burst of freshness.
- Try adding your favorite protein for a heartier meal, such as grilled chicken, ground beef, or Italian sausage.
- Add some veggies. Throw in any pre-cooked veggies that you like.
- Great for leftovers! To reheat, add a few drops of water to help revive the sauce. Cover and microwave in short intervals, stirring between intervals, until warm (about 1-2 minutes).

How to Make Pasta with Cheesy Vodka Sauce
- Add stock to medium saucepot and bring to a boil.
- Add pasta, stir, and cover. Reduce to a simmer and cook 12-15 minutes. Keep covered and stir occasionally.
- Place tomato vodka pasta sauce, cottage cheese, and melted butter in high-speed blender. Blend until smooth (about 2 minutes).
- Remove pasta from heat. Do not drain. Pour sauce over pasta and stir to combine. Season with salt and pepper. Let sit for 2-3 minutes to thicken before serving.
Spinach Artichoke Dip
Spinach Artichoke Dip
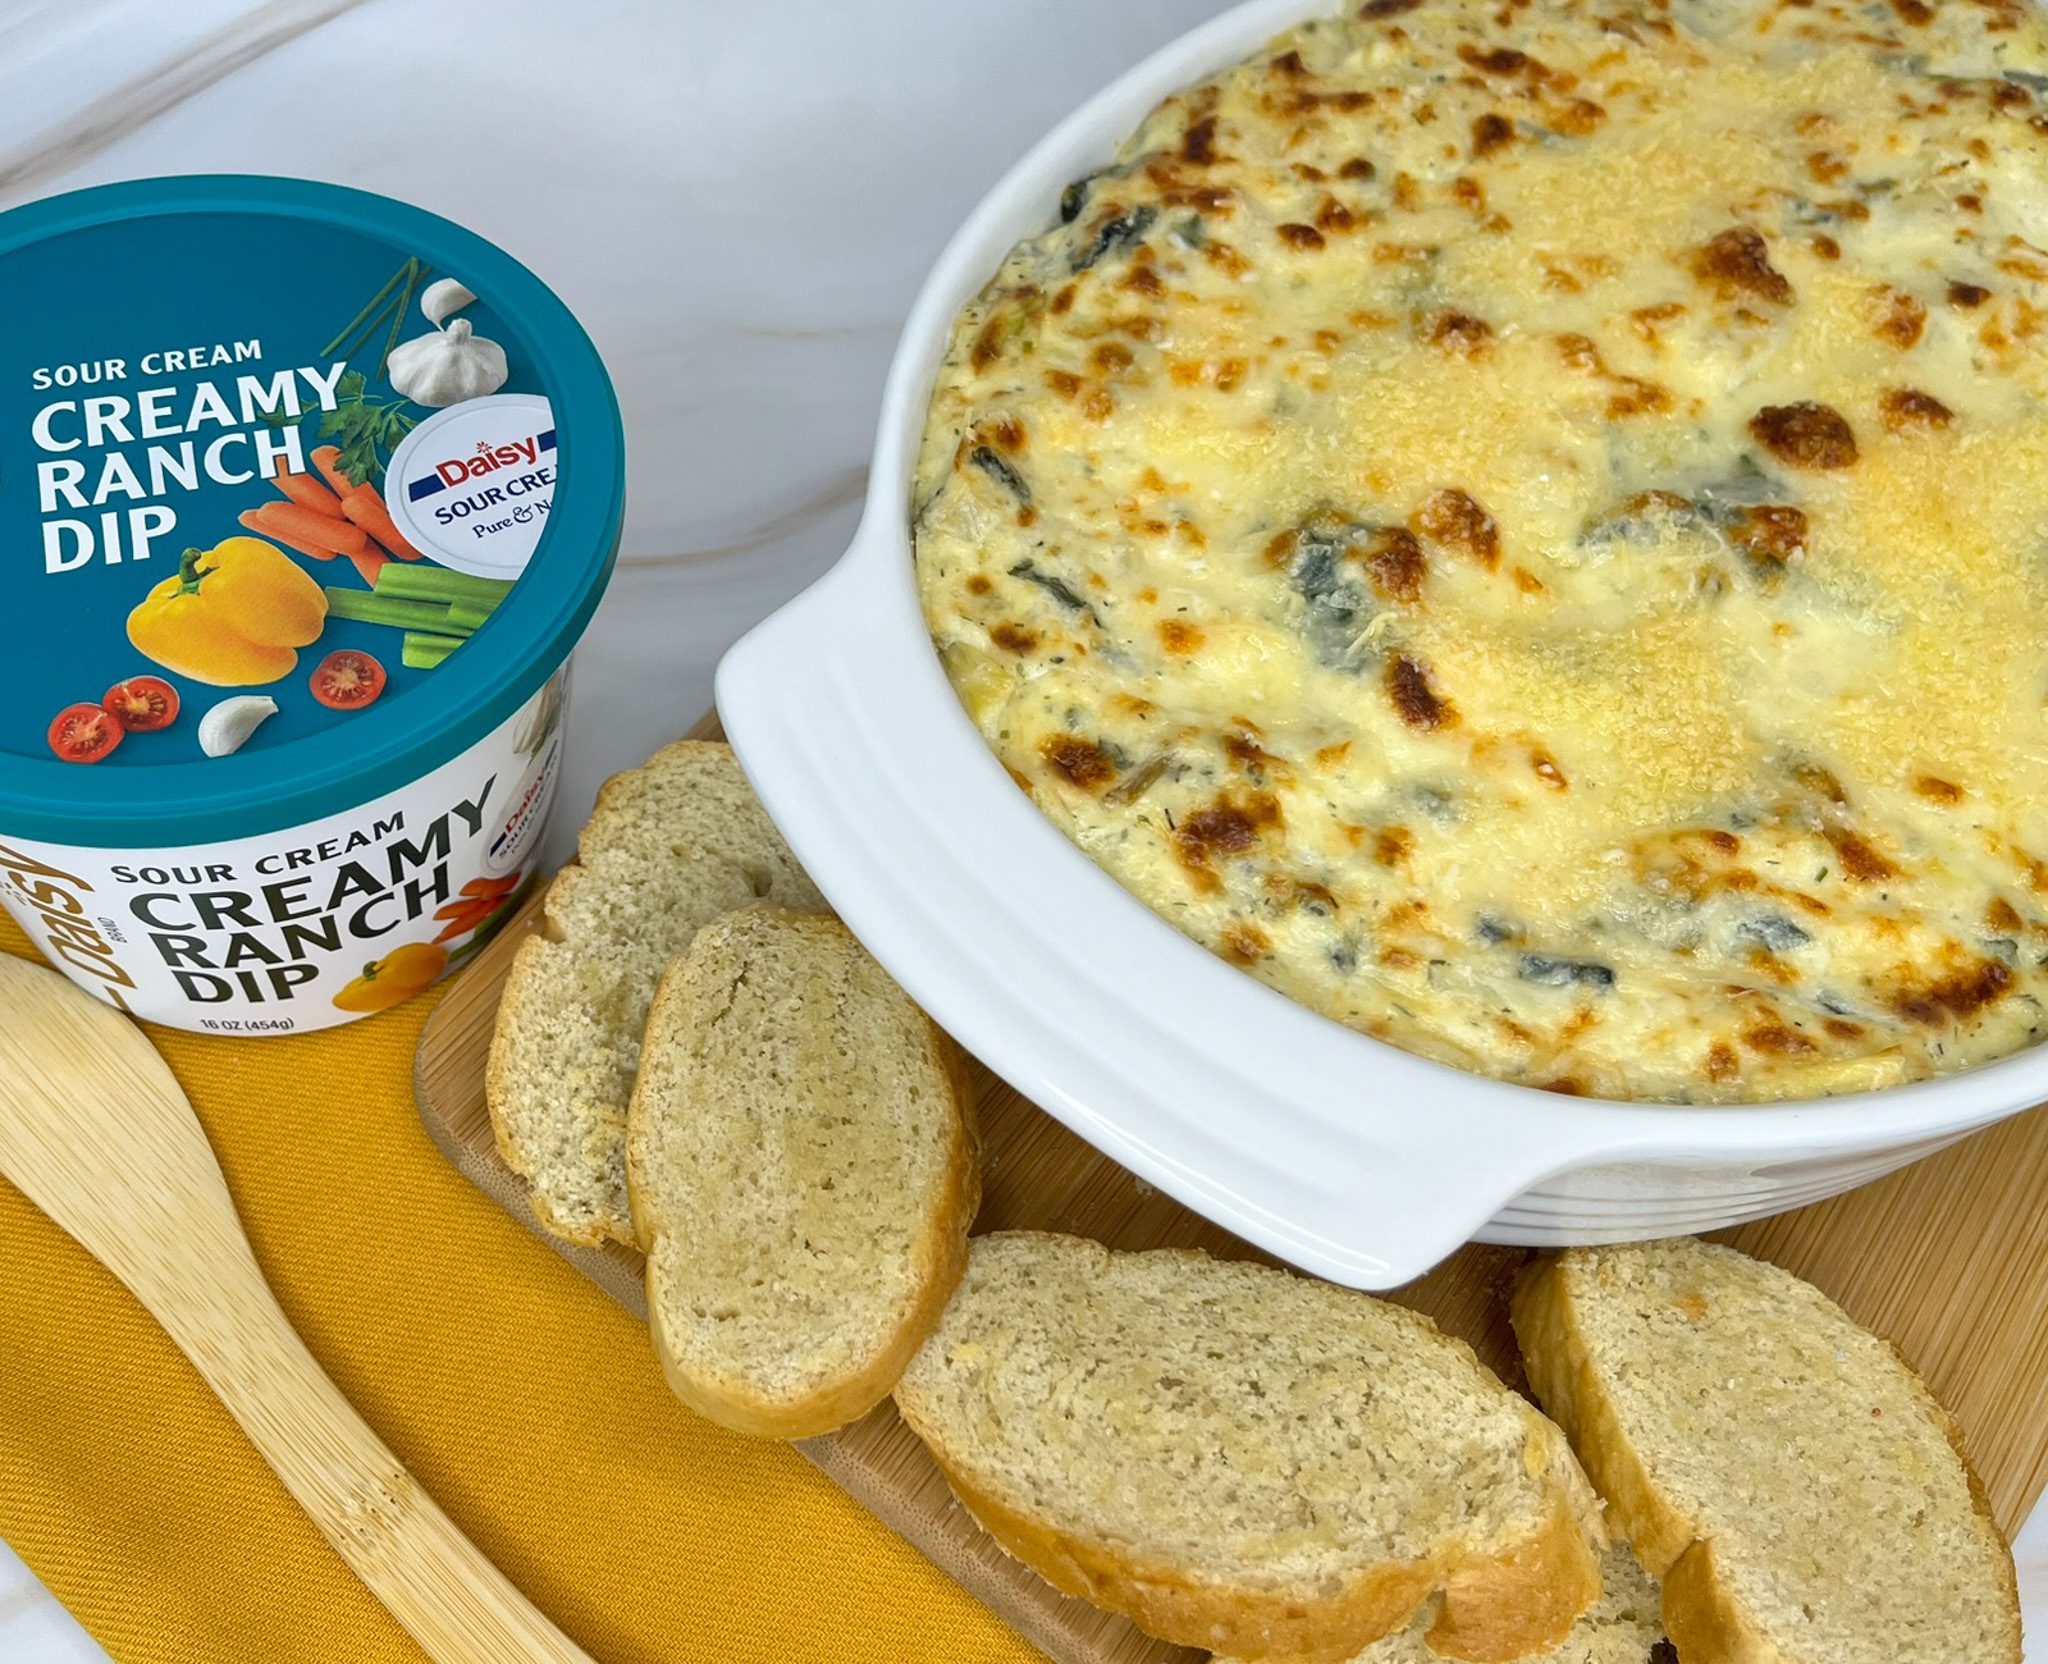
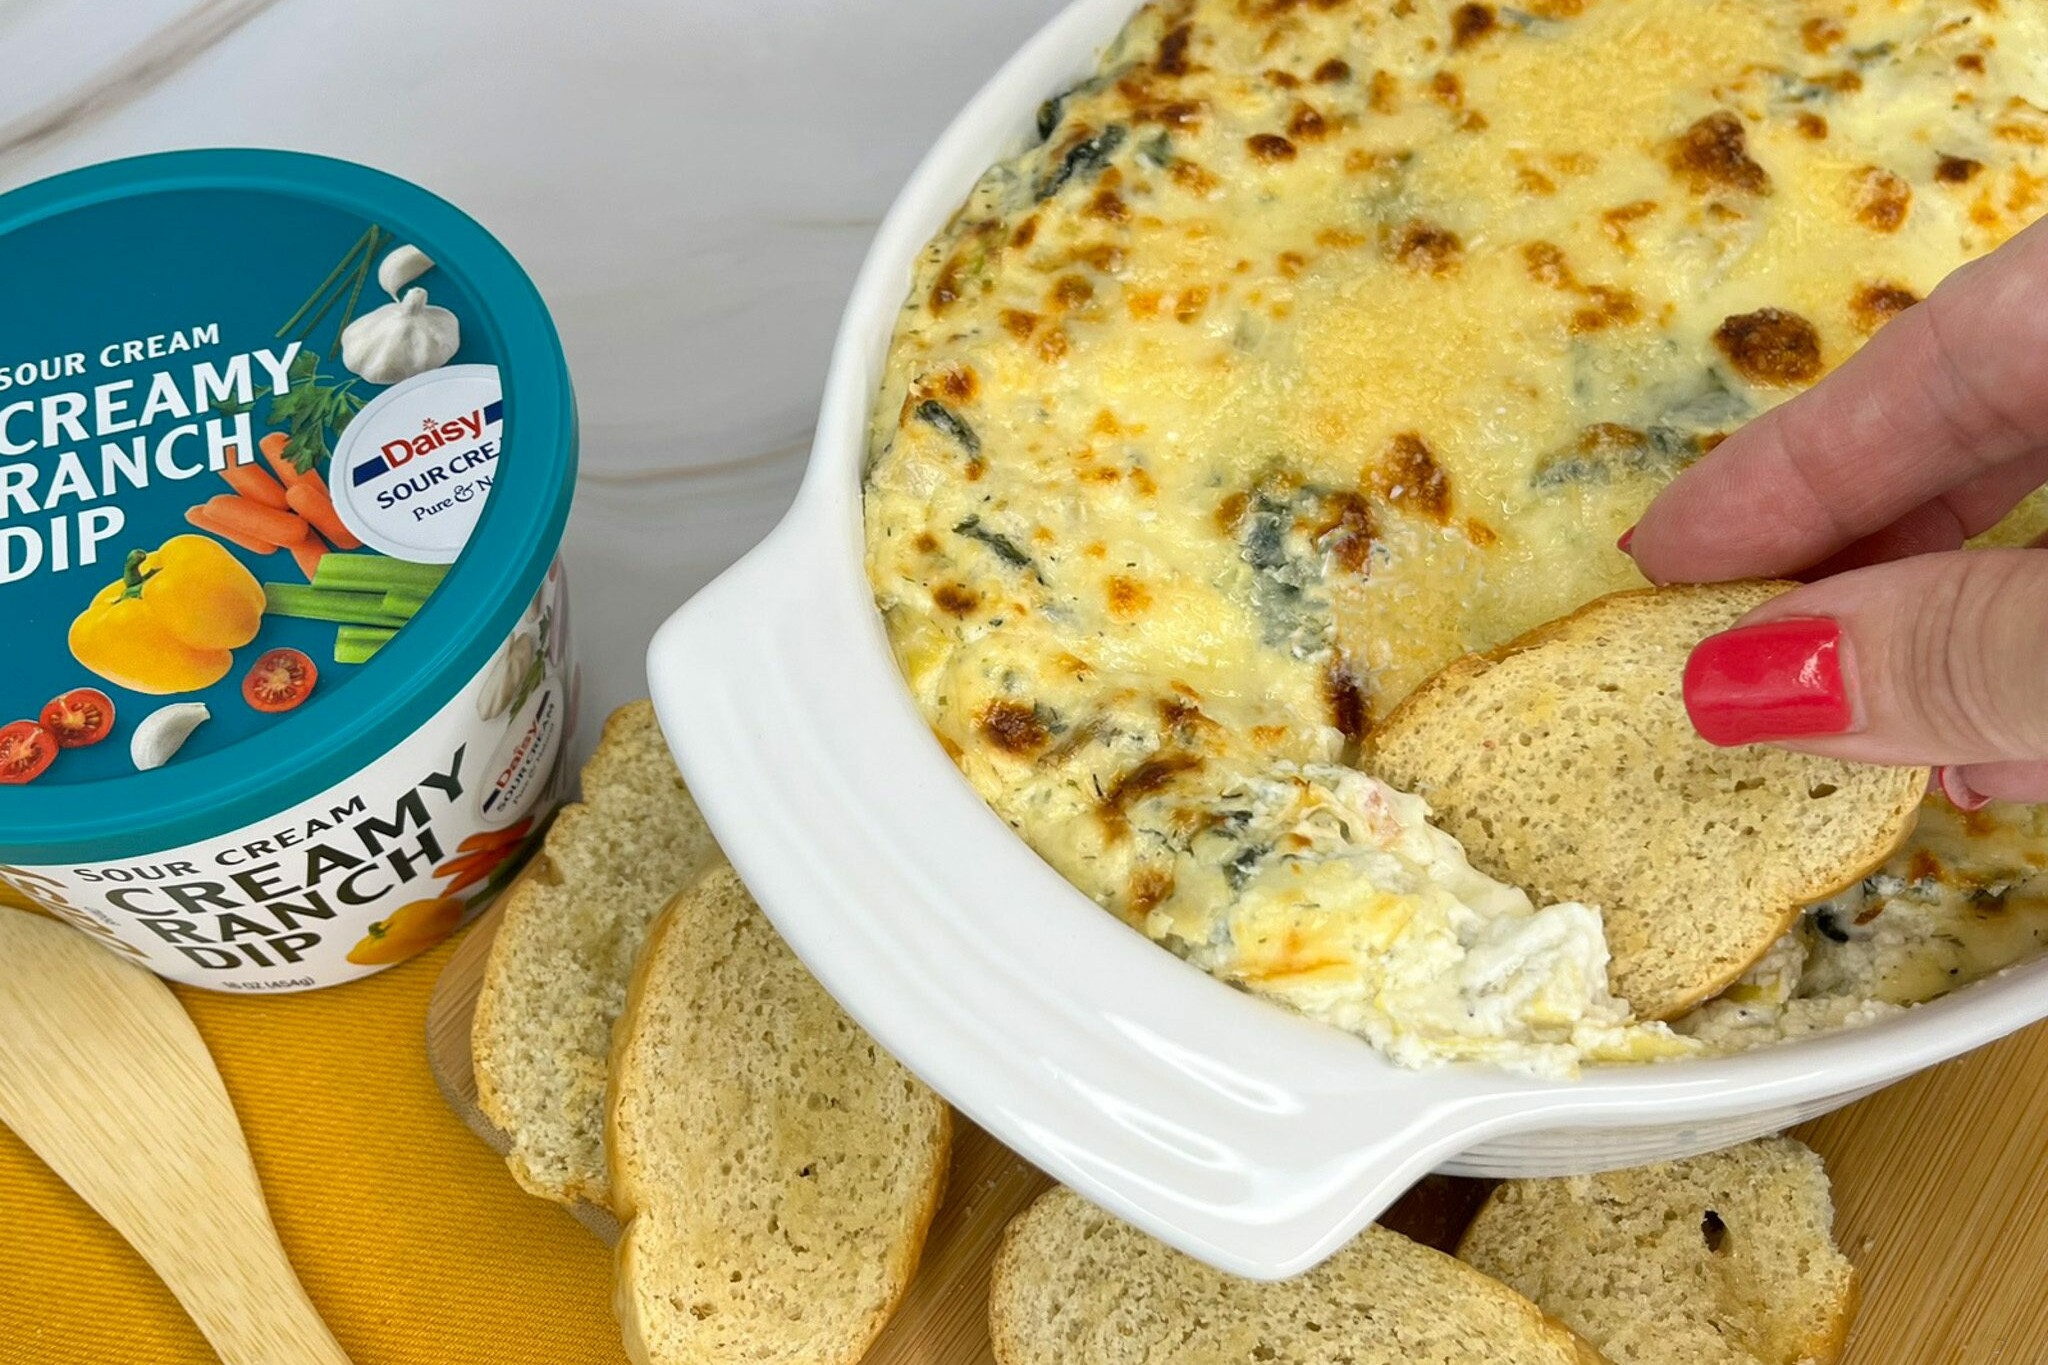
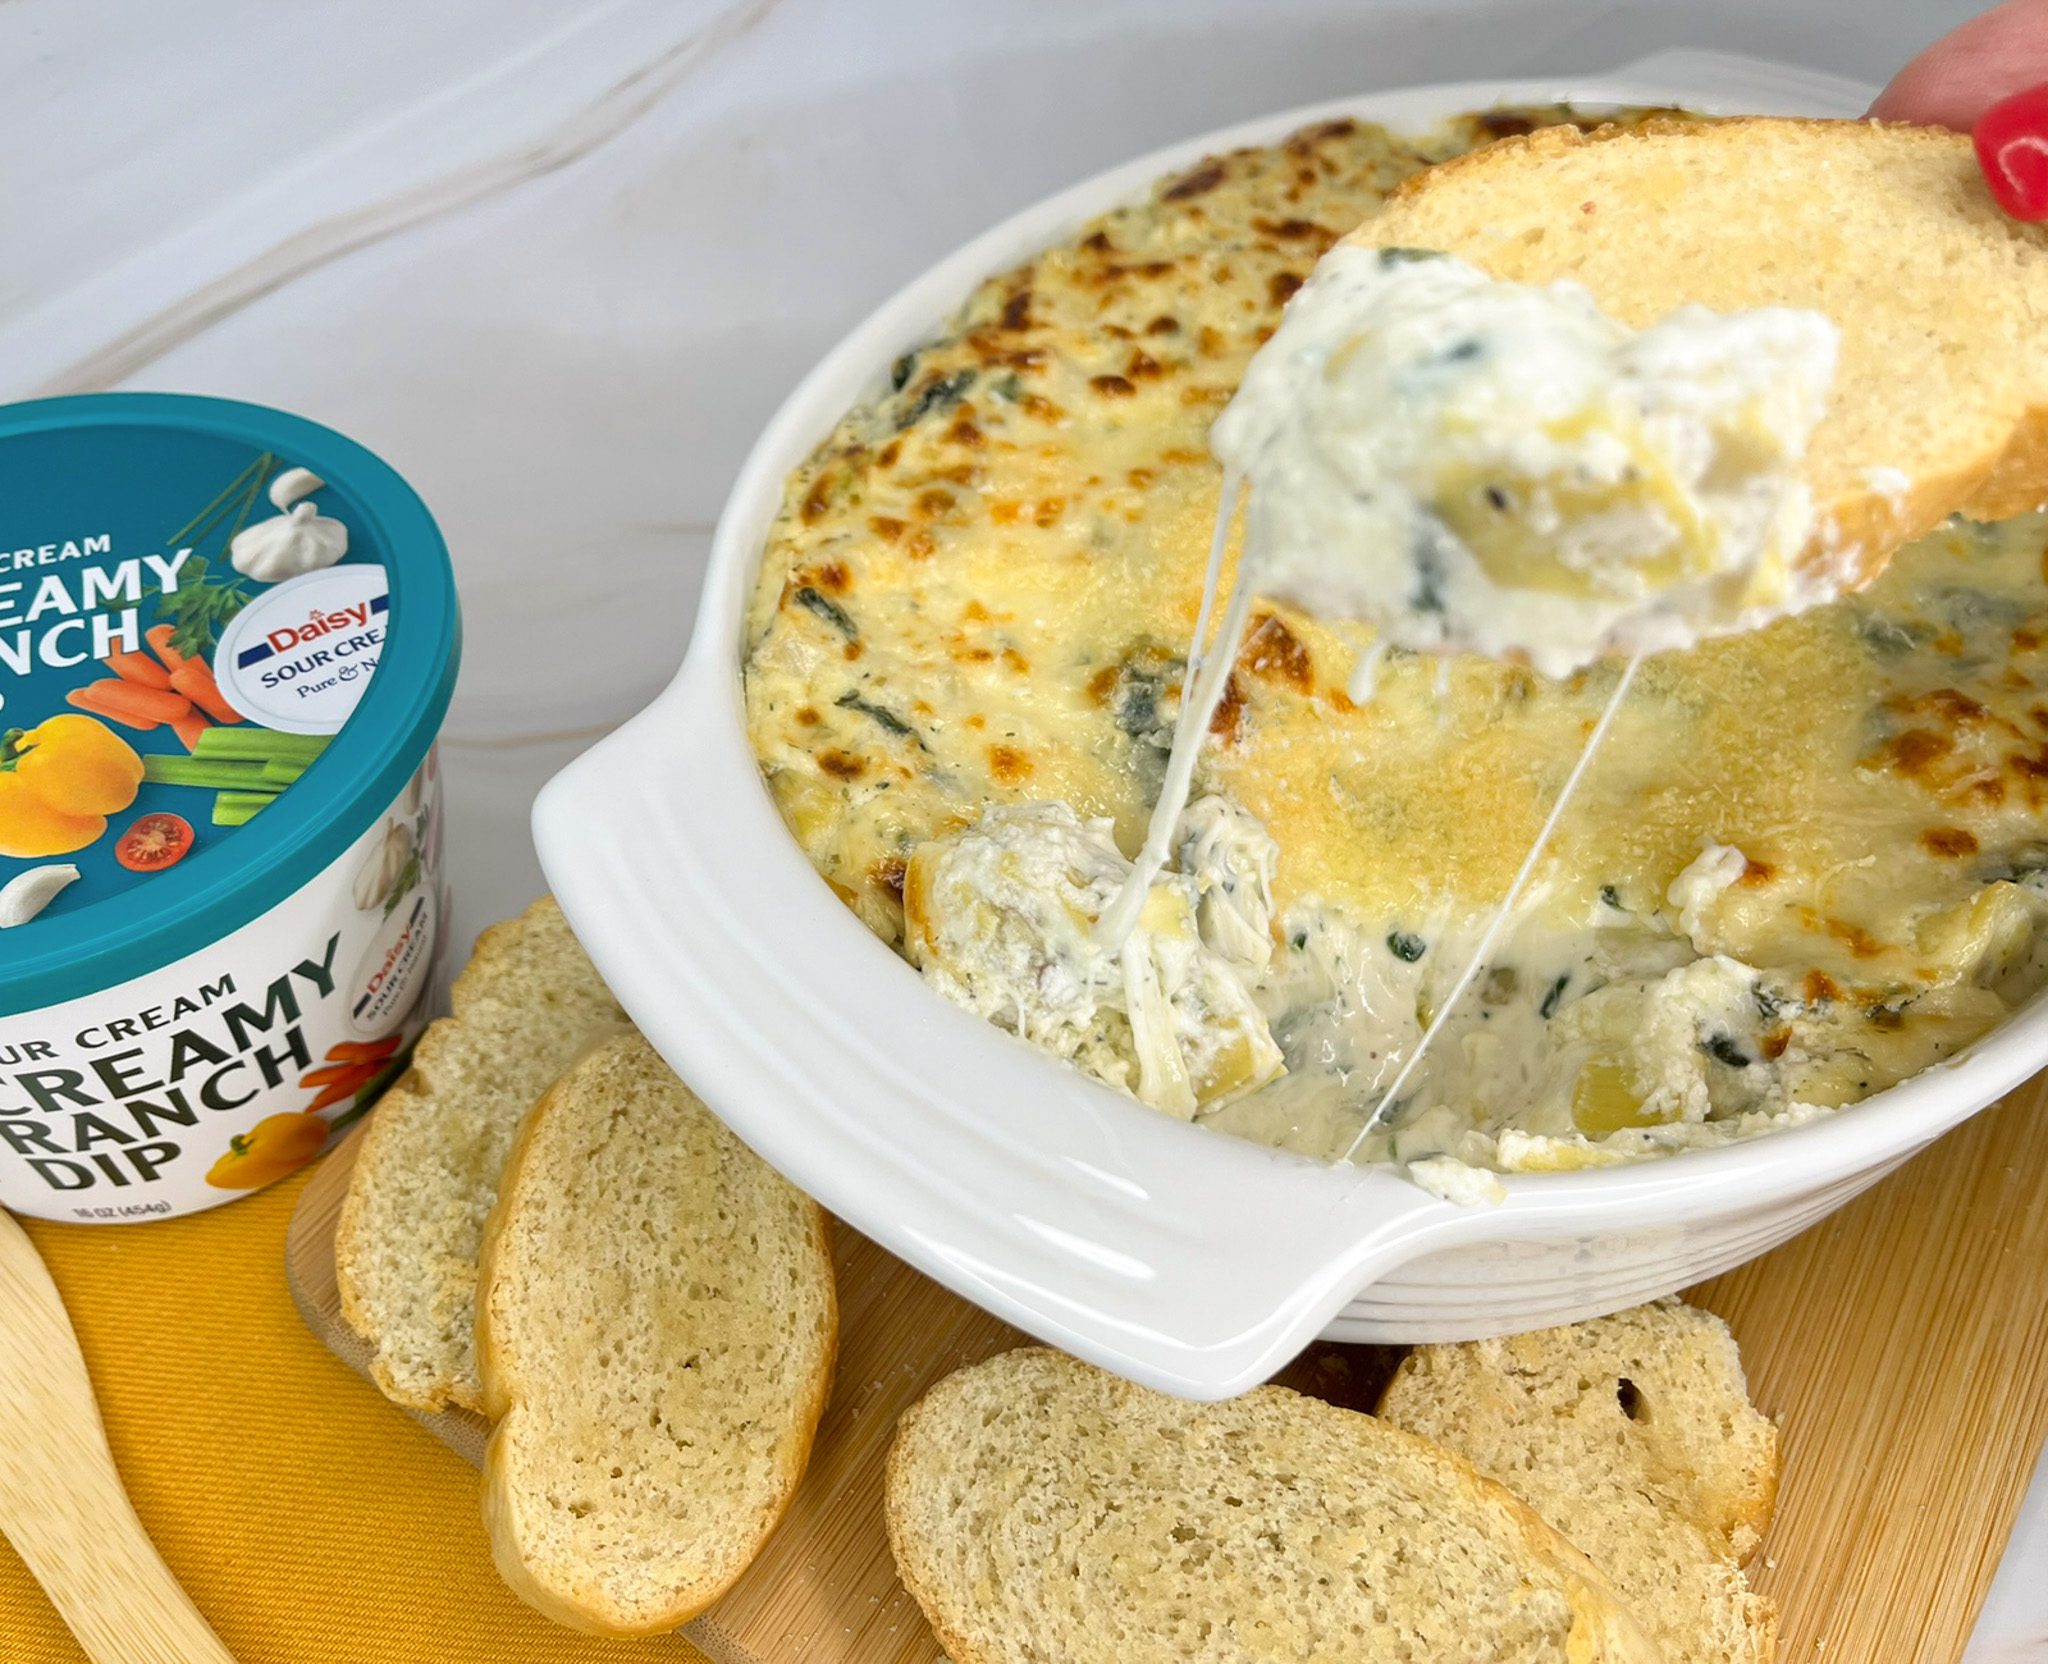
Perfect for game-days, game-nights, parties, and holiday gatherings, this deliciously creamy, rich, cheesy Spinach Artichoke Dip is sure to be the star of the party. It is the perfect hot dip! And it is so easy to make – just mix and pop in the oven for 20-ish minutes and serve. Grab your favorite dippers and get ready for some creamy goodness.
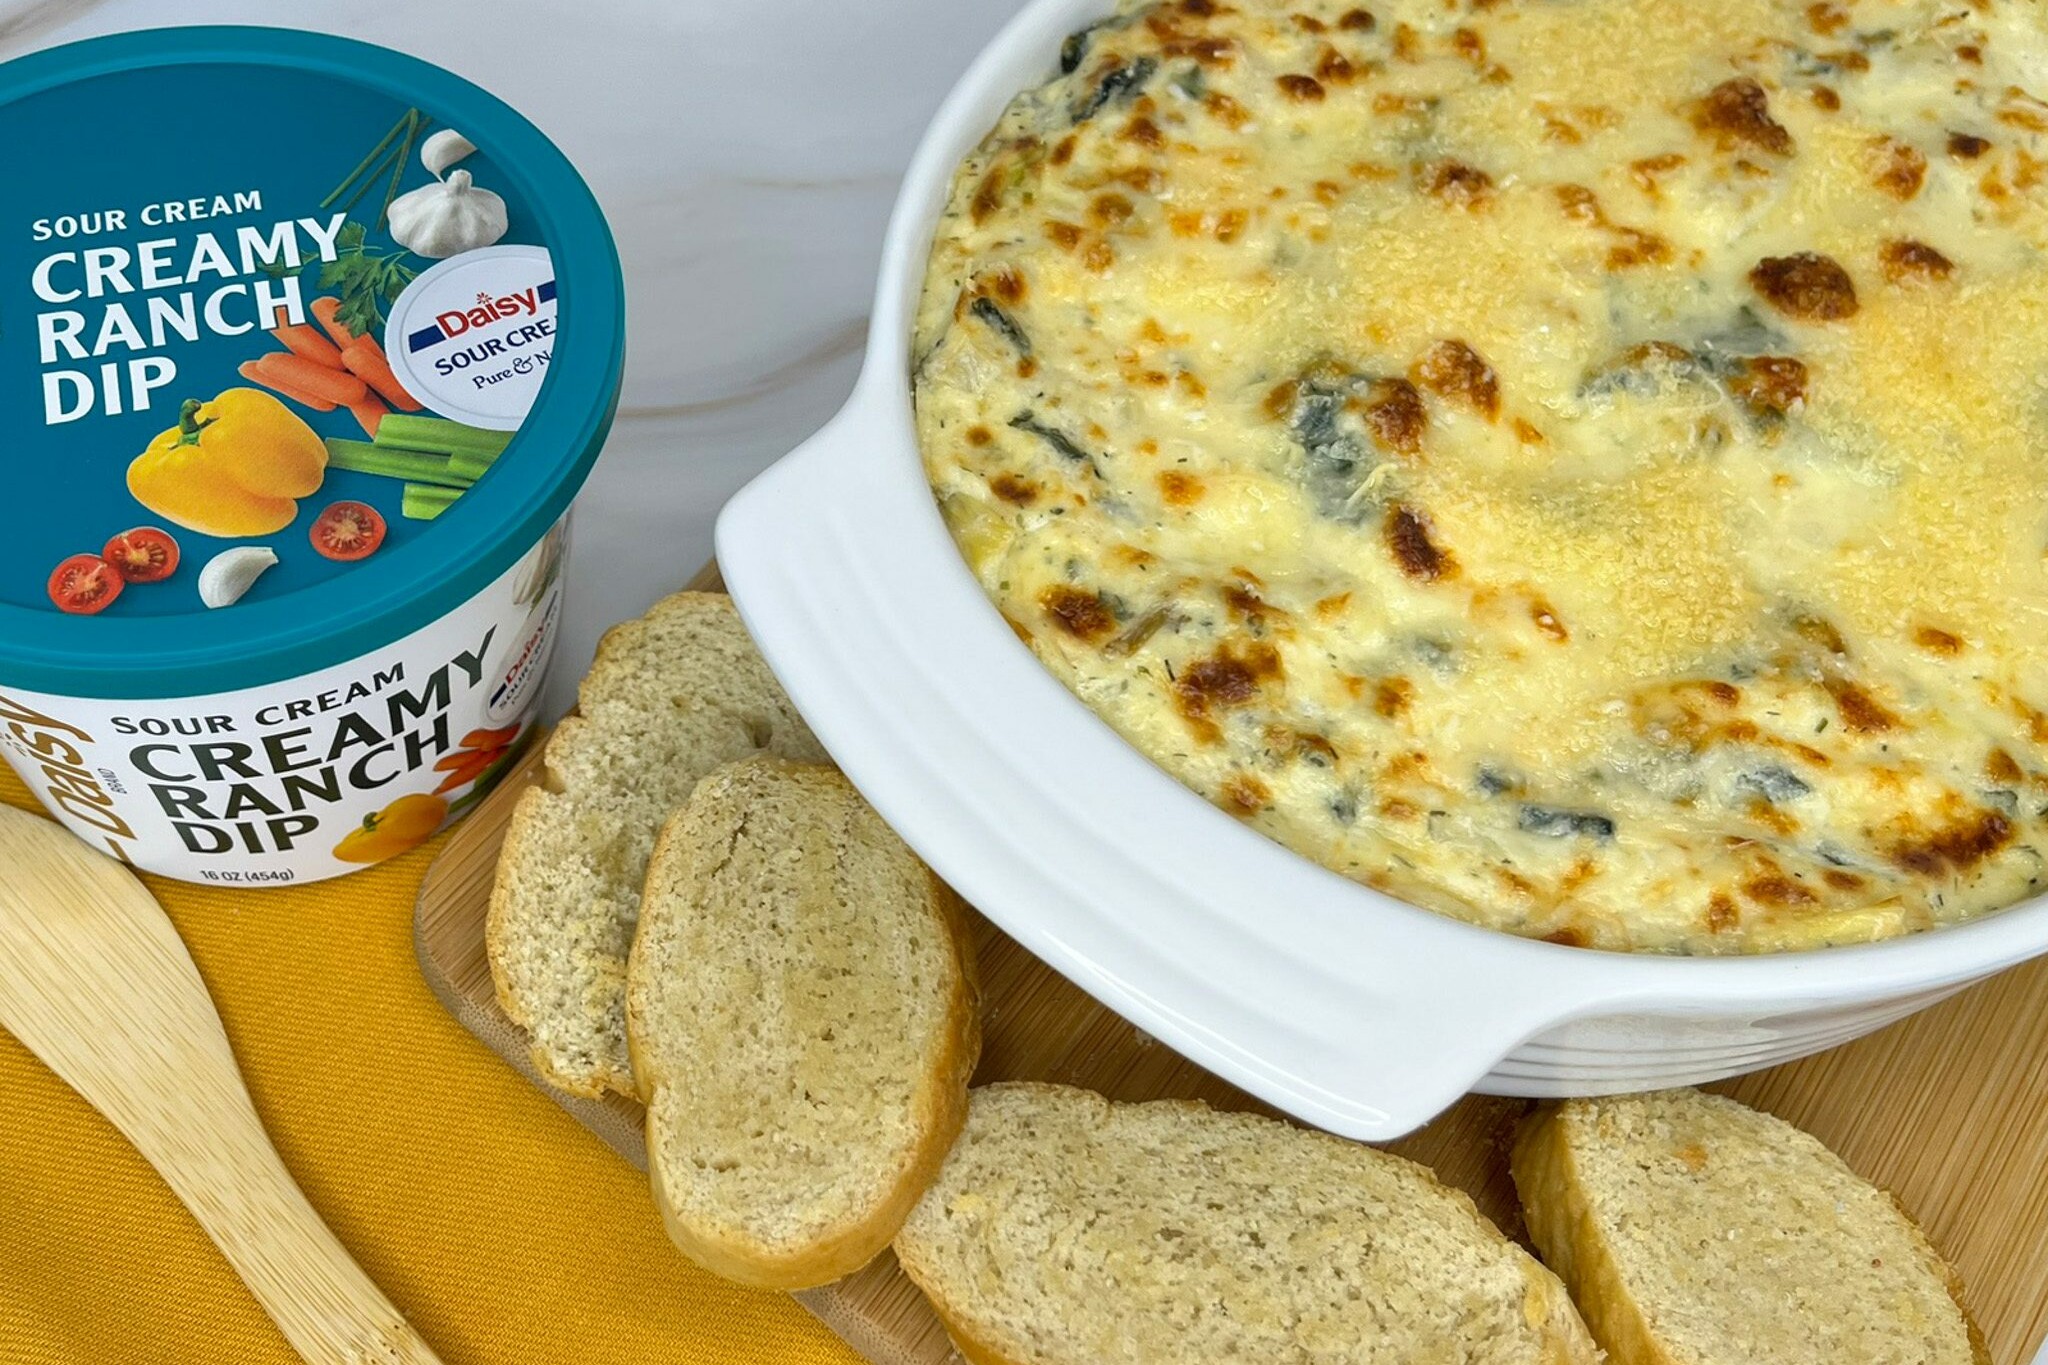
The special ingredient? Daisy Sour Cream Creamy Ranch Dip. It brings extra creaminess and richness to the dip, adding a complex depth of flavor not found in most one-note artichoke dips.
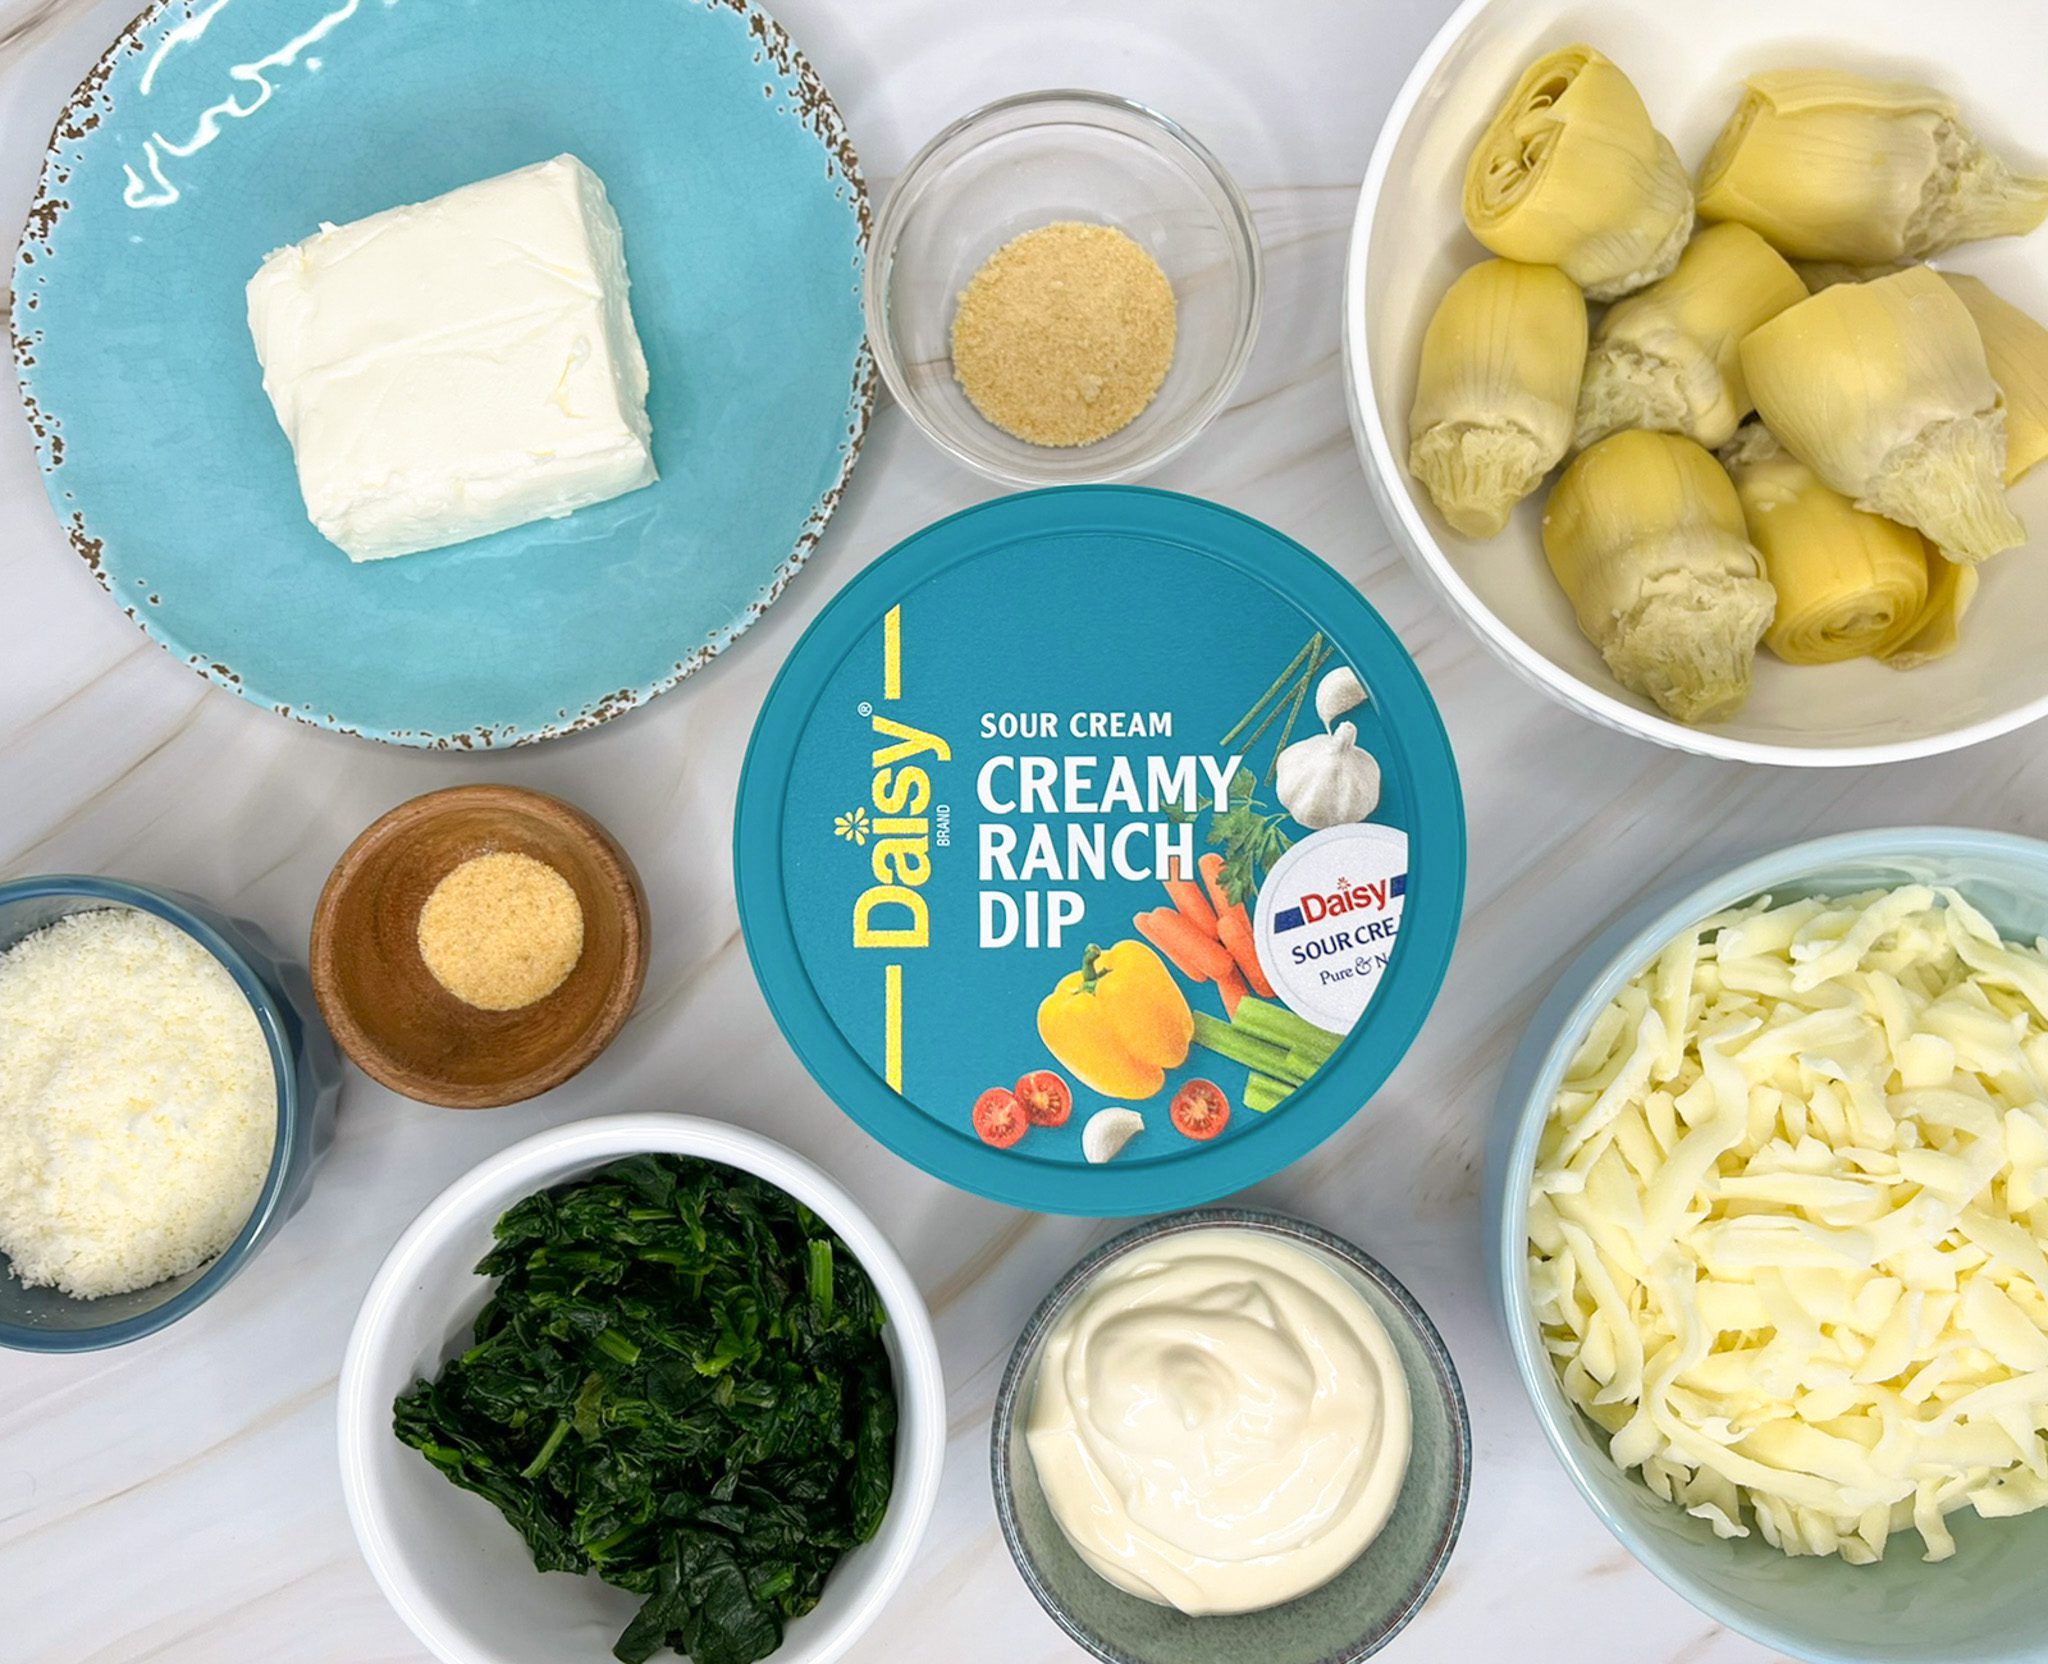
Spinach Artichoke Dip Ingredients
- Daisy Creamy Ranch Dip (1 cup): Contains the traditional spices and herbs of ranch dressing built in with delicious homemade tastes. It provides a creamy richness and depth of flavor to the dip.
- Mayonnaise (1/2 cup): Helps bind the other ingredients together.
- Softened Cream Cheese (4 ounces): A mild cheese that helps bind the dip together and adds a velvety texture to the dip.
- Shredded Mozzarella (1 1/3 cups): A mild stretchy cheese that is perfect for melting. It adds the classic cheesy goodness to the dip.
- Garlic Powder (1/2 teaspoon): Adds to the savory profile of the dip.
- Onion Powder (1 teaspoon): Adds a concentrated, punchy onion taste without adding texture of fresh onions and readily found in most spice cabinets.
- Frozen Chopped Spinach (1/2 cup, thawed and drained): This superfood is packed with vitamins and minerals. It adds a vibrant color to the dip.
- Drained and Chopped Artichoke Hearts (14 ounce can): The classic flavor that is mild, nutty, and earthy. They are great for creamy dips with just the right amount of bite.
- Freshly Grated Parmesan (1/4 cup): Best when freshly grated, it adds a nutty saltiness to the dip and is the classic finishing touch.
Substitutions, Variations, and Tips
- Sautéed onions and garlic may be used in place of the powdered onion and garlic.
- Feel free to add additional spinach if you prefer more veggies.
- You can spice up your dip more by adding a dash of hot sauce, a sprinkle of red pepper flakes, or a few diced up jalapenos.
- No oven space? You can also make the dip in a slow cooker on low. Just be sure to give it a good stir every so often.
- Other cheeses may be substituted for all or part of the mozzarella such as pepper jack, fontina, asiago, Manchego, or parmesan.
- Drained canned crab and a dash of Old Bay Seasoning® may be added to make an even richer dip.
- If baking in cast iron, line with parchment paper to prevent discoloration of the artichokes.
- Any left-over dip may be reheated in the microwave at 50% power in 30 second intervals until warm.
How to make Spinach Artichoke Dip
- Preheat oven to 350°
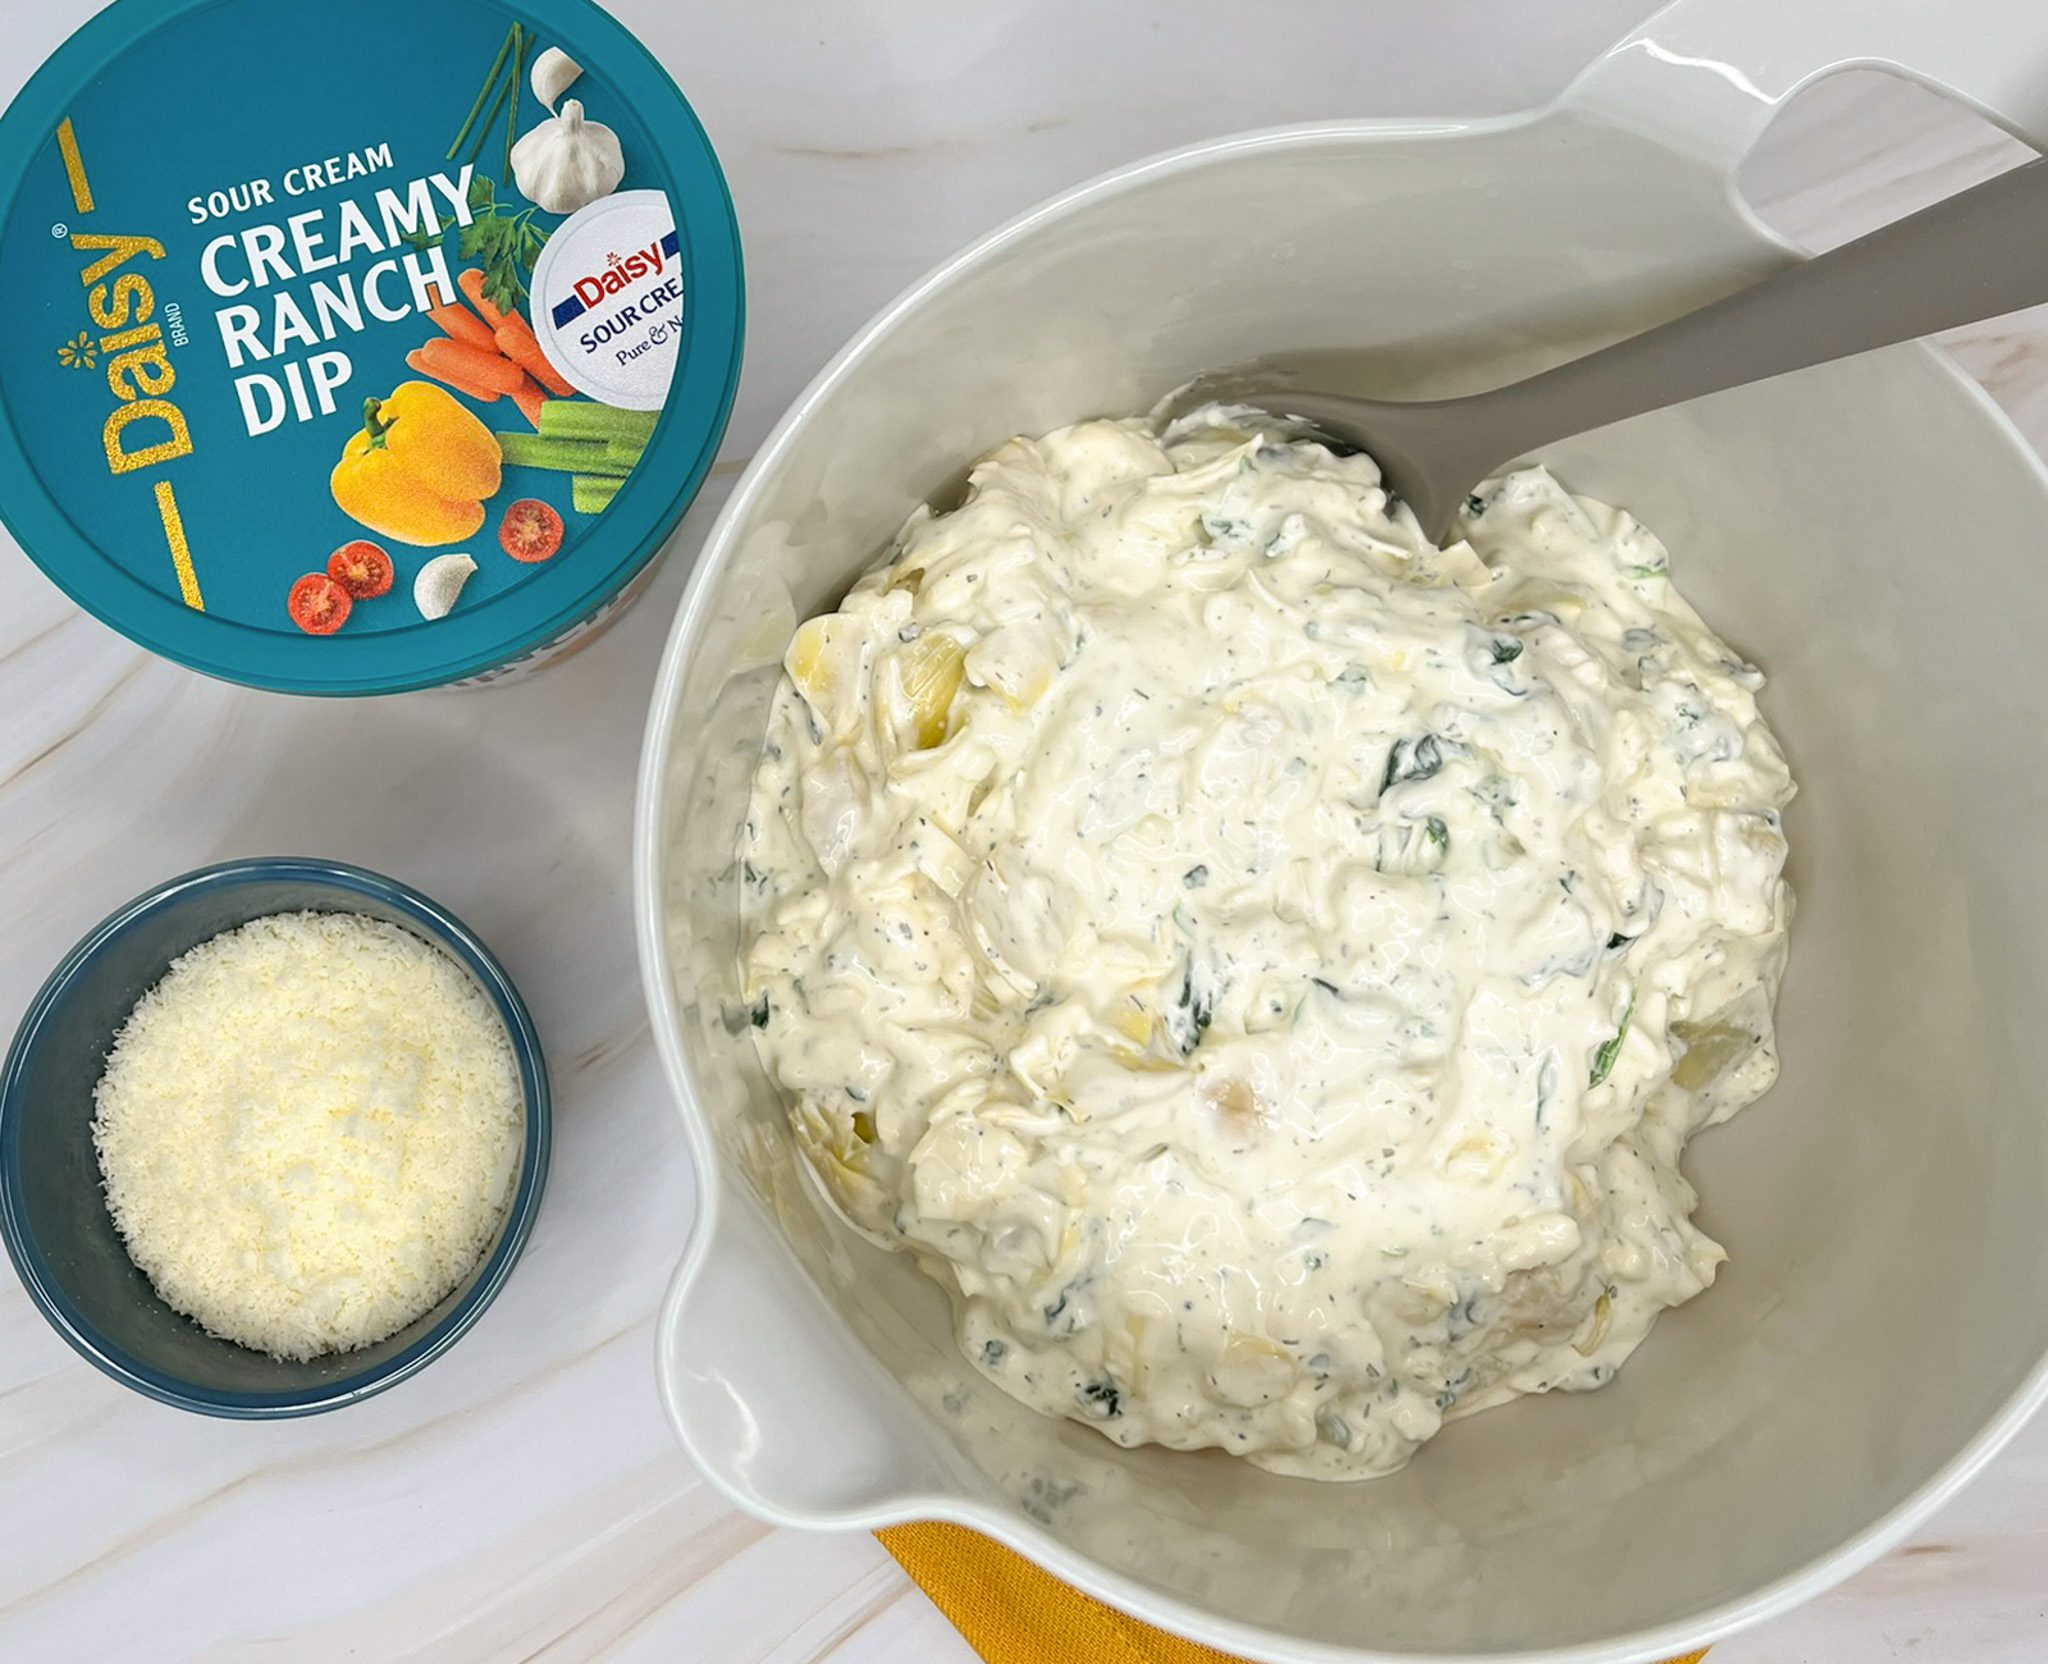
- Mix Daisy Creamy Ranch Dip, mayonnaise, softened cream cheese, mozzarella cheese, garlic powder, onion powder and spinach until smooth. Stir in chopped artichoke hearts until just combined.
- Spray an 8-cup or 8×8” baking dish with non-stick spray. Spread the dip evenly over the bottom of the dish. Sprinkle parmesan cheese evenly on top.
- Bake 20-25 minutes or until hot and bubbly. Serve with your favorite dippers.
Light Cannoli Dip
Light Cannoli Dip
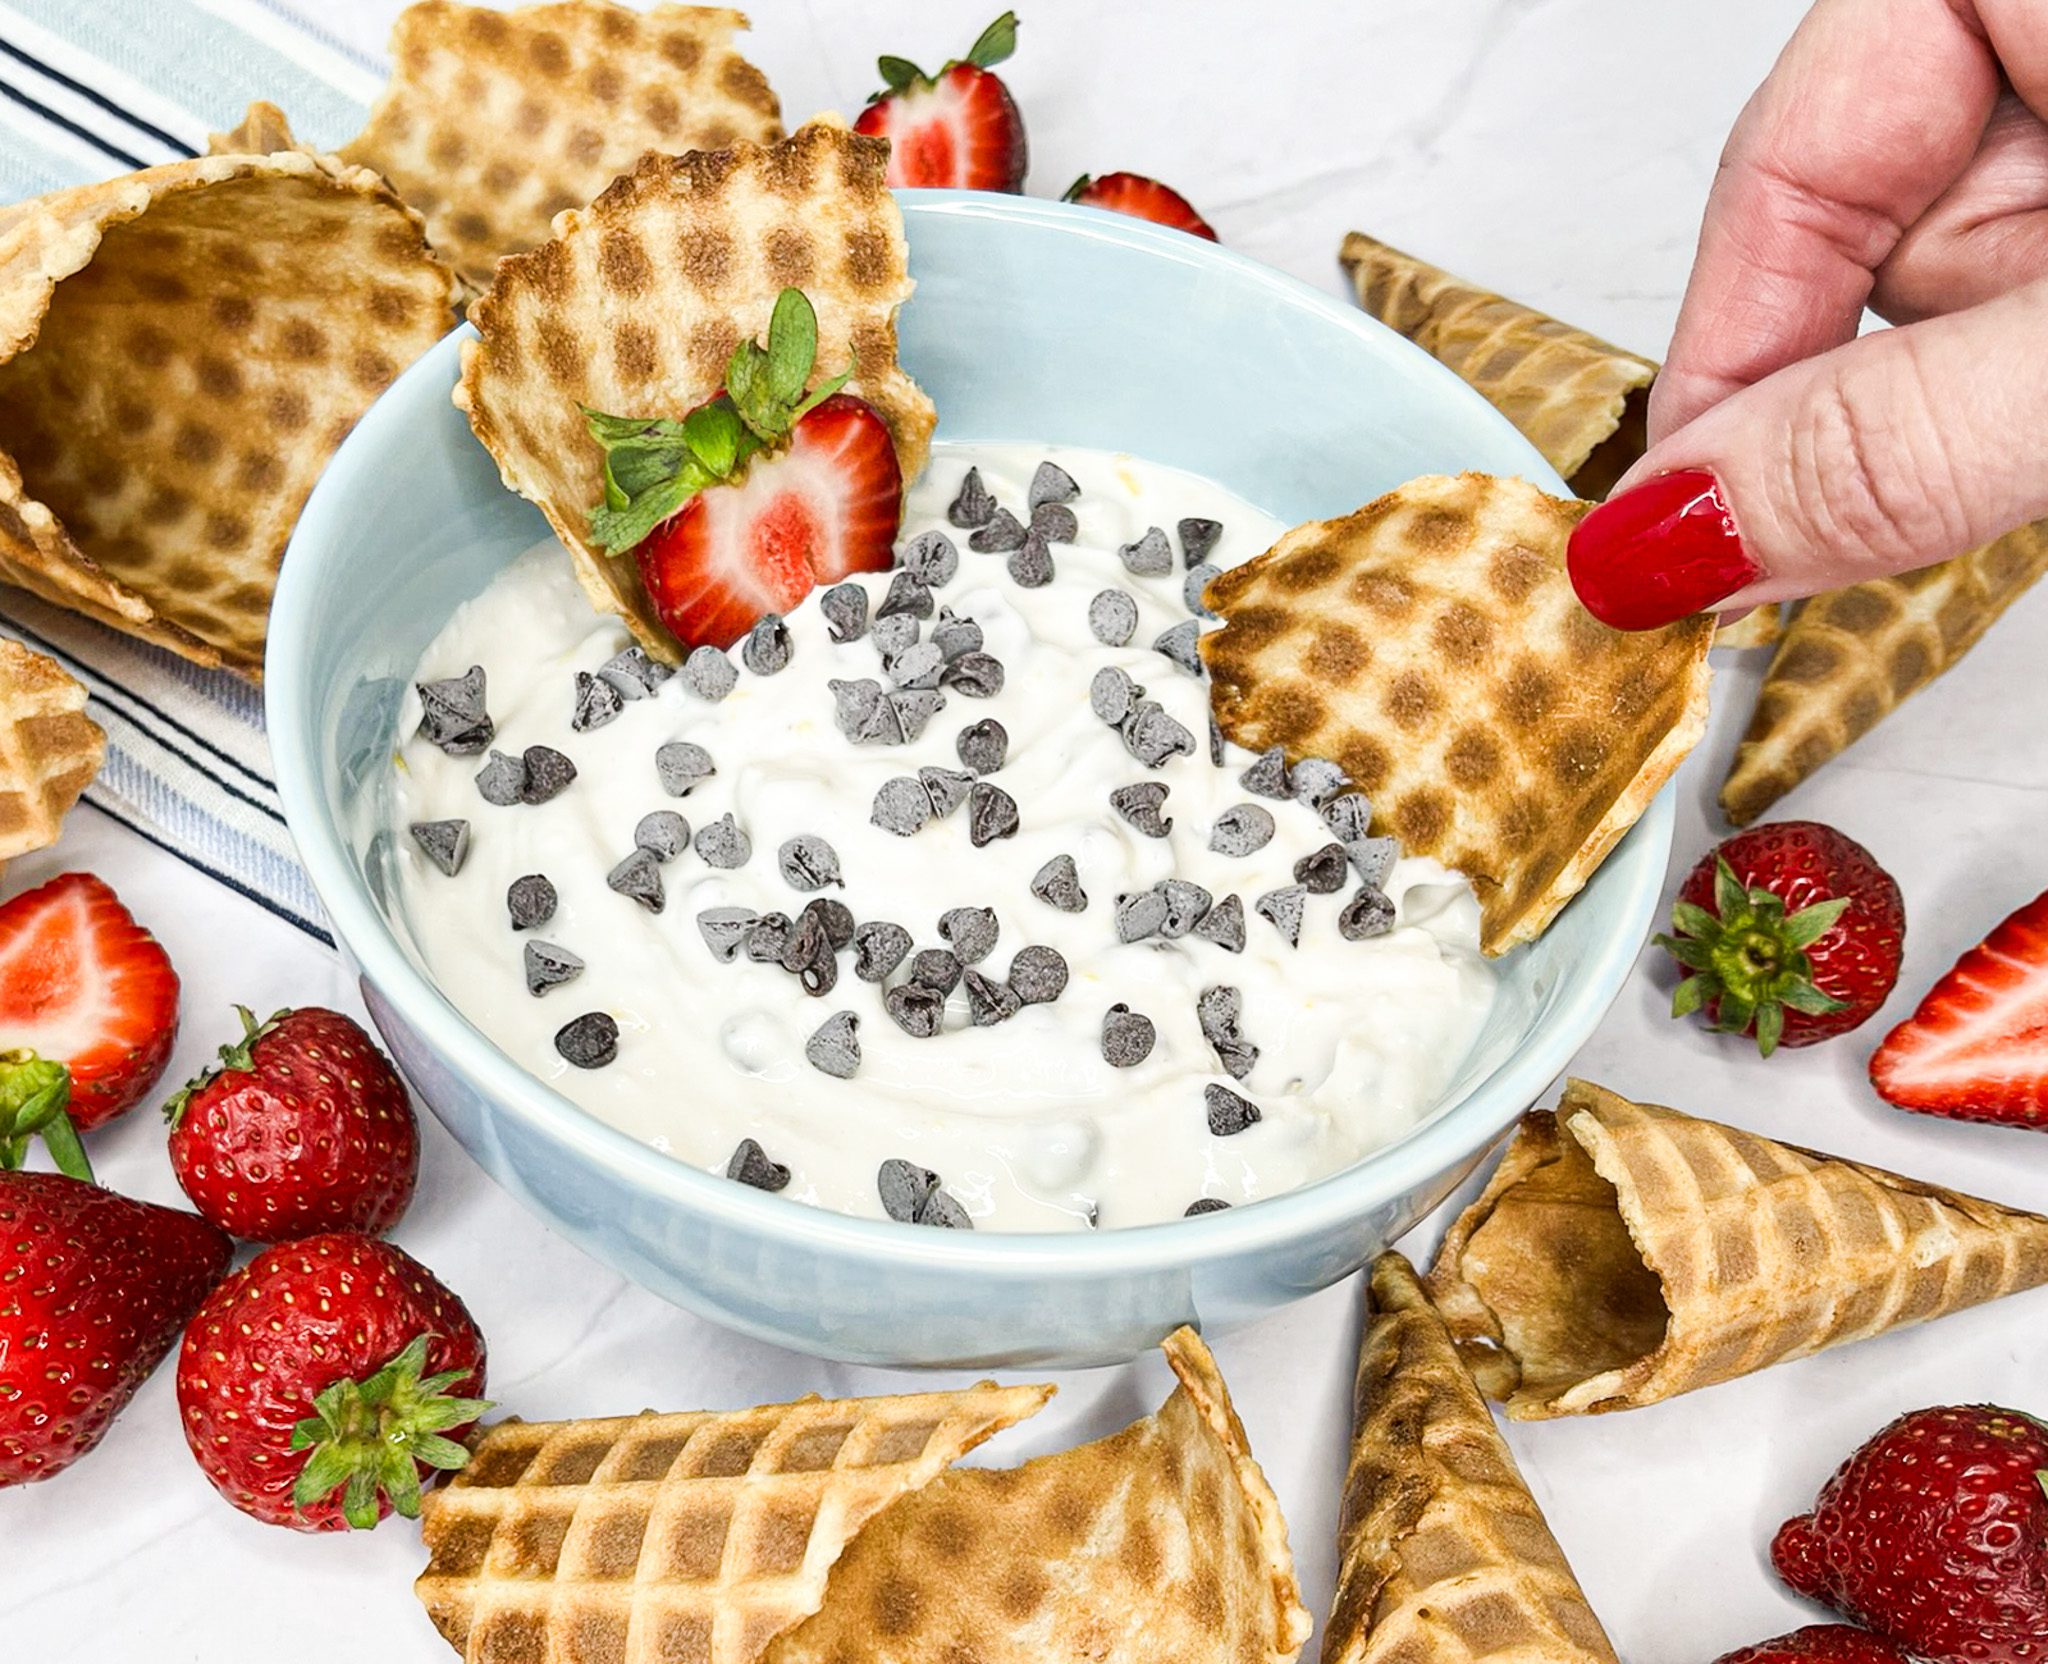
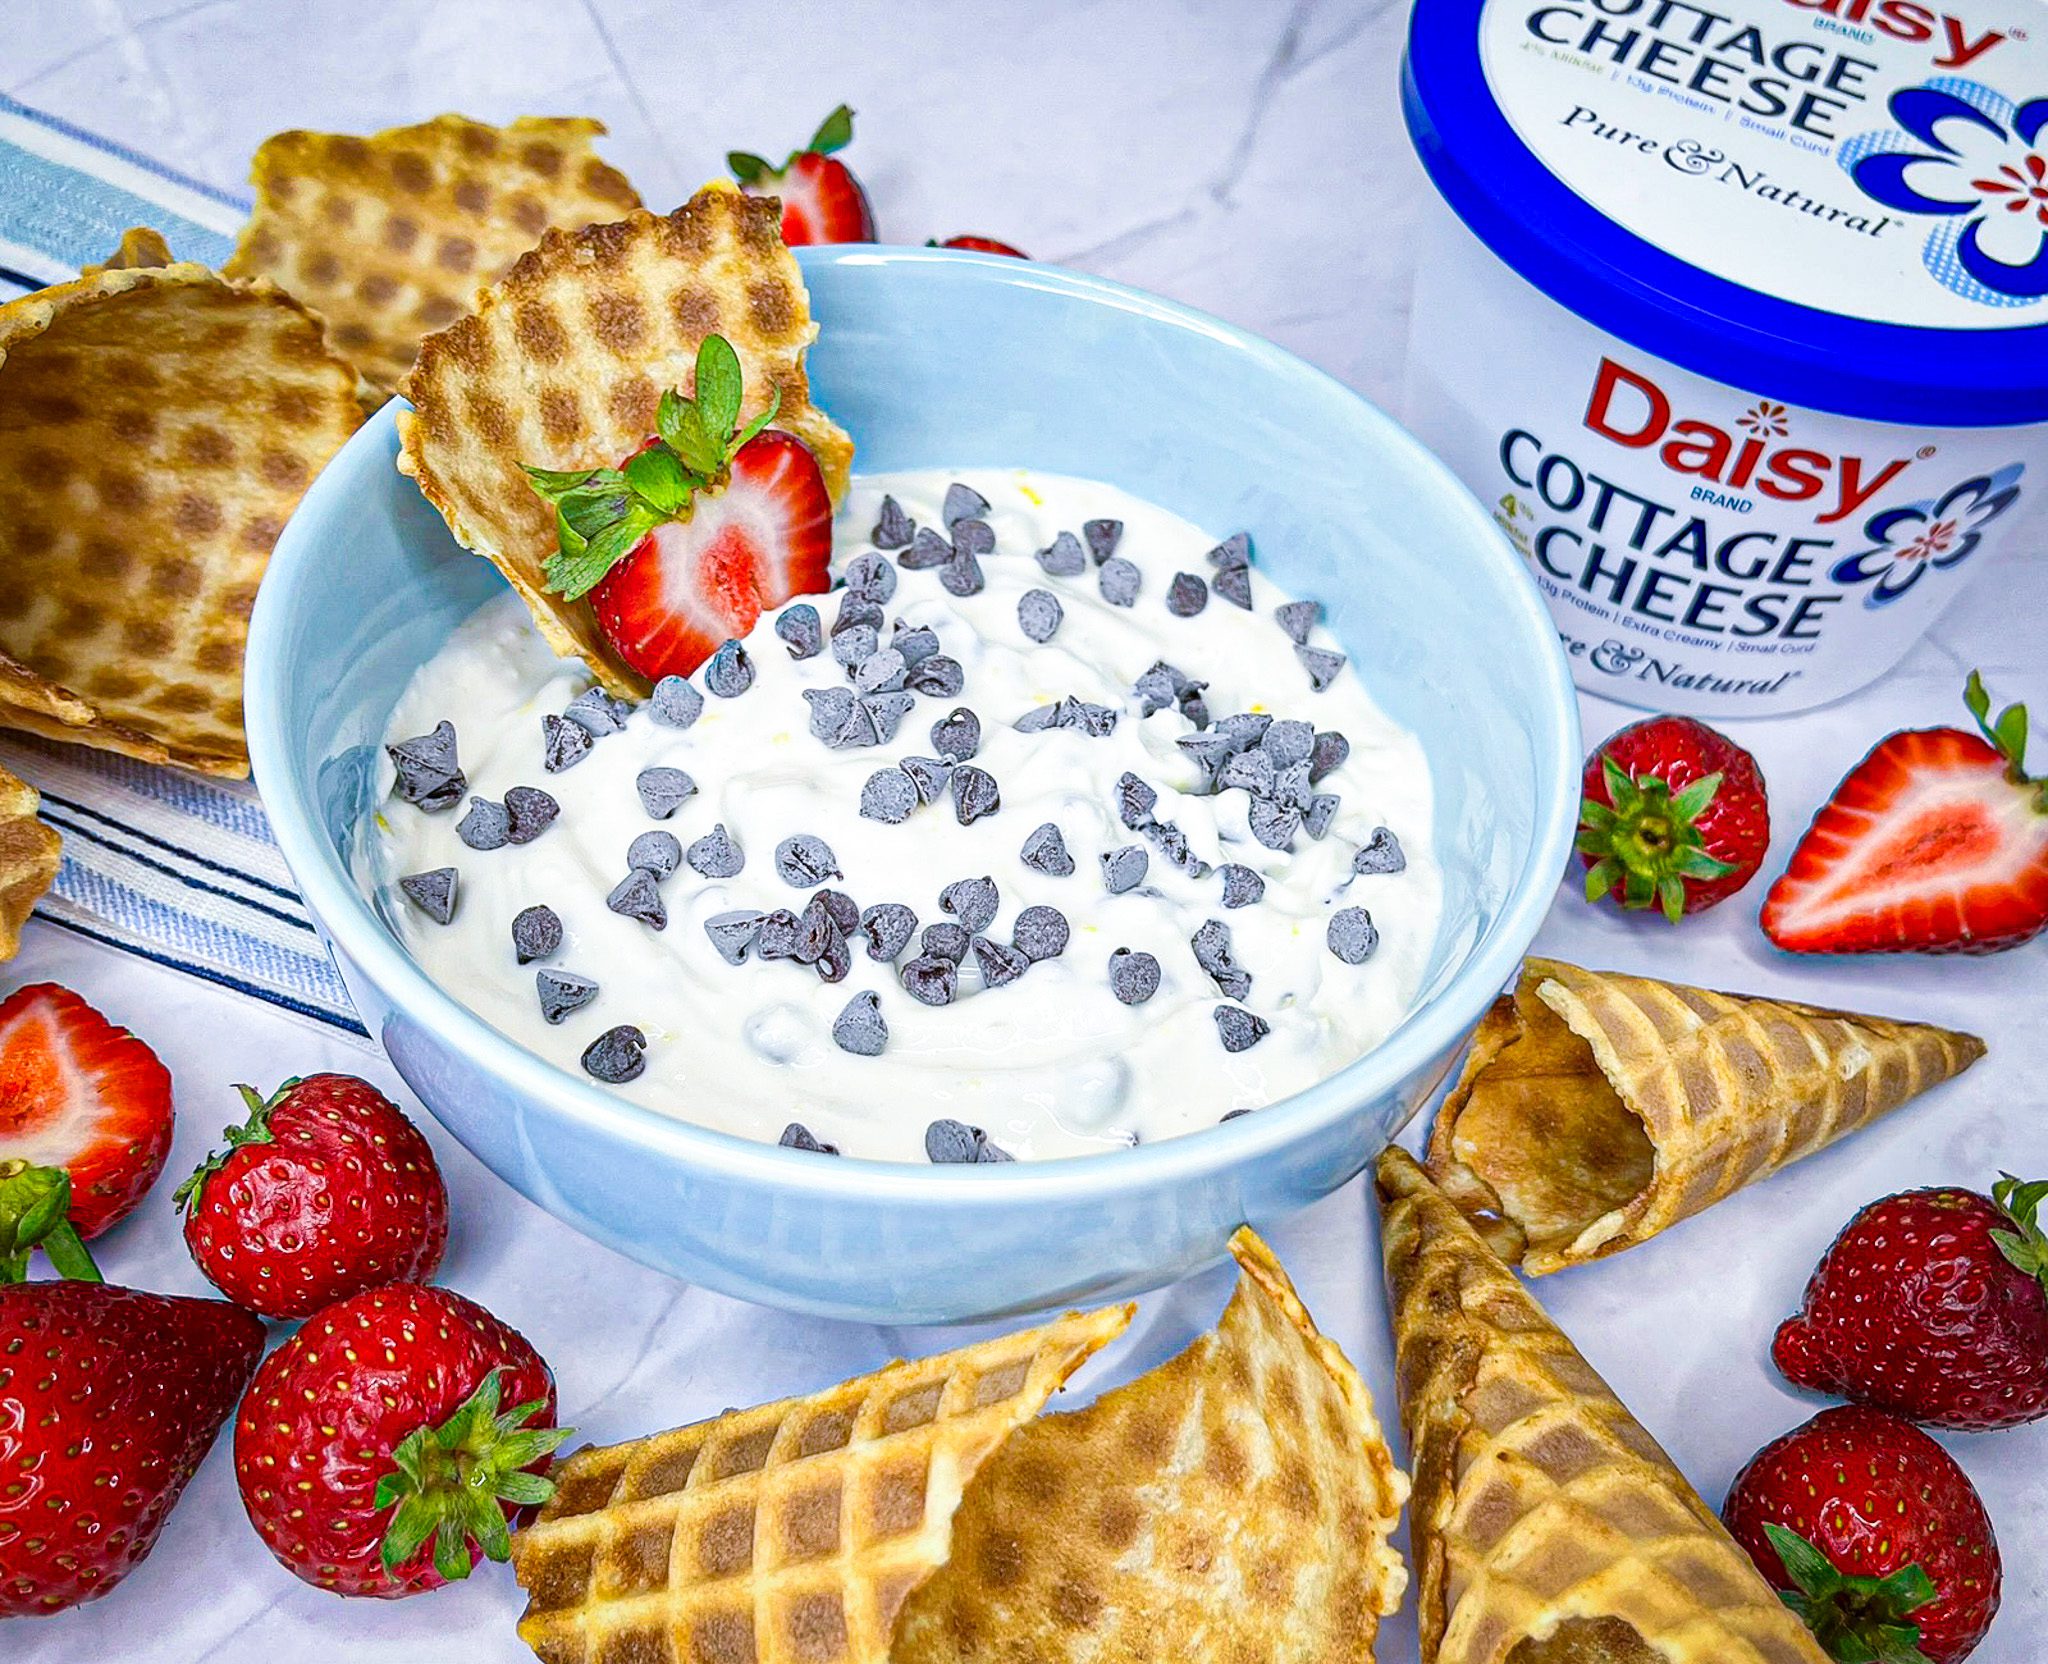
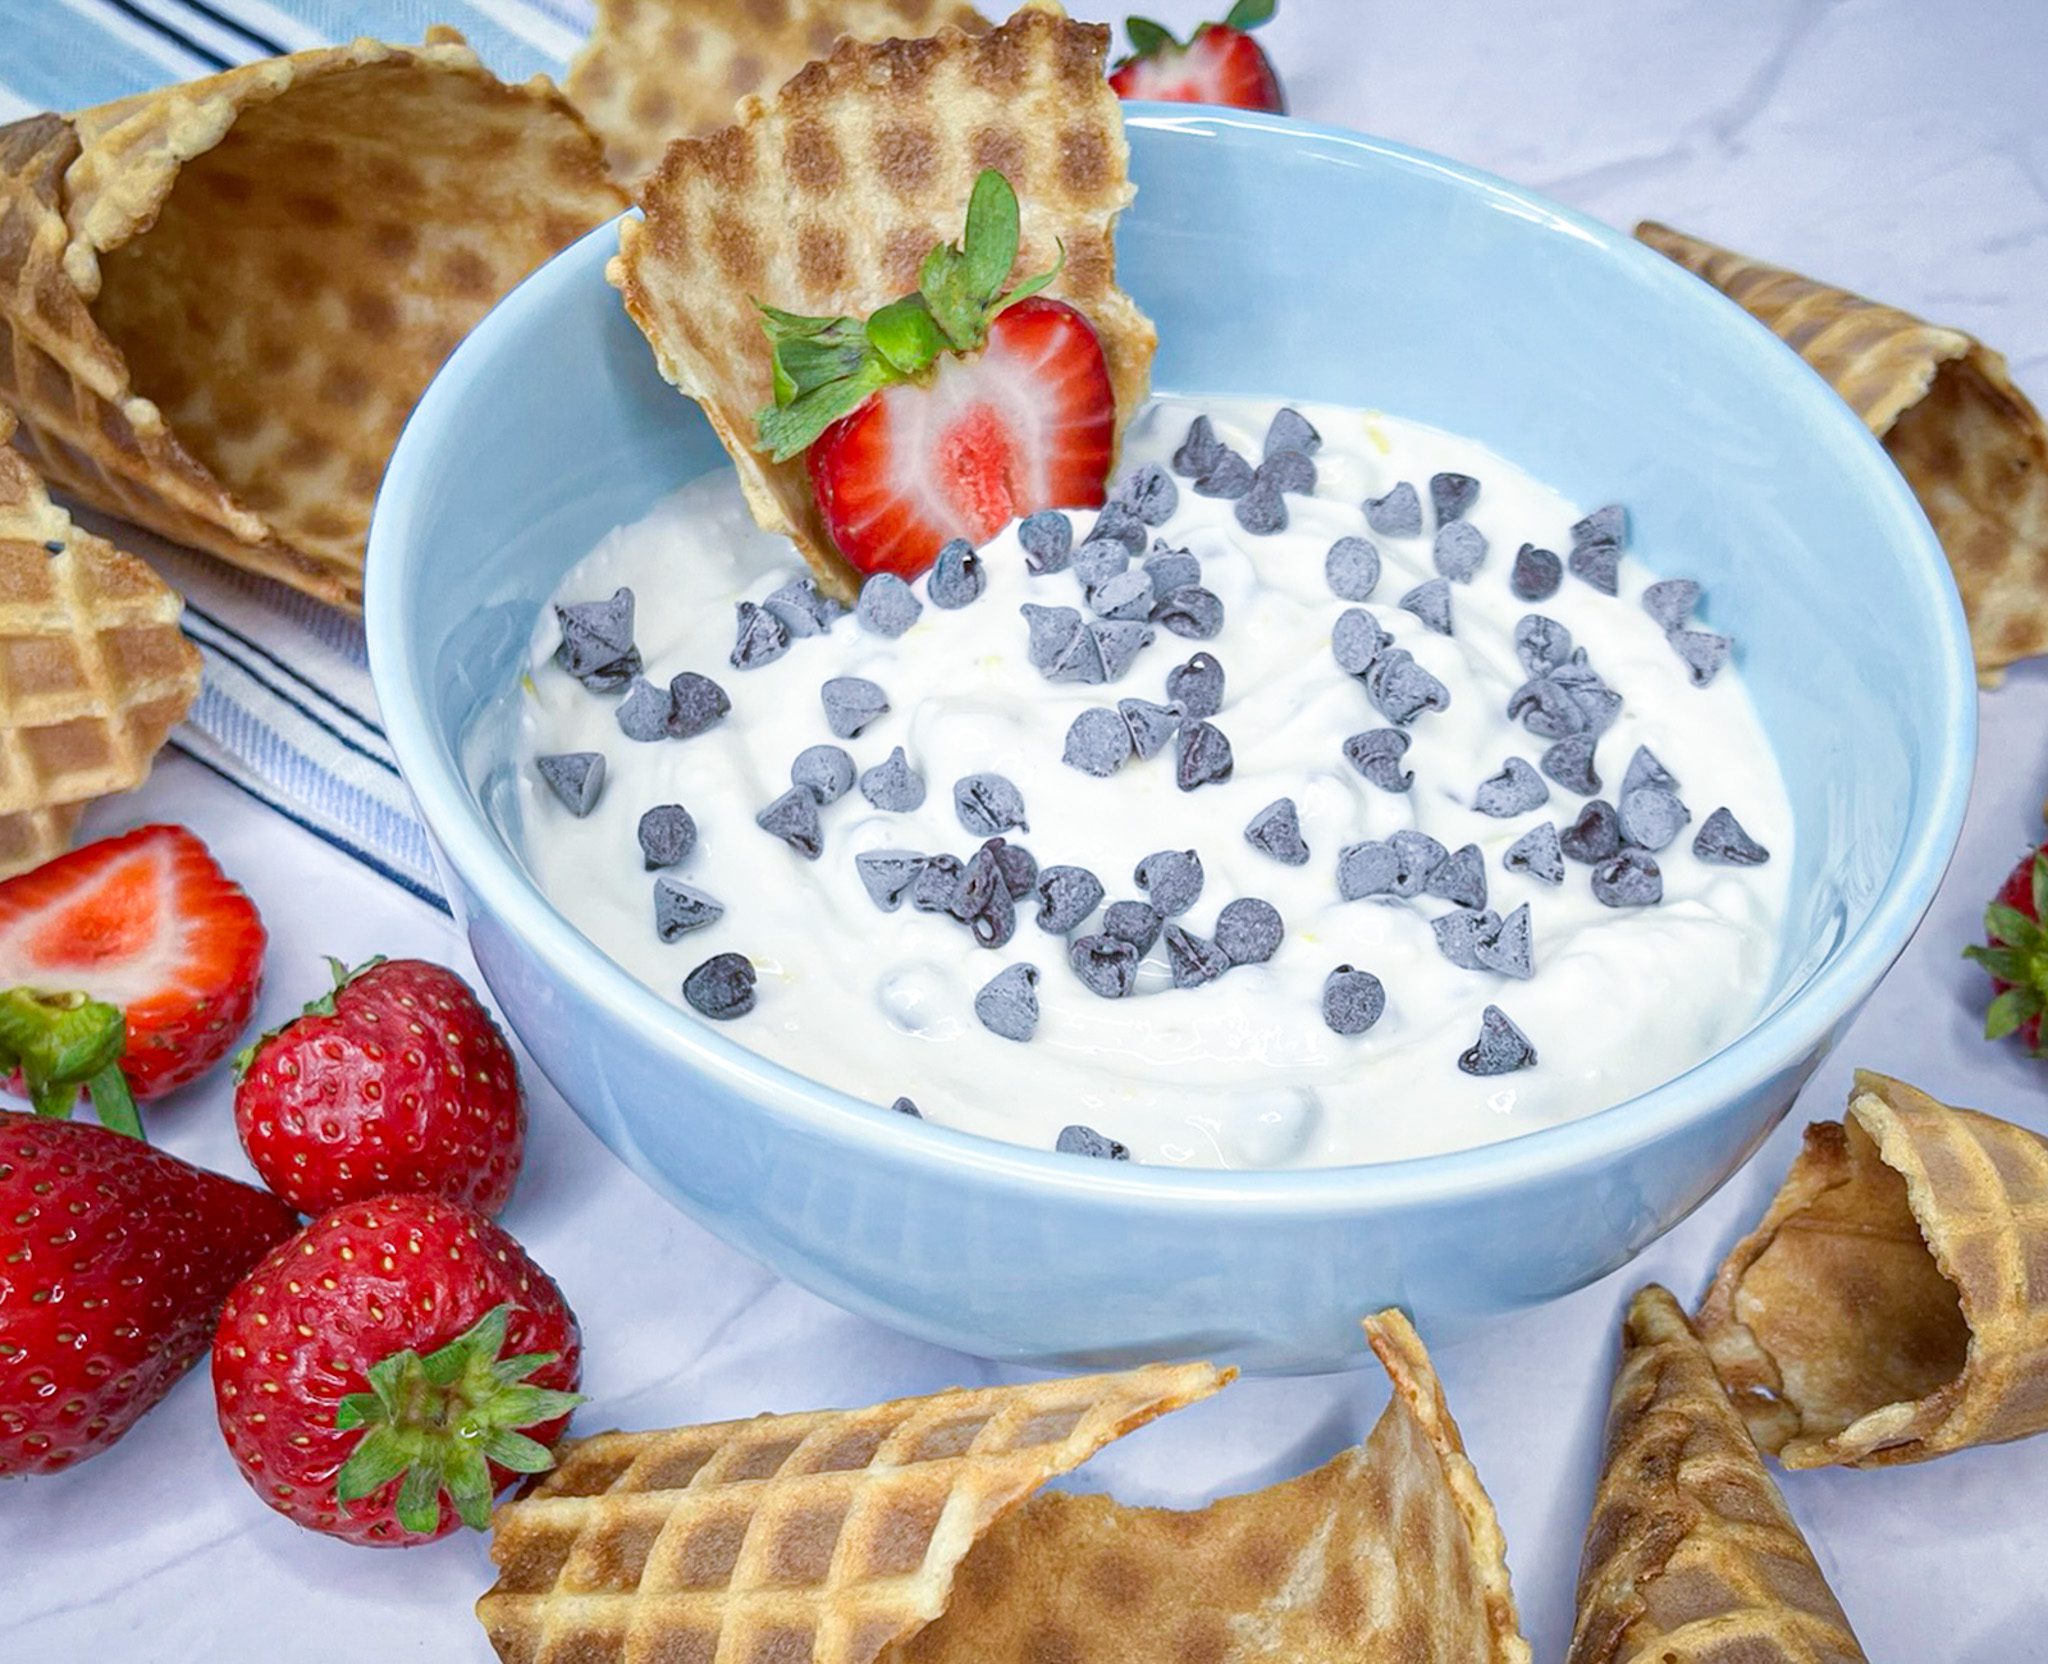
Fans of cannoli will love this light treat. This Light Cannoli Dip is easy to make and is fluffy and delicious. It comes together in only 5 minutes with only 5 pantry ingredients. Made with Daisy Cottage Cheese as the base, it has less than half the calories, fat, and carbs of most cannoli dips.
It pairs well with your favorite fresh fruit, waffle cones, graham crackers, and cookies. It is perfect for any occasion from parties to holidays to after-school snacks.
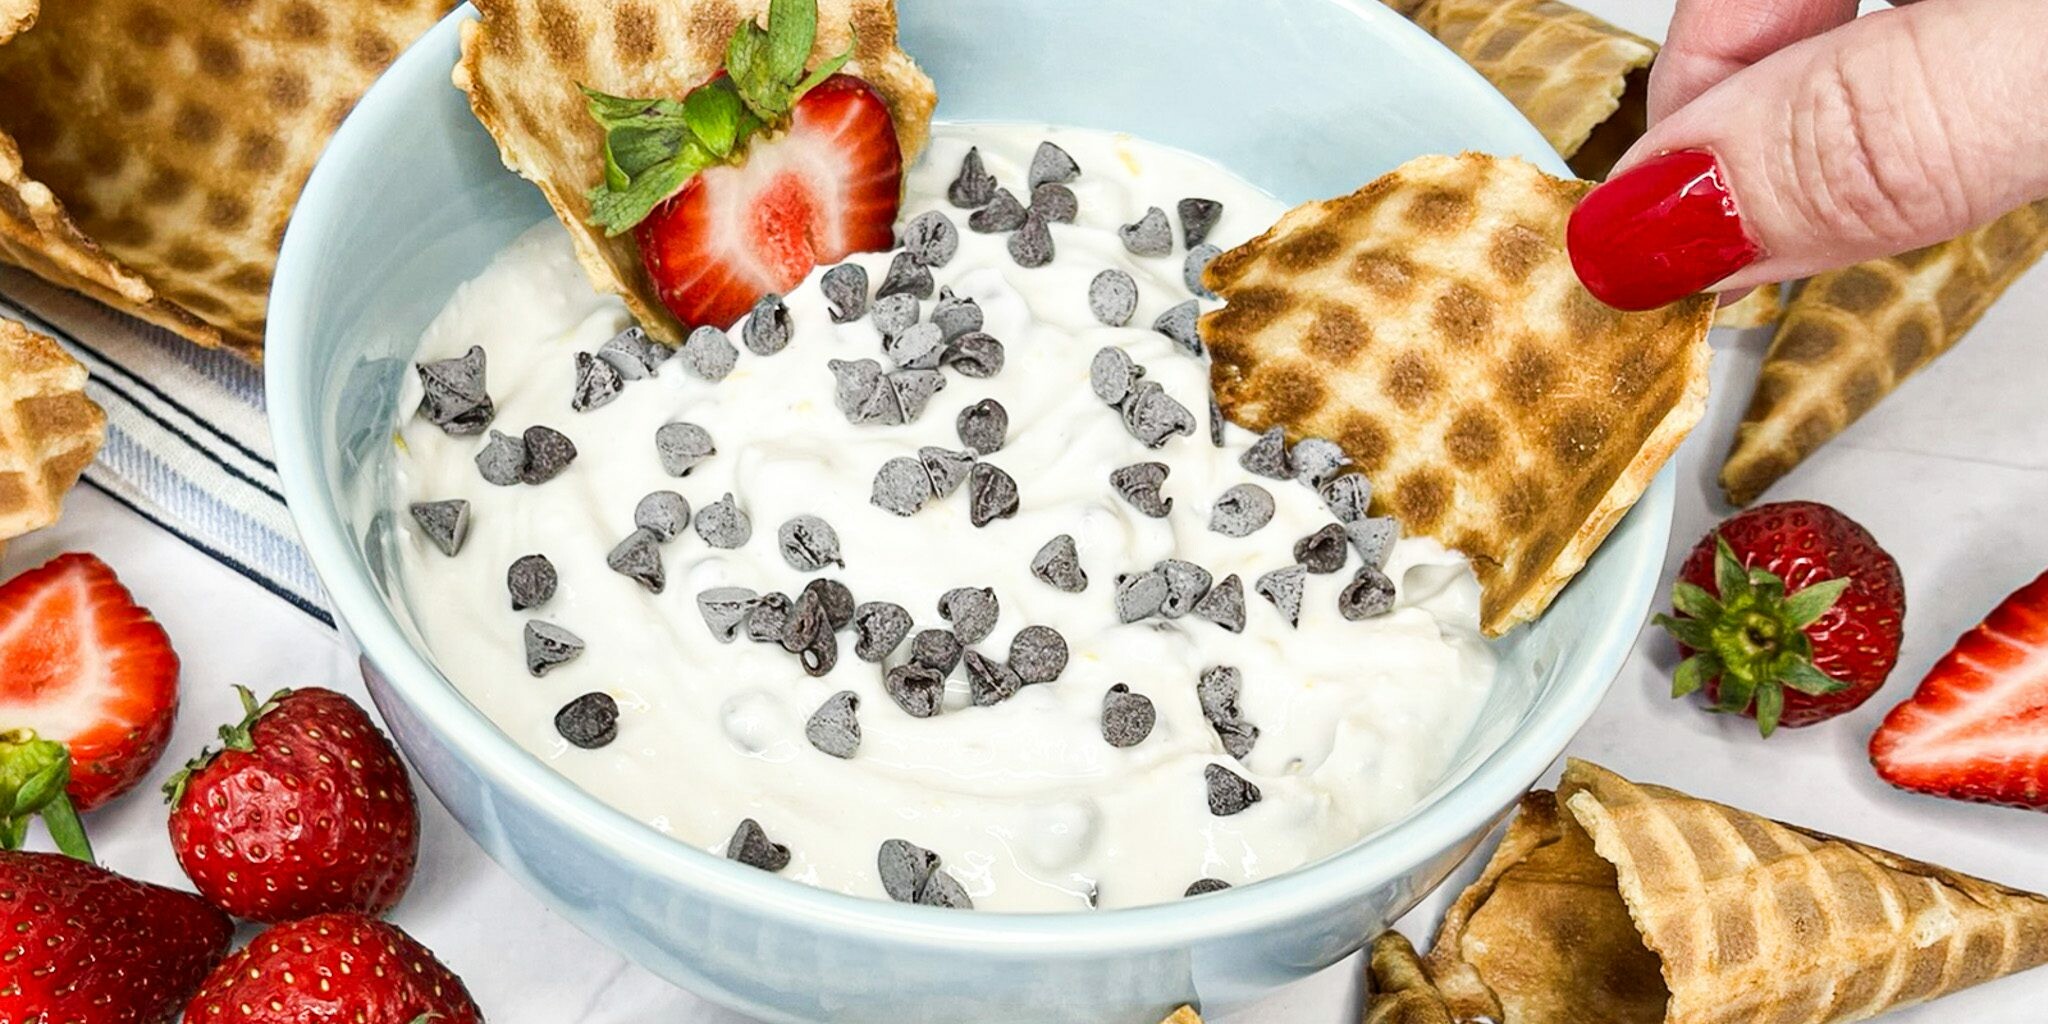
Mix it up! The dip is easily customizable. You can mix-up the flavor profile by using other zests and extracts and nuts like pistachios. You can also add cinnamon and cranberries for the holidays. For a slightly tangier dip, you can add a tablespoon of Daisy Sour Cream. This Light Cannoli Dip is easily doubled and can be made ahead of time.
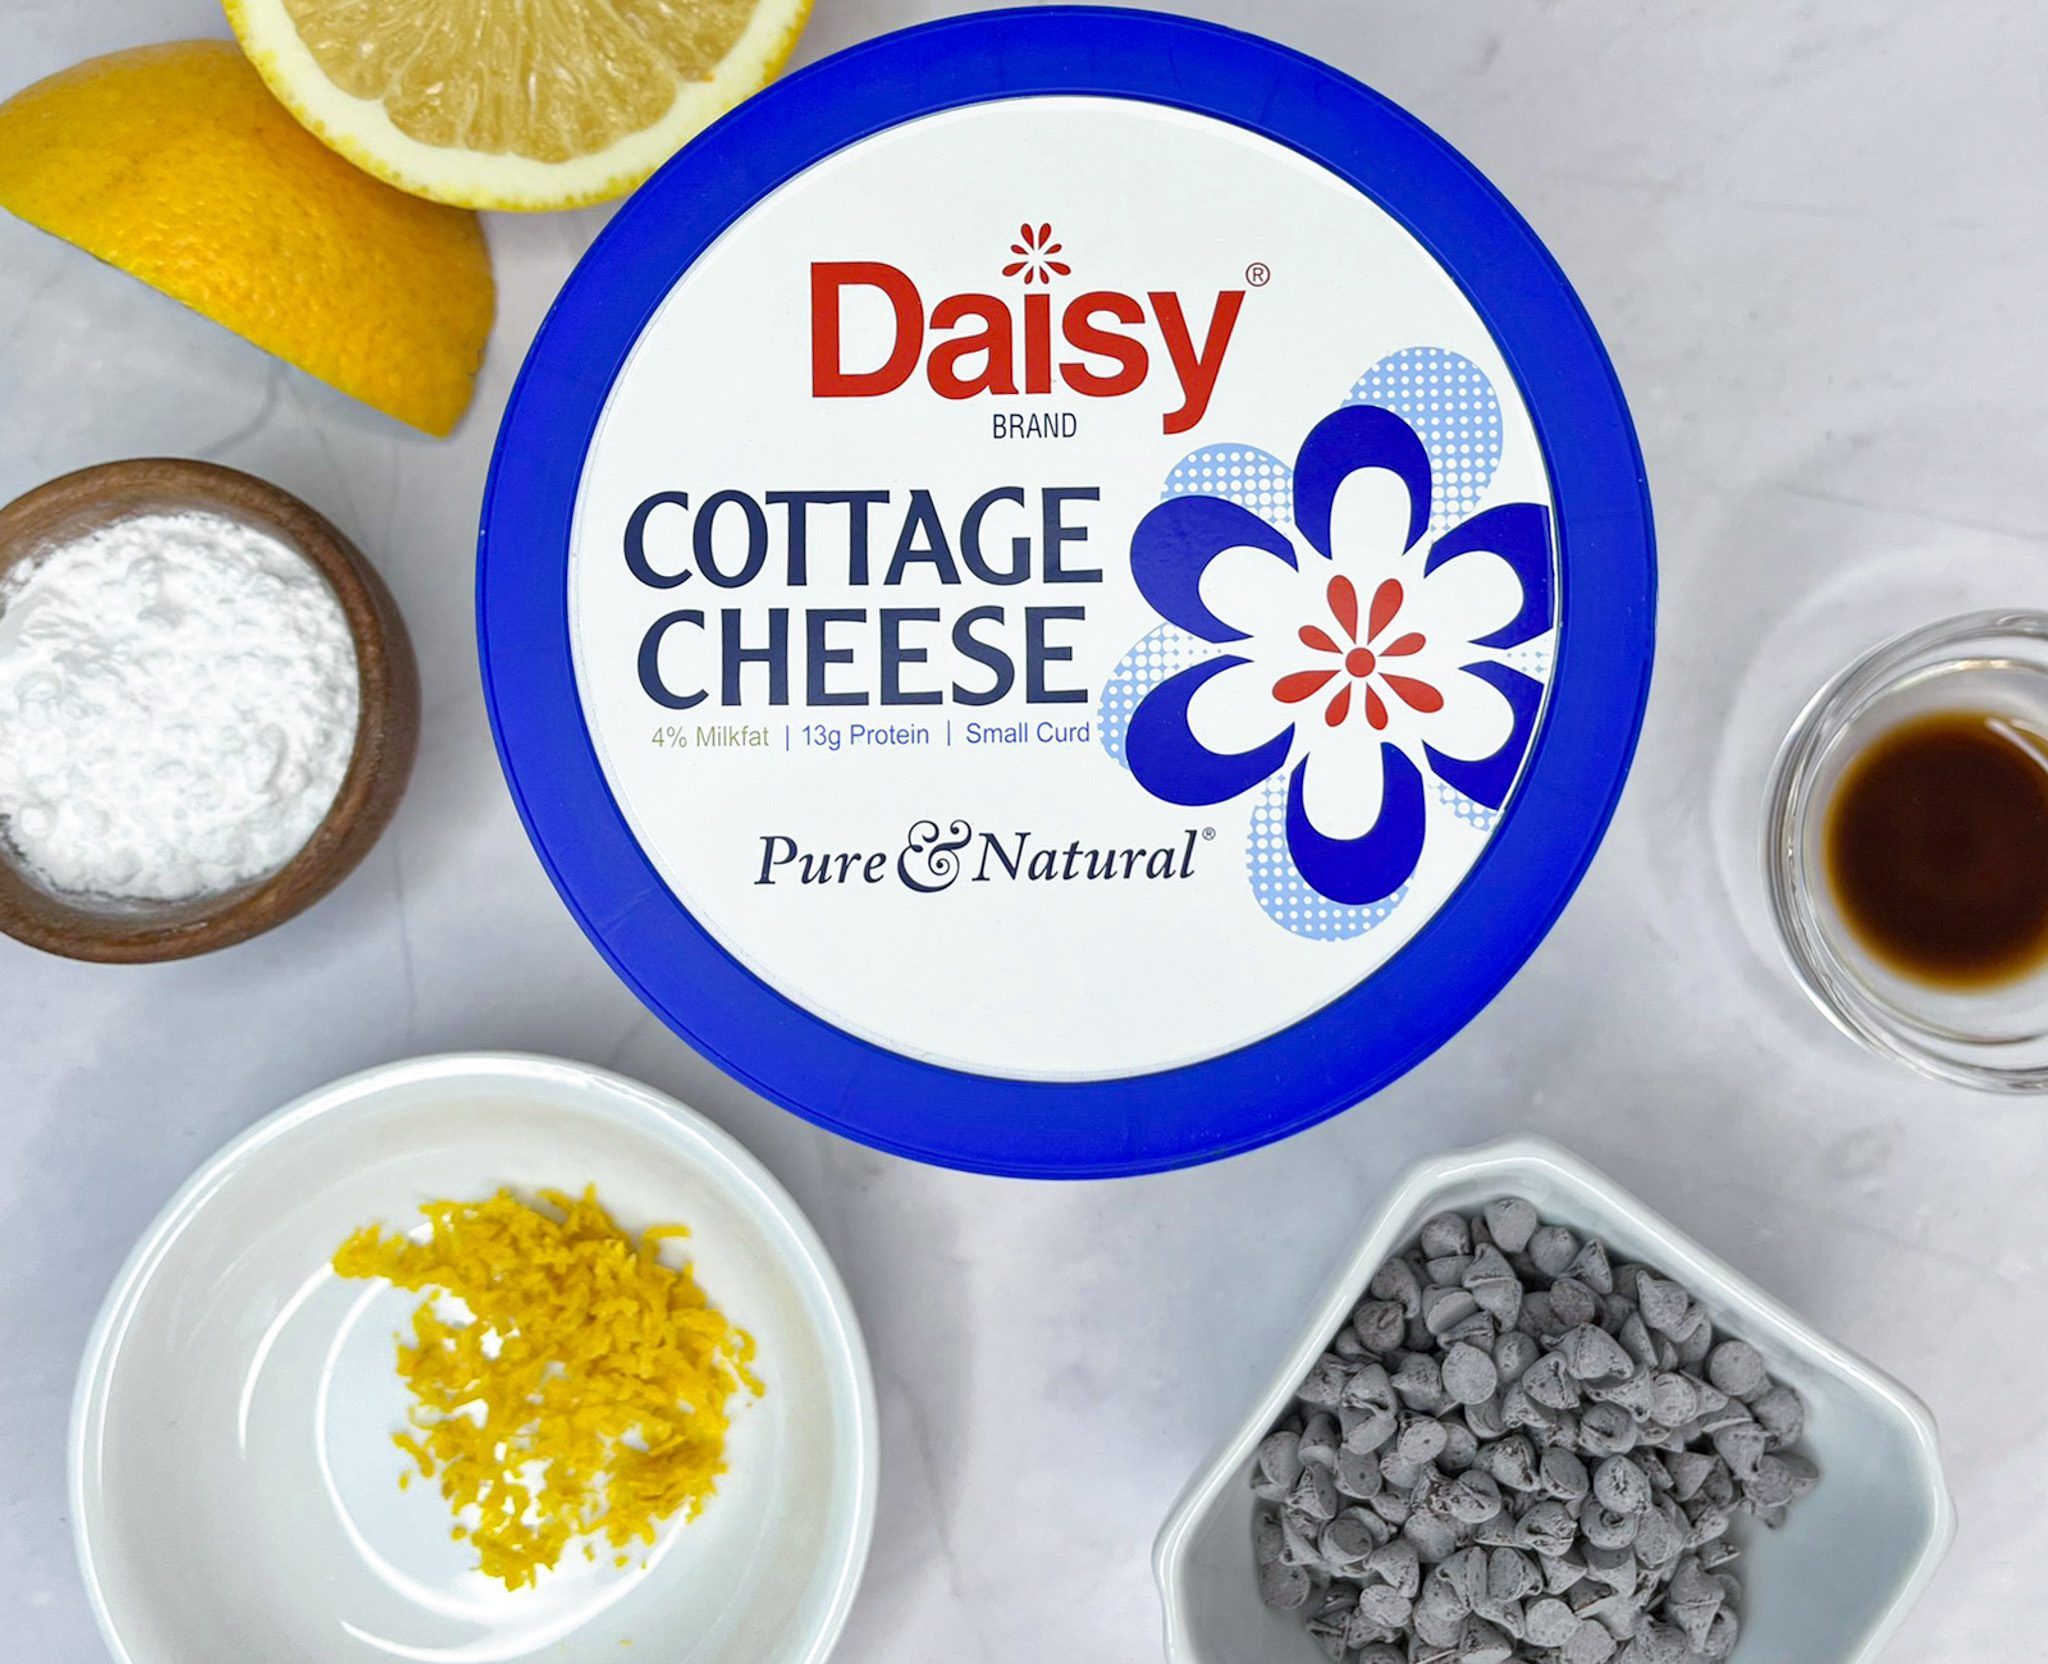
Light Cannoli Dip Ingredients
- Daisy Cottage Cheese (3/4 cup): Provides the creamy base of the dip and allows the dip to be lighter than traditional cannoli dip.
- Powdered Sugar (1 tablespoon): Adds a tiny bit of sweetness to the dip.
- Vanilla Extract (1 teaspoon): Enhances the flavor of the other ingredients.
- Fresh Orange Zest (1 teaspoon): Highly flavorful, it adds a burst of citrusy goodness to the dip without adding liquid to the dip.
- Mini Chocolate Chips (2 teaspoons): Brings a touch of chocolaty sweetness and texture to the dip.
Substitutions, Variations, and Tips
- Lime zest or lemon zest may be substituted for orange for a similar citrusy flavor.
- Almond extract may be used in place of vanilla extract.
- A dash of cinnamon and nutmeg may be added for a holiday twist.
- Chopped nuts, seeds, or chopped dried fruit may be added in place of the chocolate chips.
- Chocolate cannoli dip? Yes, please! To make the dip chocolate flavored, add ½ teaspoon of unsweetened cocoa powder. Or for chocolate hazelnut twist, add a teaspoon of chocolate hazelnut spread.
- White chocolate or butterscotch chips may be used in place of chocolate chips…just make sure you grab the mini version.
- Finely chopped chocolate bar may be used in place of the chocolate
- For a tangy twist, try adding a tablespoon of Daisy Sour Cream.
- This dip can be made ahead of time, or even the day before, and is easily doubled or tripled.
- Best if chilled for 30 minutes before serving.
- Light cannoli dip may be stored in the refrigerator for up to 4 days.
How to Make Light Cannoli Dip
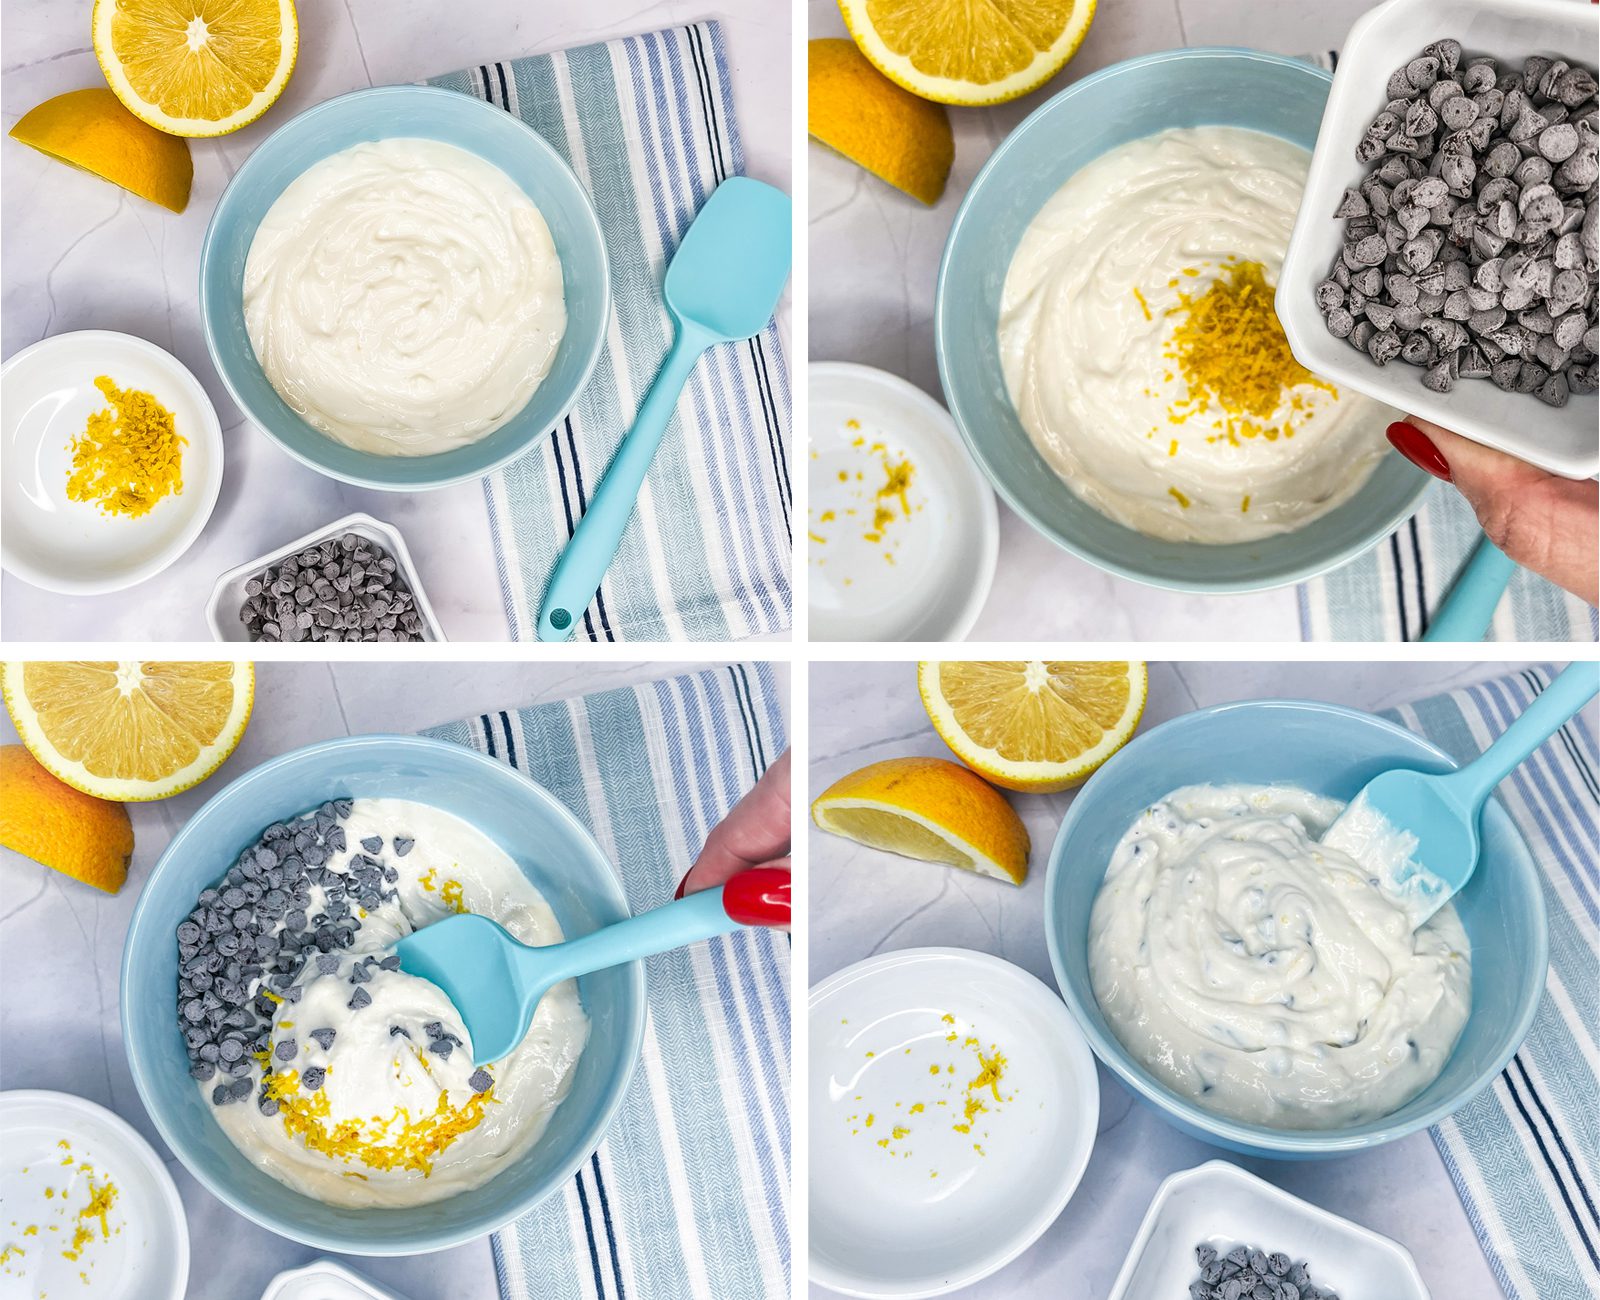
- Process cottage cheese in food processor or blender until completely smooth (about 1 minute). Transfer to bowl.
- Gently fold in the remaining ingredients.
- Garnish with additional mini chocolate chips, if desired. Serve with your favorite dippers.
Honey Walnut Cottage Cheese Spread
Honey-Walnut Cottage Cheese Spread
Looking for a fall twist on bagel spreads? Try making your own with Daisy Cottage Cheese. Not only is it easily customizable, it is also two-thirds lower in fat than cream cheese. Making your own spread is a snap with only a few ingredients.
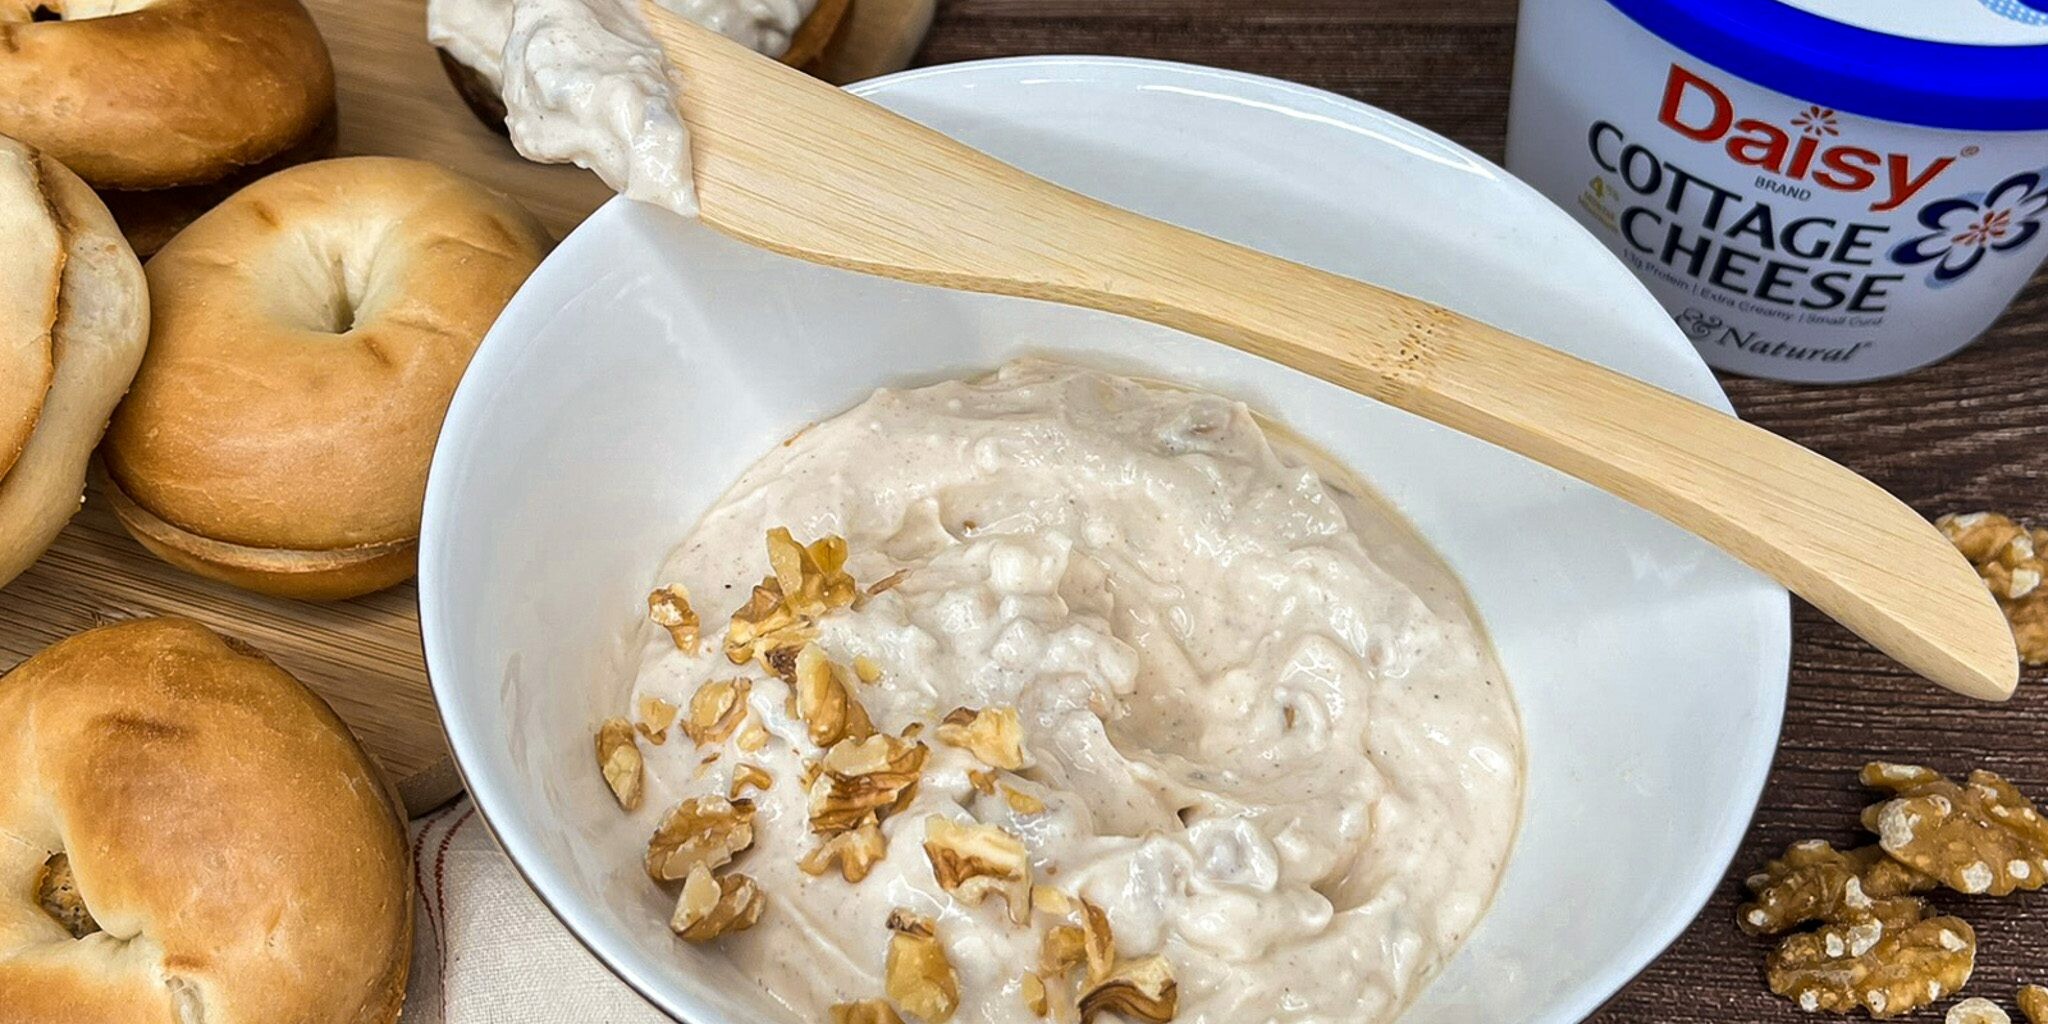
Easily customizable, you can pick your favorite flavors and add to the protein packed creamy goodness of the cottage cheese. The flavor combos are endless.
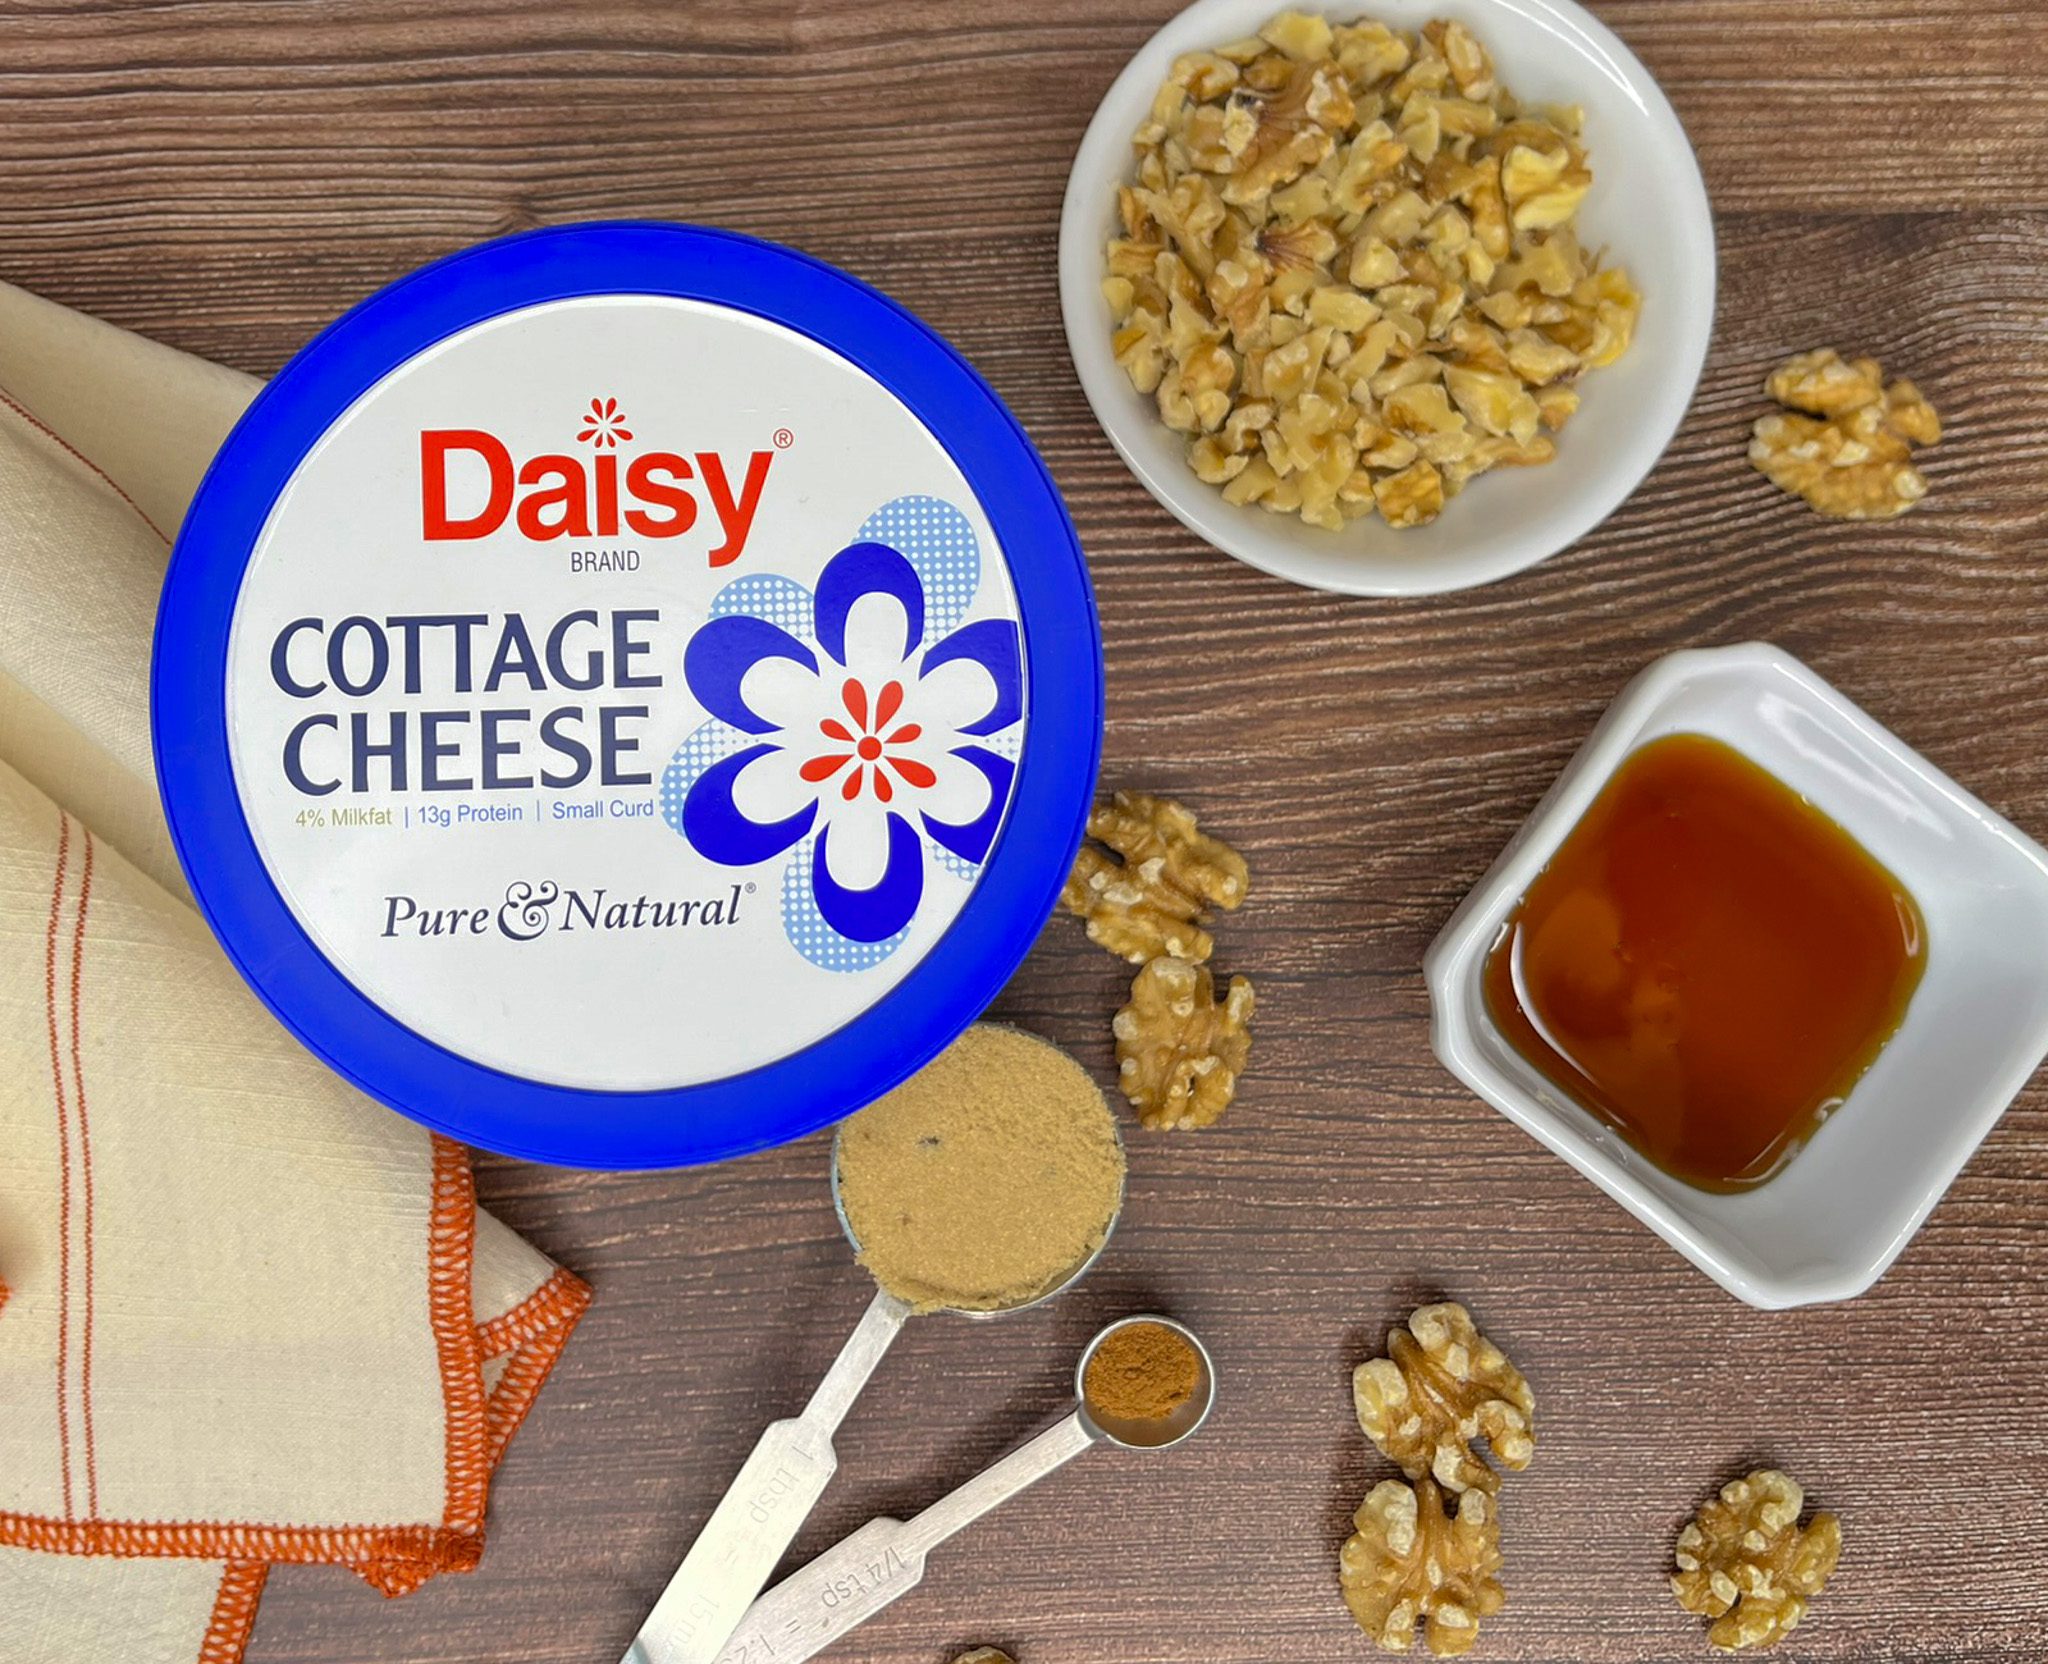
Honey-Walnut Cottage Cheese Spread Ingredients
- Daisy Cottage Cheese (1 cup): The cottage cheese provides the protein-packed base of the spread.
- Honey (1 tablespoon): Adds a tiny bit of sweetness.
- Light Brown Sugar (1 tablespoon): Adds a tiny bit of sweetness with a slight caramel flavor.
- Cinnamon (1/4 teaspoon): Rich and warm, this spice tastes like fall. It adds flavor to the spread.
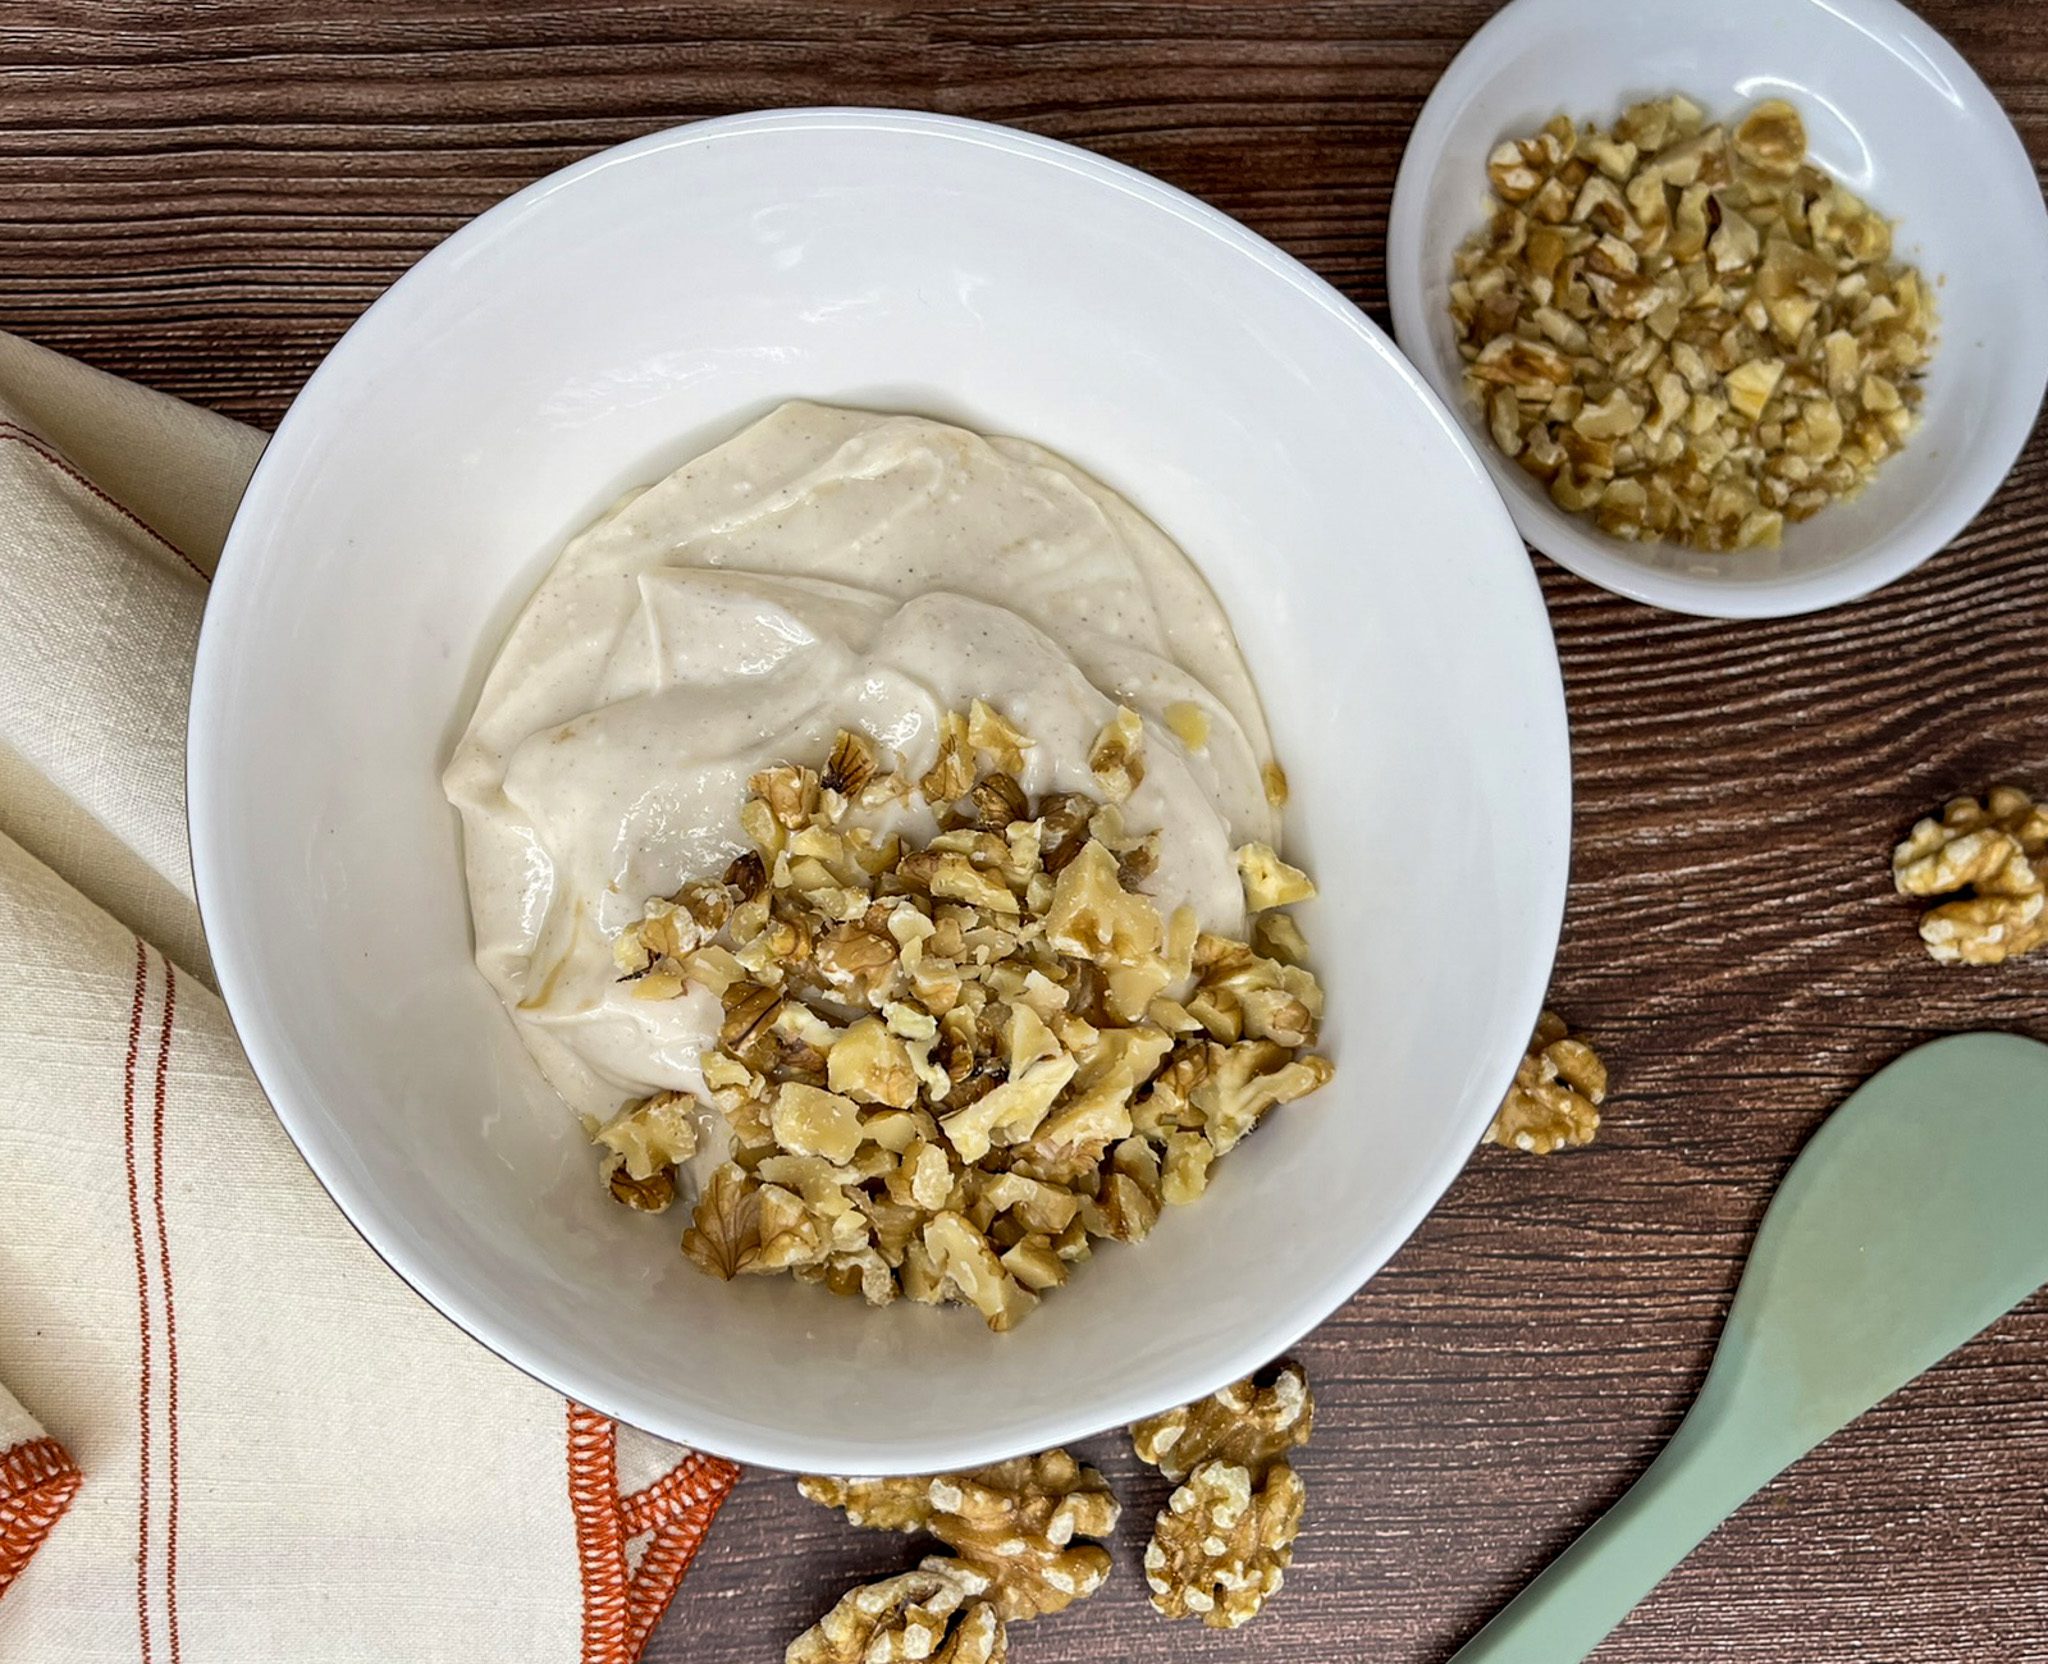
- Chopped Walnuts (3 tablespoons): Adds flavor and texture to the spread.
Substitutions, Variations, and Tips
- Try adding other additions such as a dash of nutmeg or ginger.
- Agave, corn syrup, or artificial sweetener may be used in place of honey.
- Dark brown sugar may be used in place of light brown sugar.
- Pecans or other nuts may be used in place of walnuts.
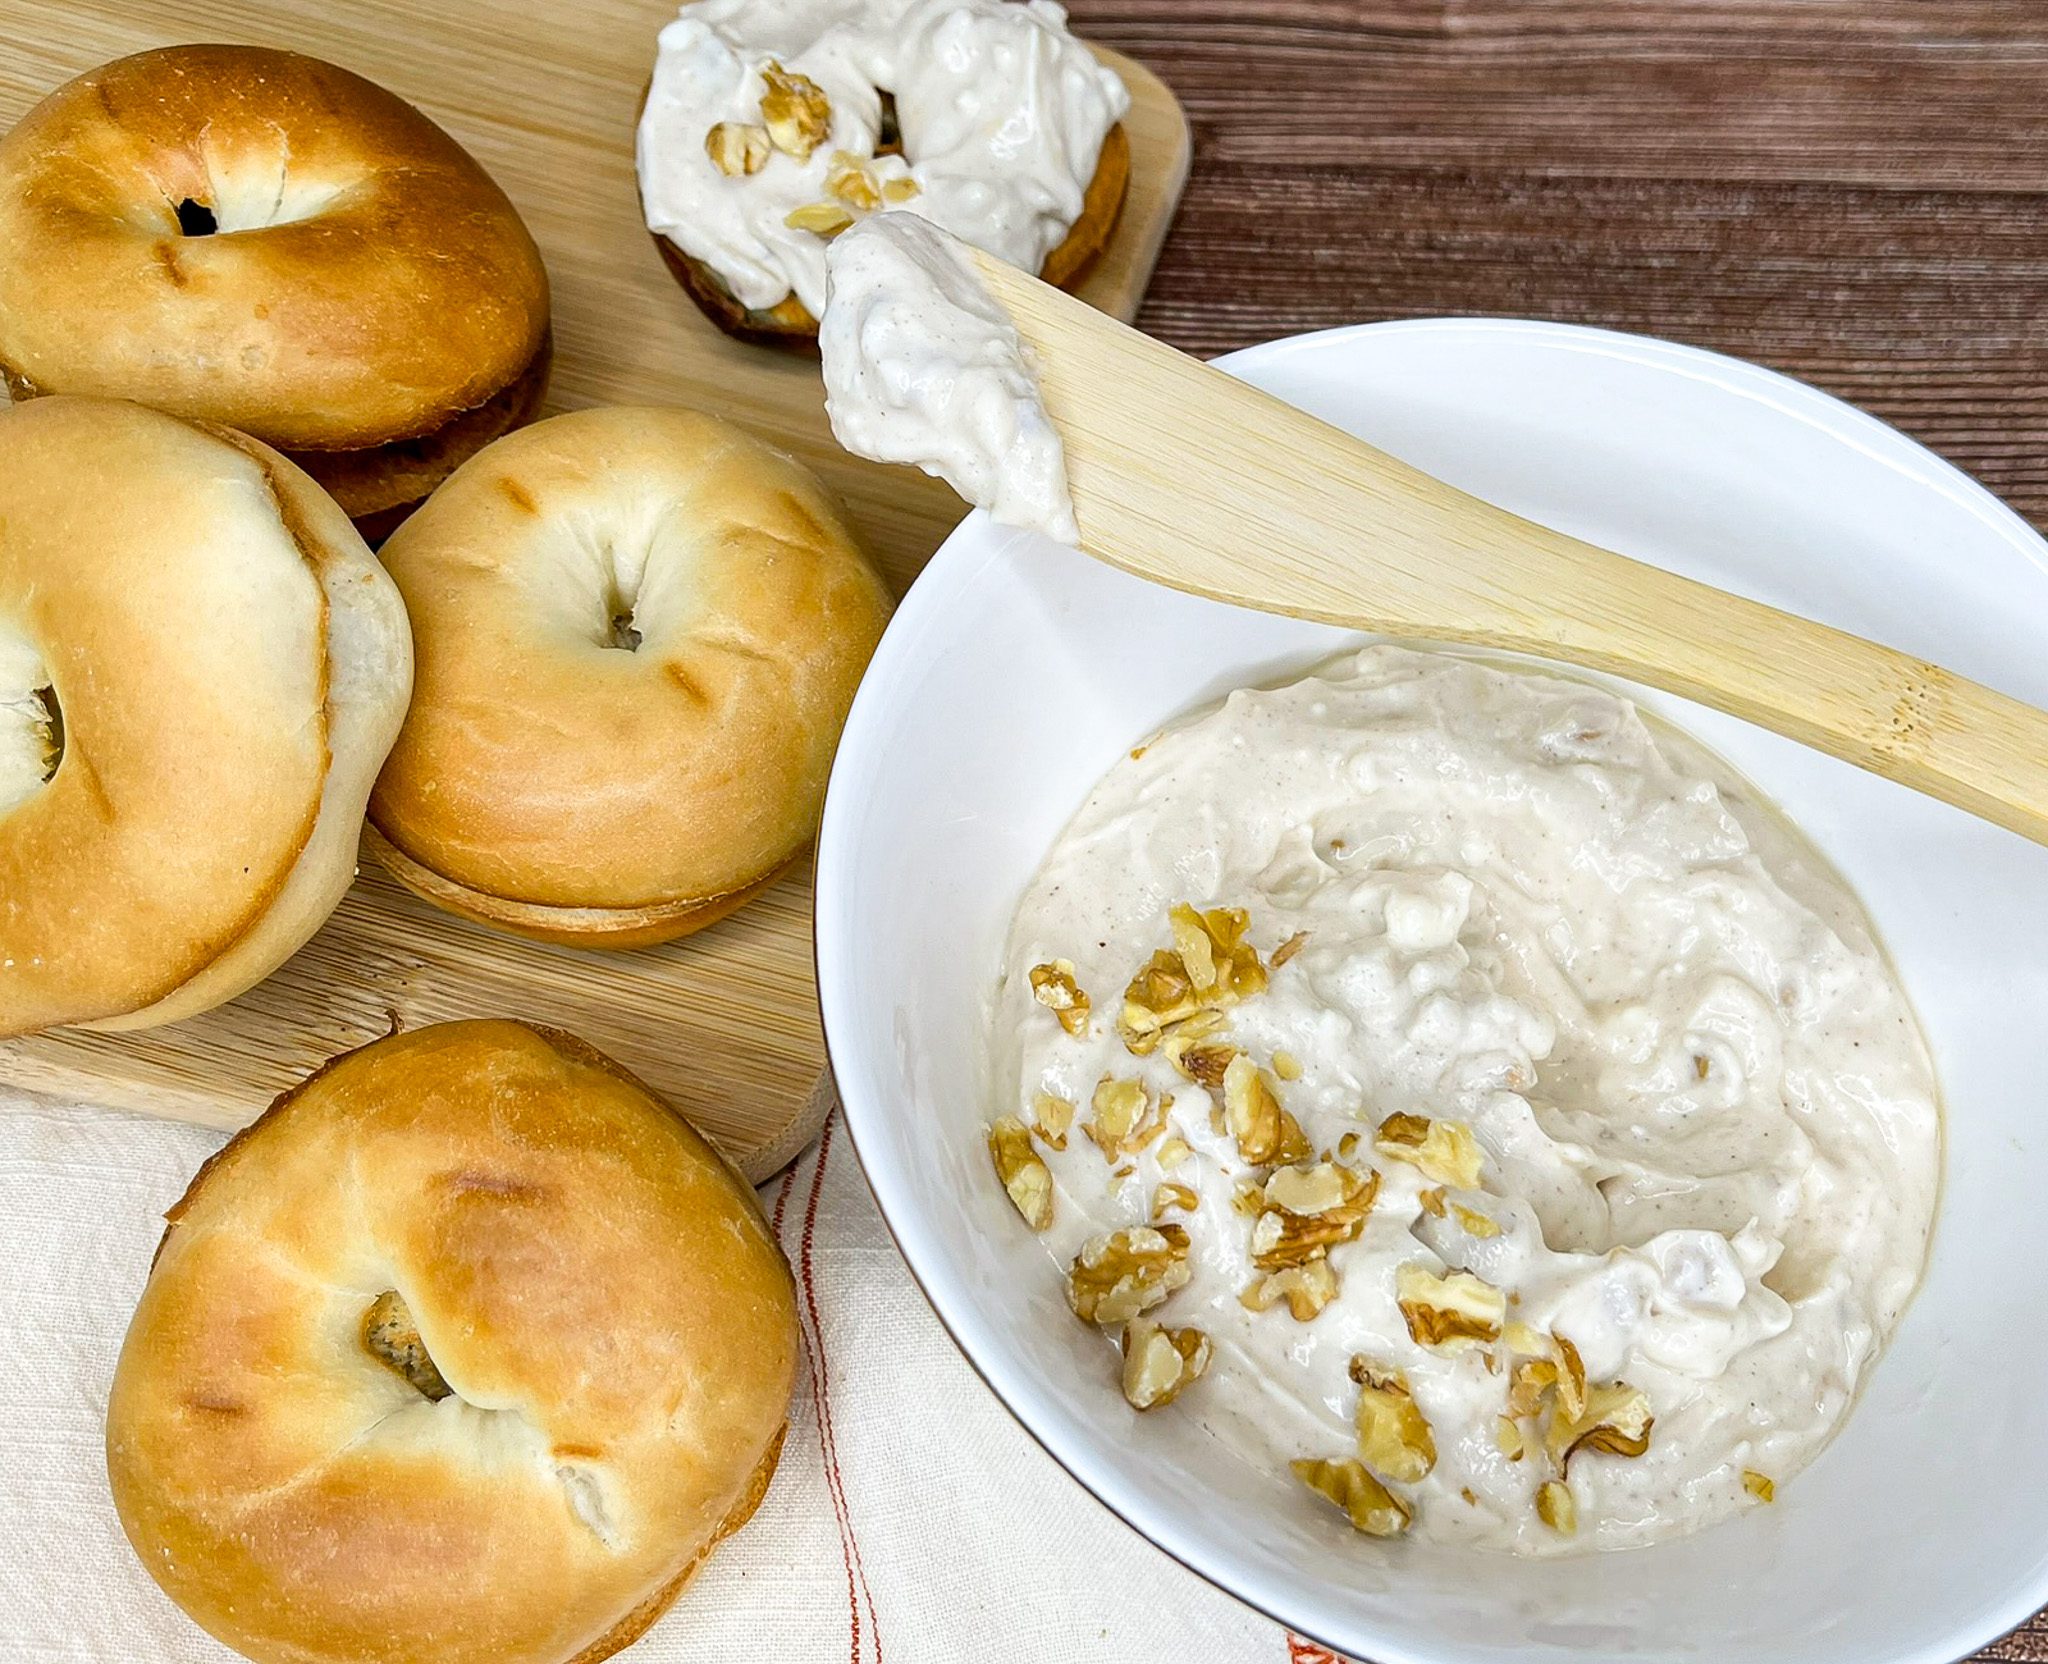
- While perfect for spreading on bagels, toast, or crackers, you can also enjoy it as a fruit or cookie dip.
How to Make Honey-Walnut Cottage Cheese Spread
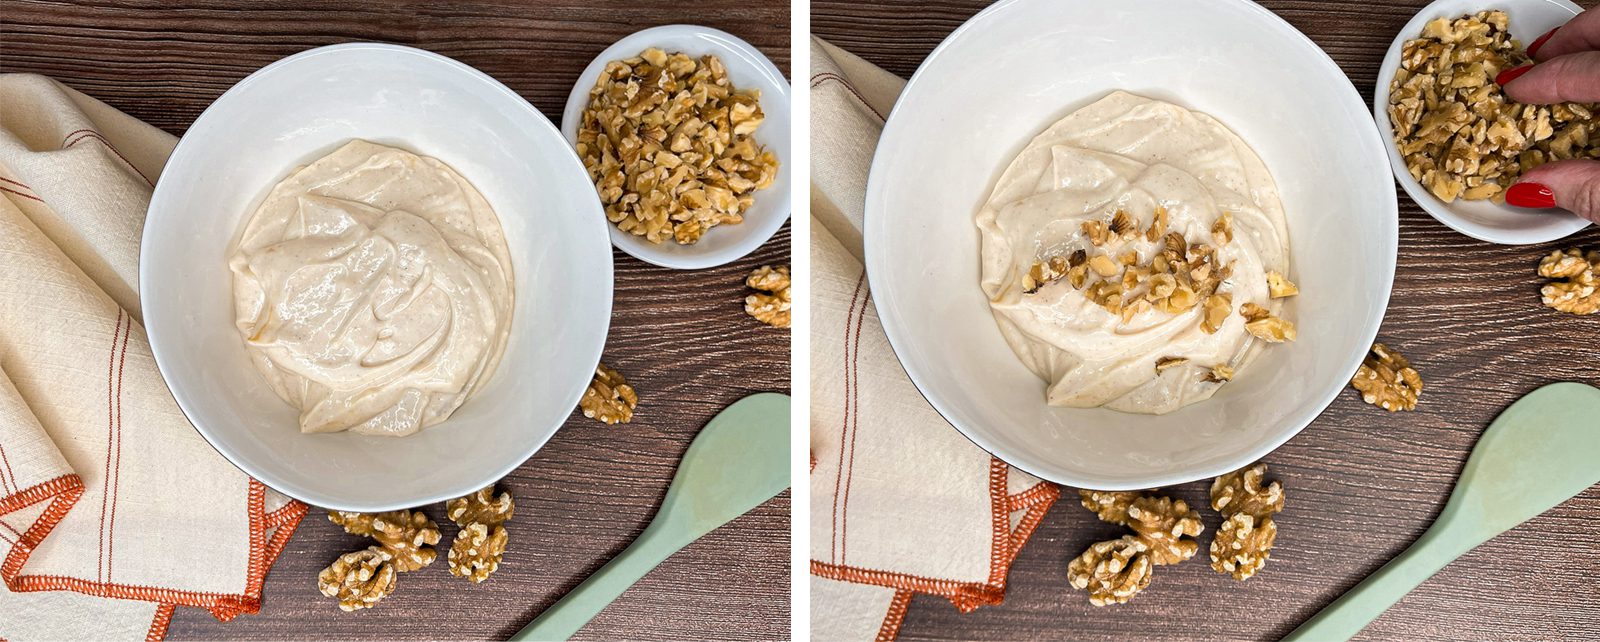
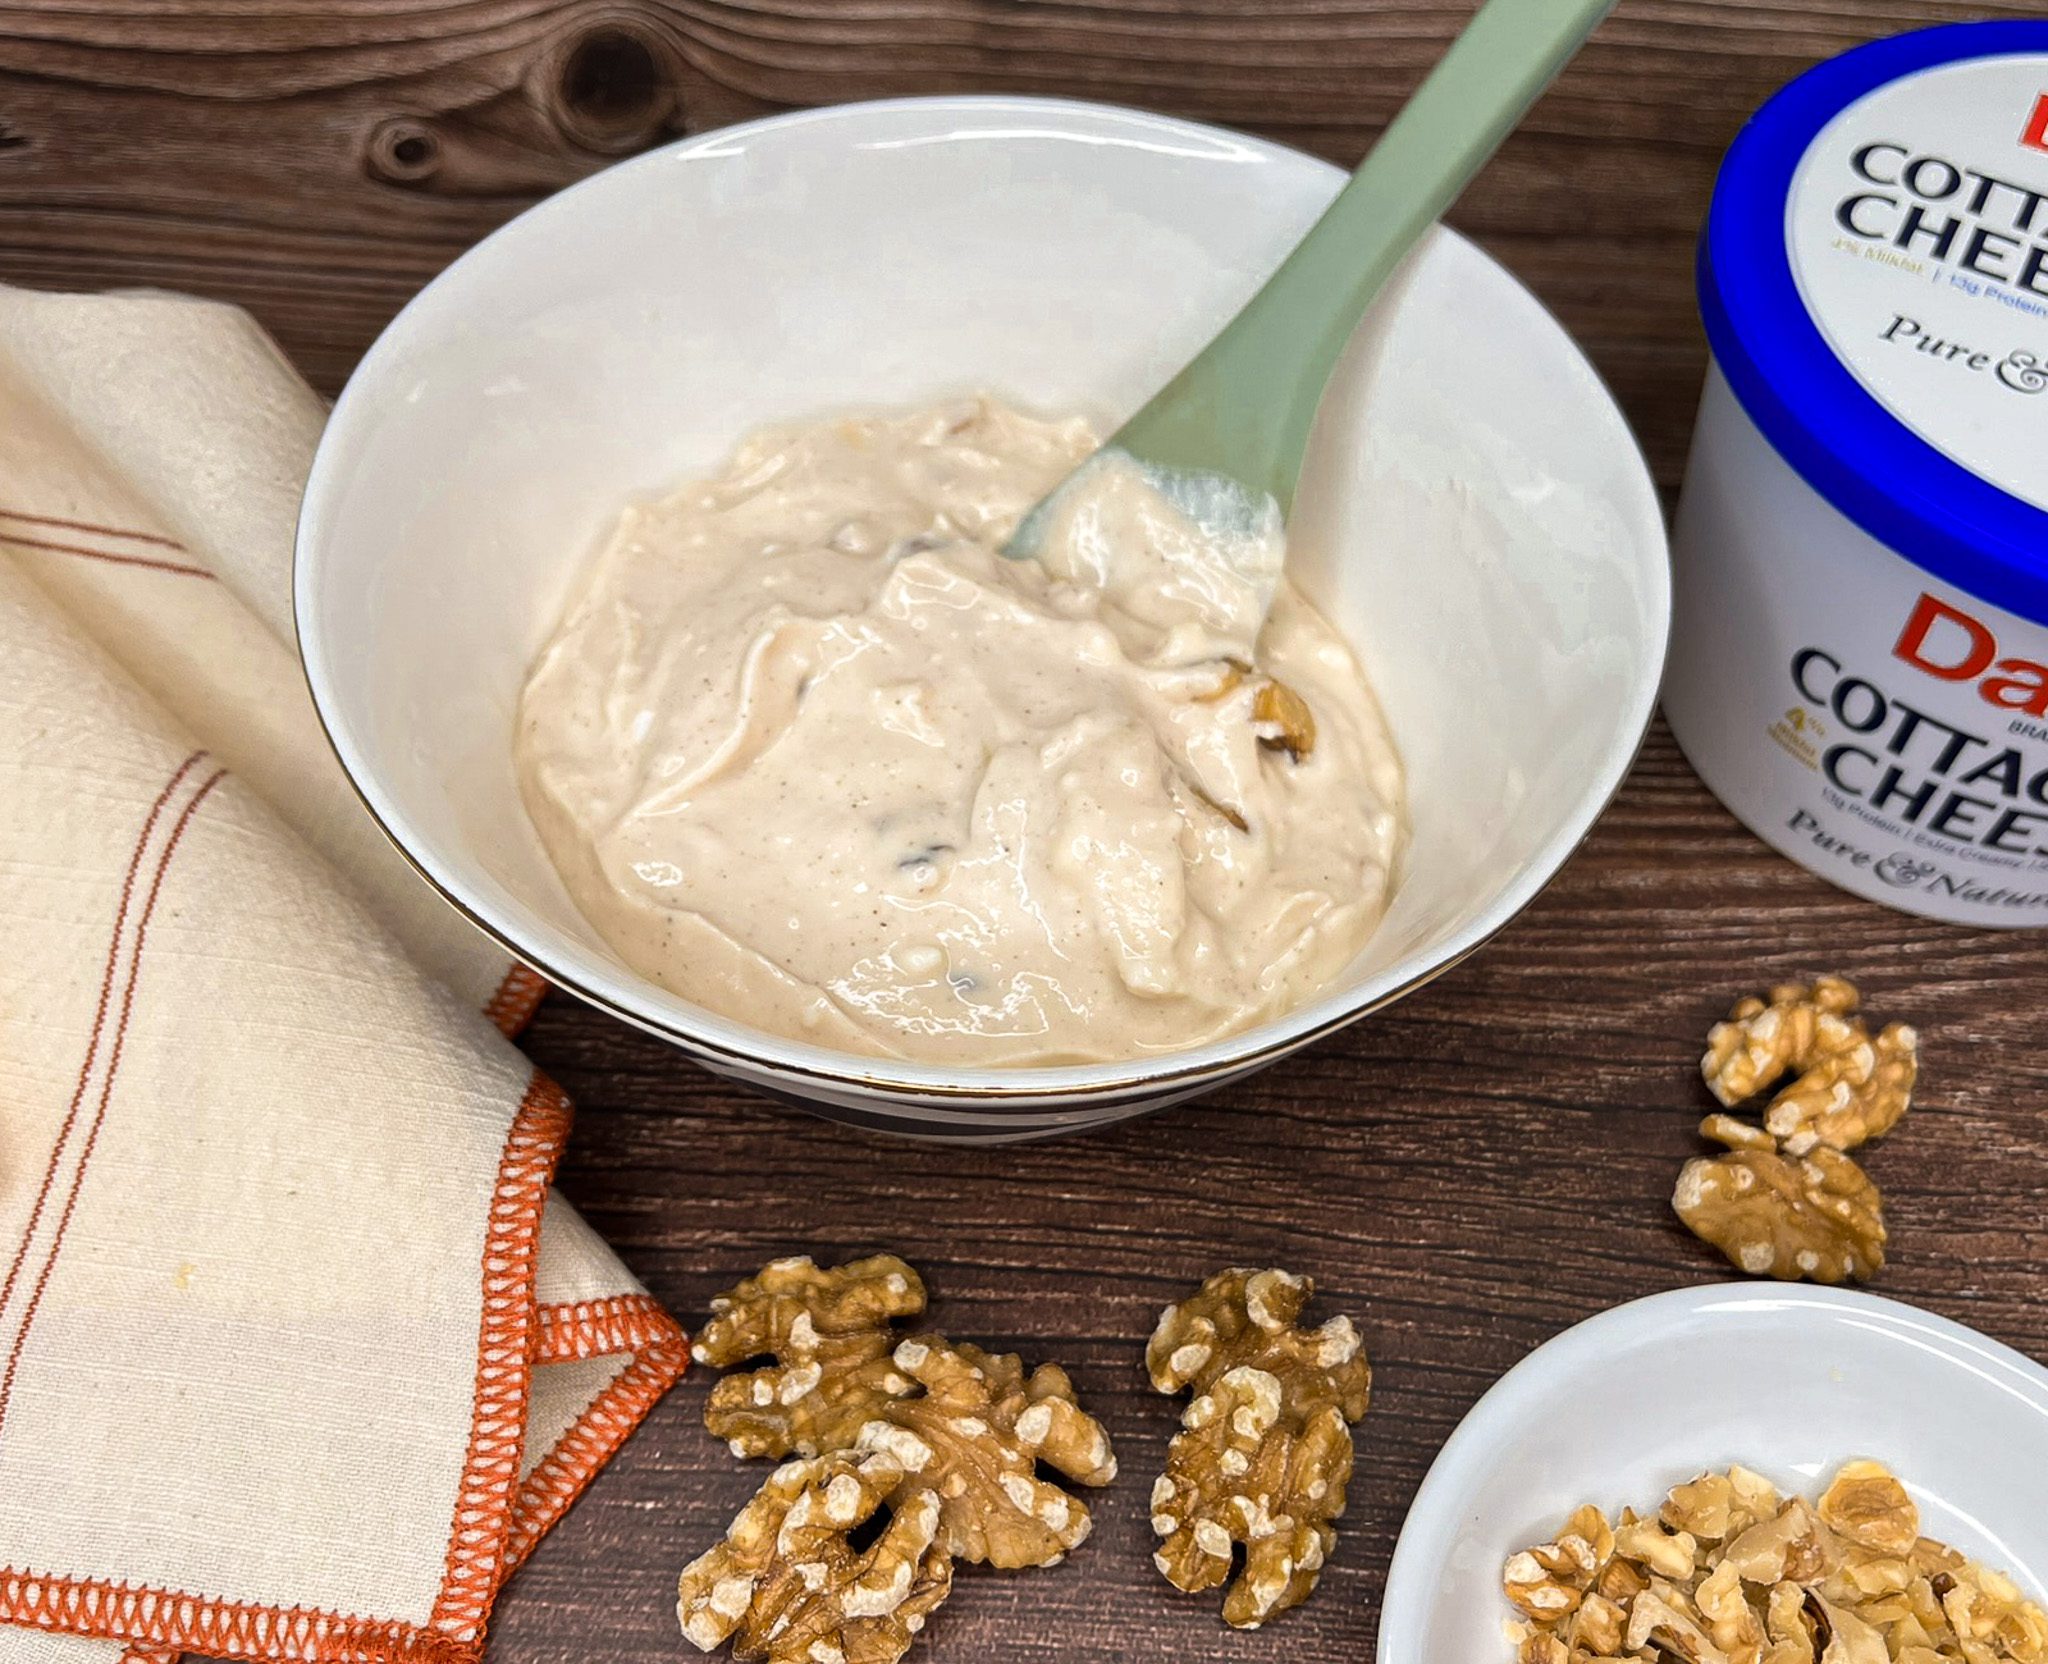
- Process cottage cheese, honey, brown sugar, and cinnamon in food processor until smooth (about 1 minute).
- Transfer the mixture to a bowl. Fold in walnuts. Cover and chill for at least 30 minutes.
- Garnish with additional honey, cinnamon, and walnuts, if desired. Enjoy on bagels, toast, or crackers. Refrigerate leftovers.
Chocolate Chip Cookie Dough Balls
Chocolate Chip Cookie Dough Balls
Chocolate chip cookies without baking! These delicious treats combine the sweet, indulgent taste of cookie dough with the convenience of a quick grab-and-go snack. Perfect for after-school or any-time treats, these cookie dough balls are fun to make for kids and adults alike. Easily customizable, you can add your favorite mix-ins like nuts, dried fruits, coconut, or raisins.
These sweet treats get a protein boost from the creamy Daisy Cottage Cheese. The cottage cheese adds moisture and texture to the dough. It keeps the rich taste and is much lower in fat than butter or cream cheese.
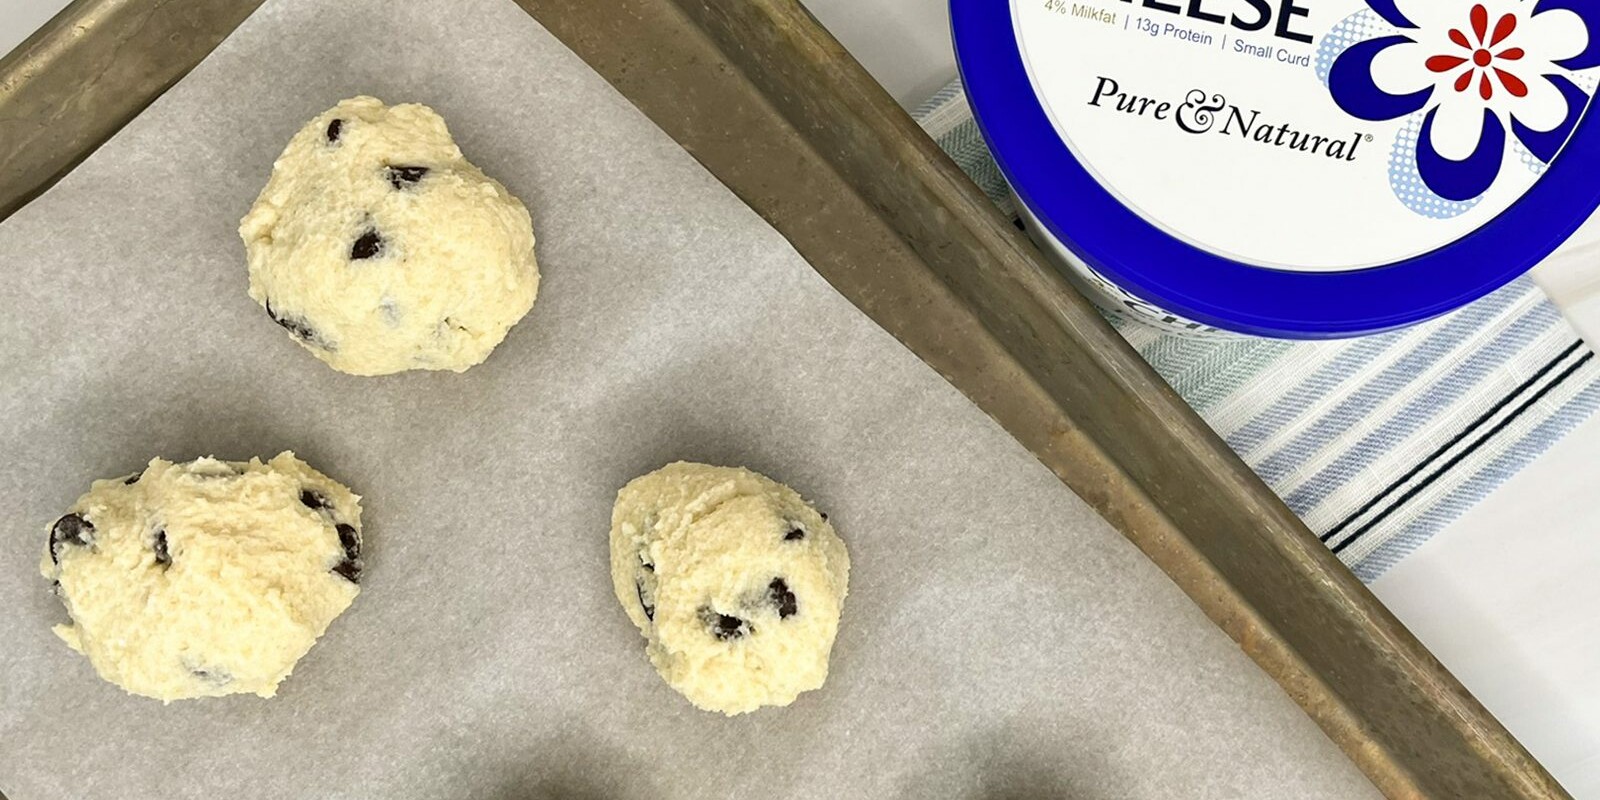
Made with only a few simple ingredients, these chocolate chip cookie dough balls have 33% less calories and triple the protein than a slice of traditional chocolate chip cookie dough. Plus, they have less carbs! Made with a few simple, high-quality ingredients, you can whip up these treats in 5 minutes.

Chocolate Chip Cookie Dough Ball Ingredients
- Daisy Cottage Cheese (1/2 cup): Enhances the texture, flavor, and nutritional profile of the cookie dough balls.
- Maple Syrup (1 1/2 tablespoons): With a rich, complex flavor like caramel, it adds a natural sweetness to the cookie dough.
- Vanilla Extract (1/2 teaspoon): Enhances the flavor of desserts.
- Almond Flour (3/4 cup): Gluten-free, low-carb, nutrient-dense, with a sweet, nutty flavor, it adds a tender crumb to the cookie dough balls.
- Sugar-Free Chocolate Chips (1/4 cup): A terrific way to add the chocolaty flavor you love without adding extra sugar.

Substitutions, Variations, and Tips
- Honey, agave, corn syrup or molasses may be used in place of maple syrup, with slightly different flavor profiles.
- All-purpose flour, coconut flour or oat flour may be used in place of almond flour.
- Regular chocolate chips may be used in place of sugar-free chips.
- Other mix-ins may be used in place of chocolate chips, such as nut, coconut, or dried fruit.
- You can add a teaspoon of unsweetened cocoa powder for more chocolaty goodness.
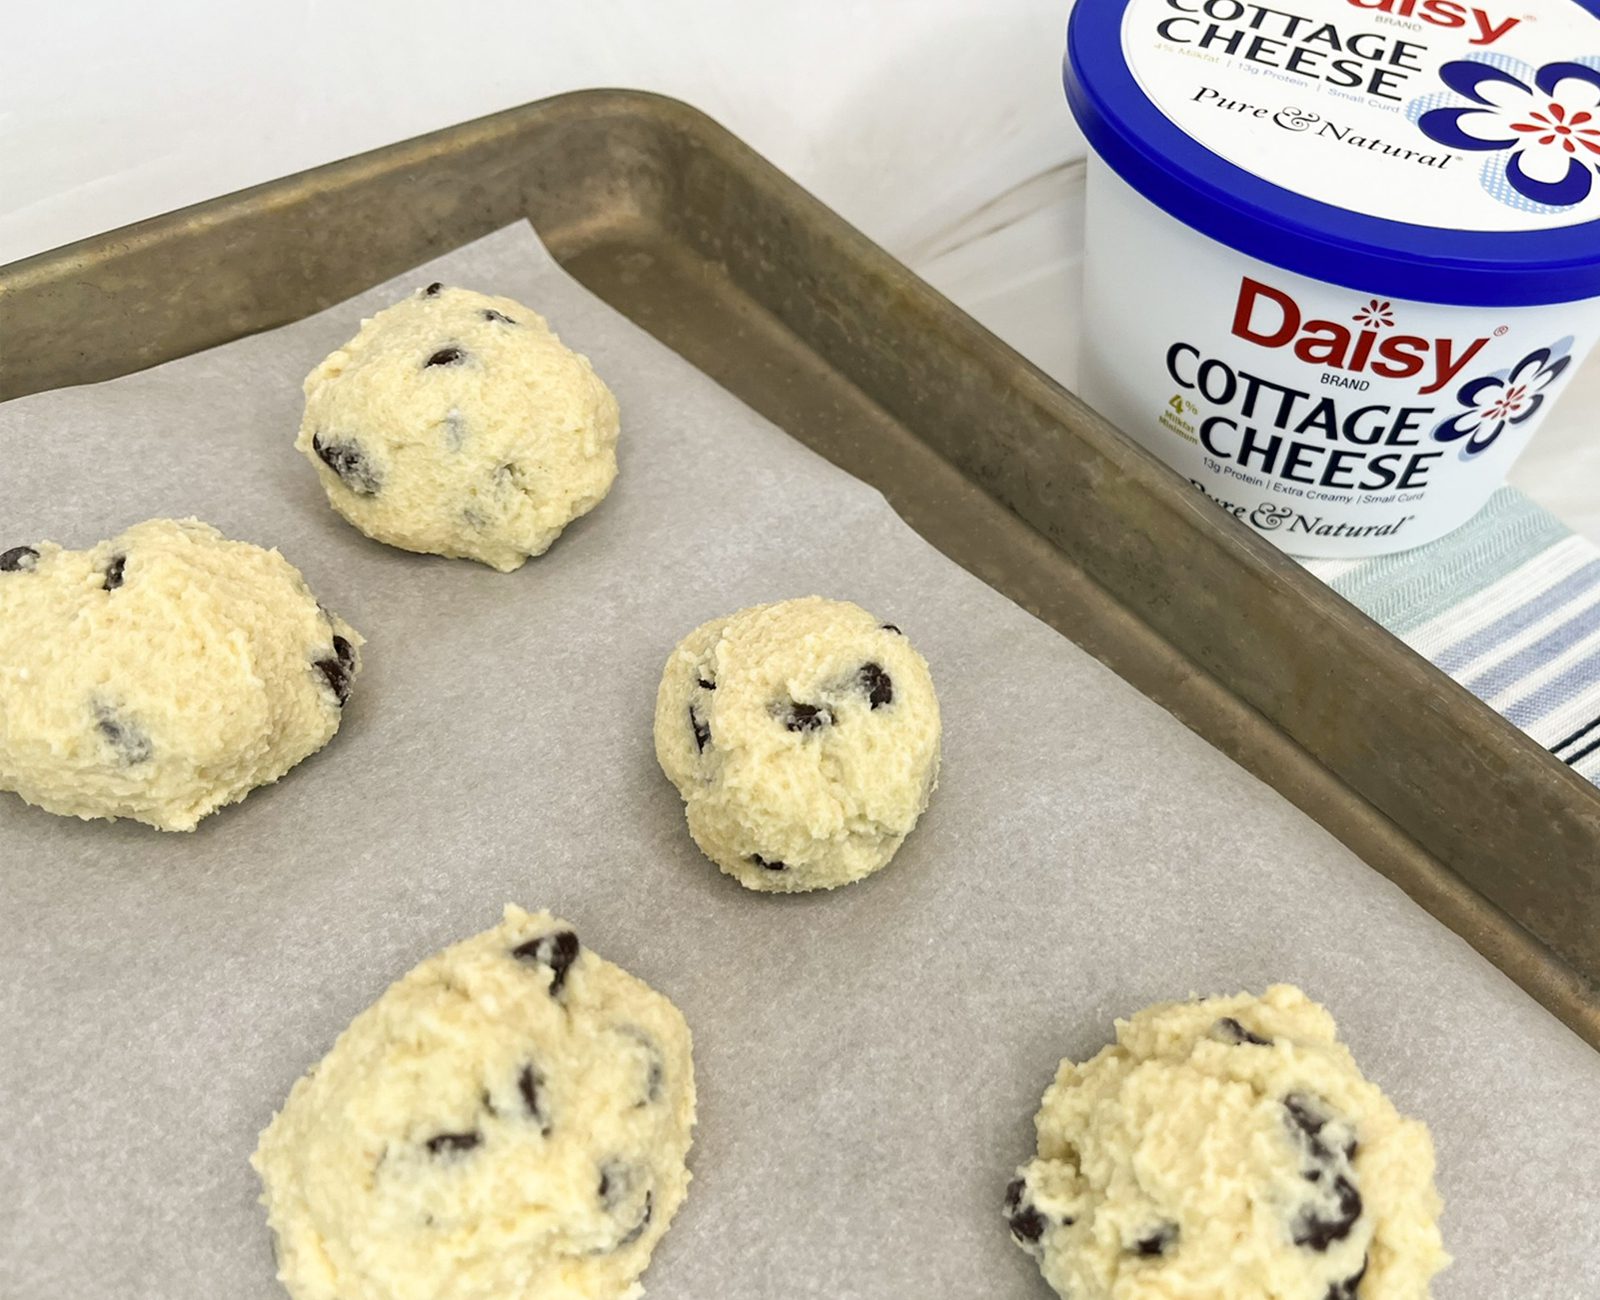
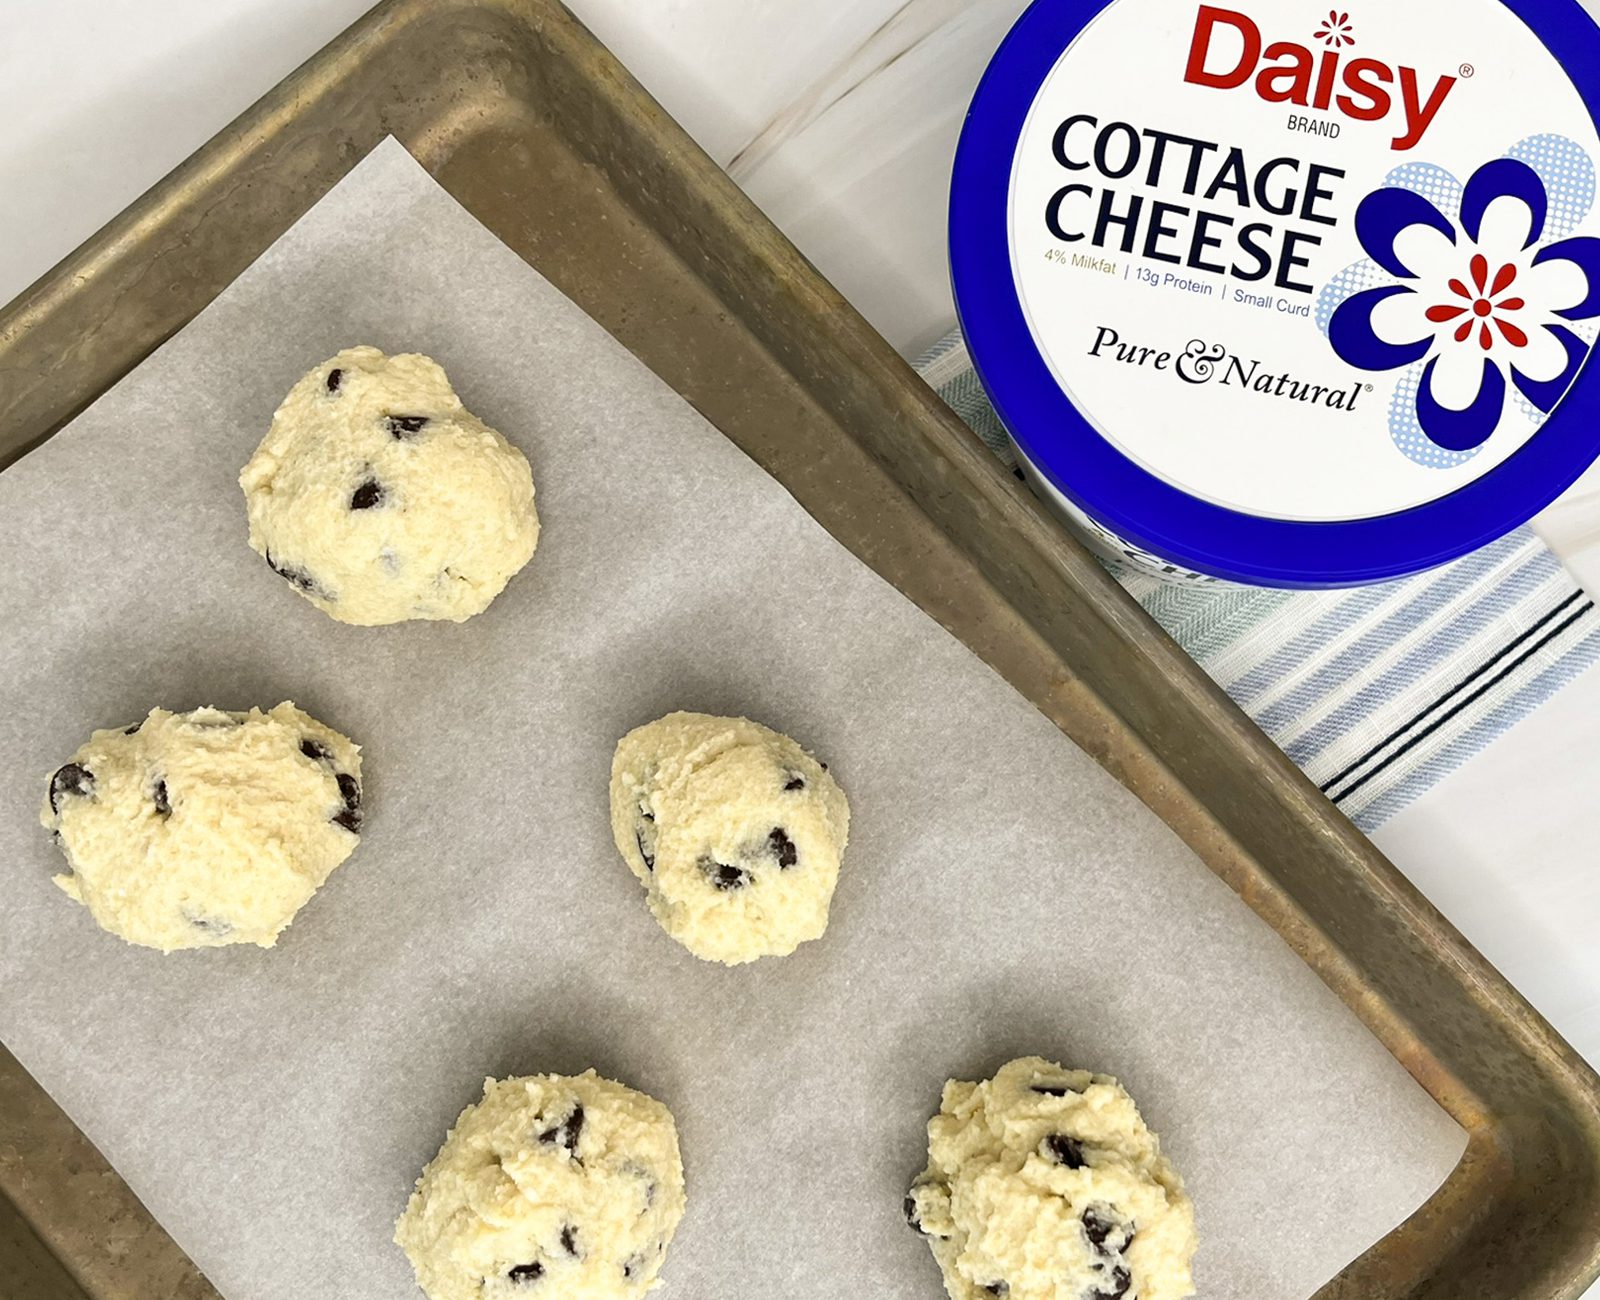
How to Make Chocolate Chip Cookie Dough Balls
- Add cottage cheese, maple syrup, and vanilla to food processor. Process 1 minute or until completely smooth. Pour into bowl.
- Stir in almond flour until evenly combined. Fold in chocolate chips. Roll into 6 individual balls.
- Refrigerate and chill for 30 minutes for best taste or eat immediately.
Cheesy Fettucine Alfredo
Cheesy Fettucine Alfredo
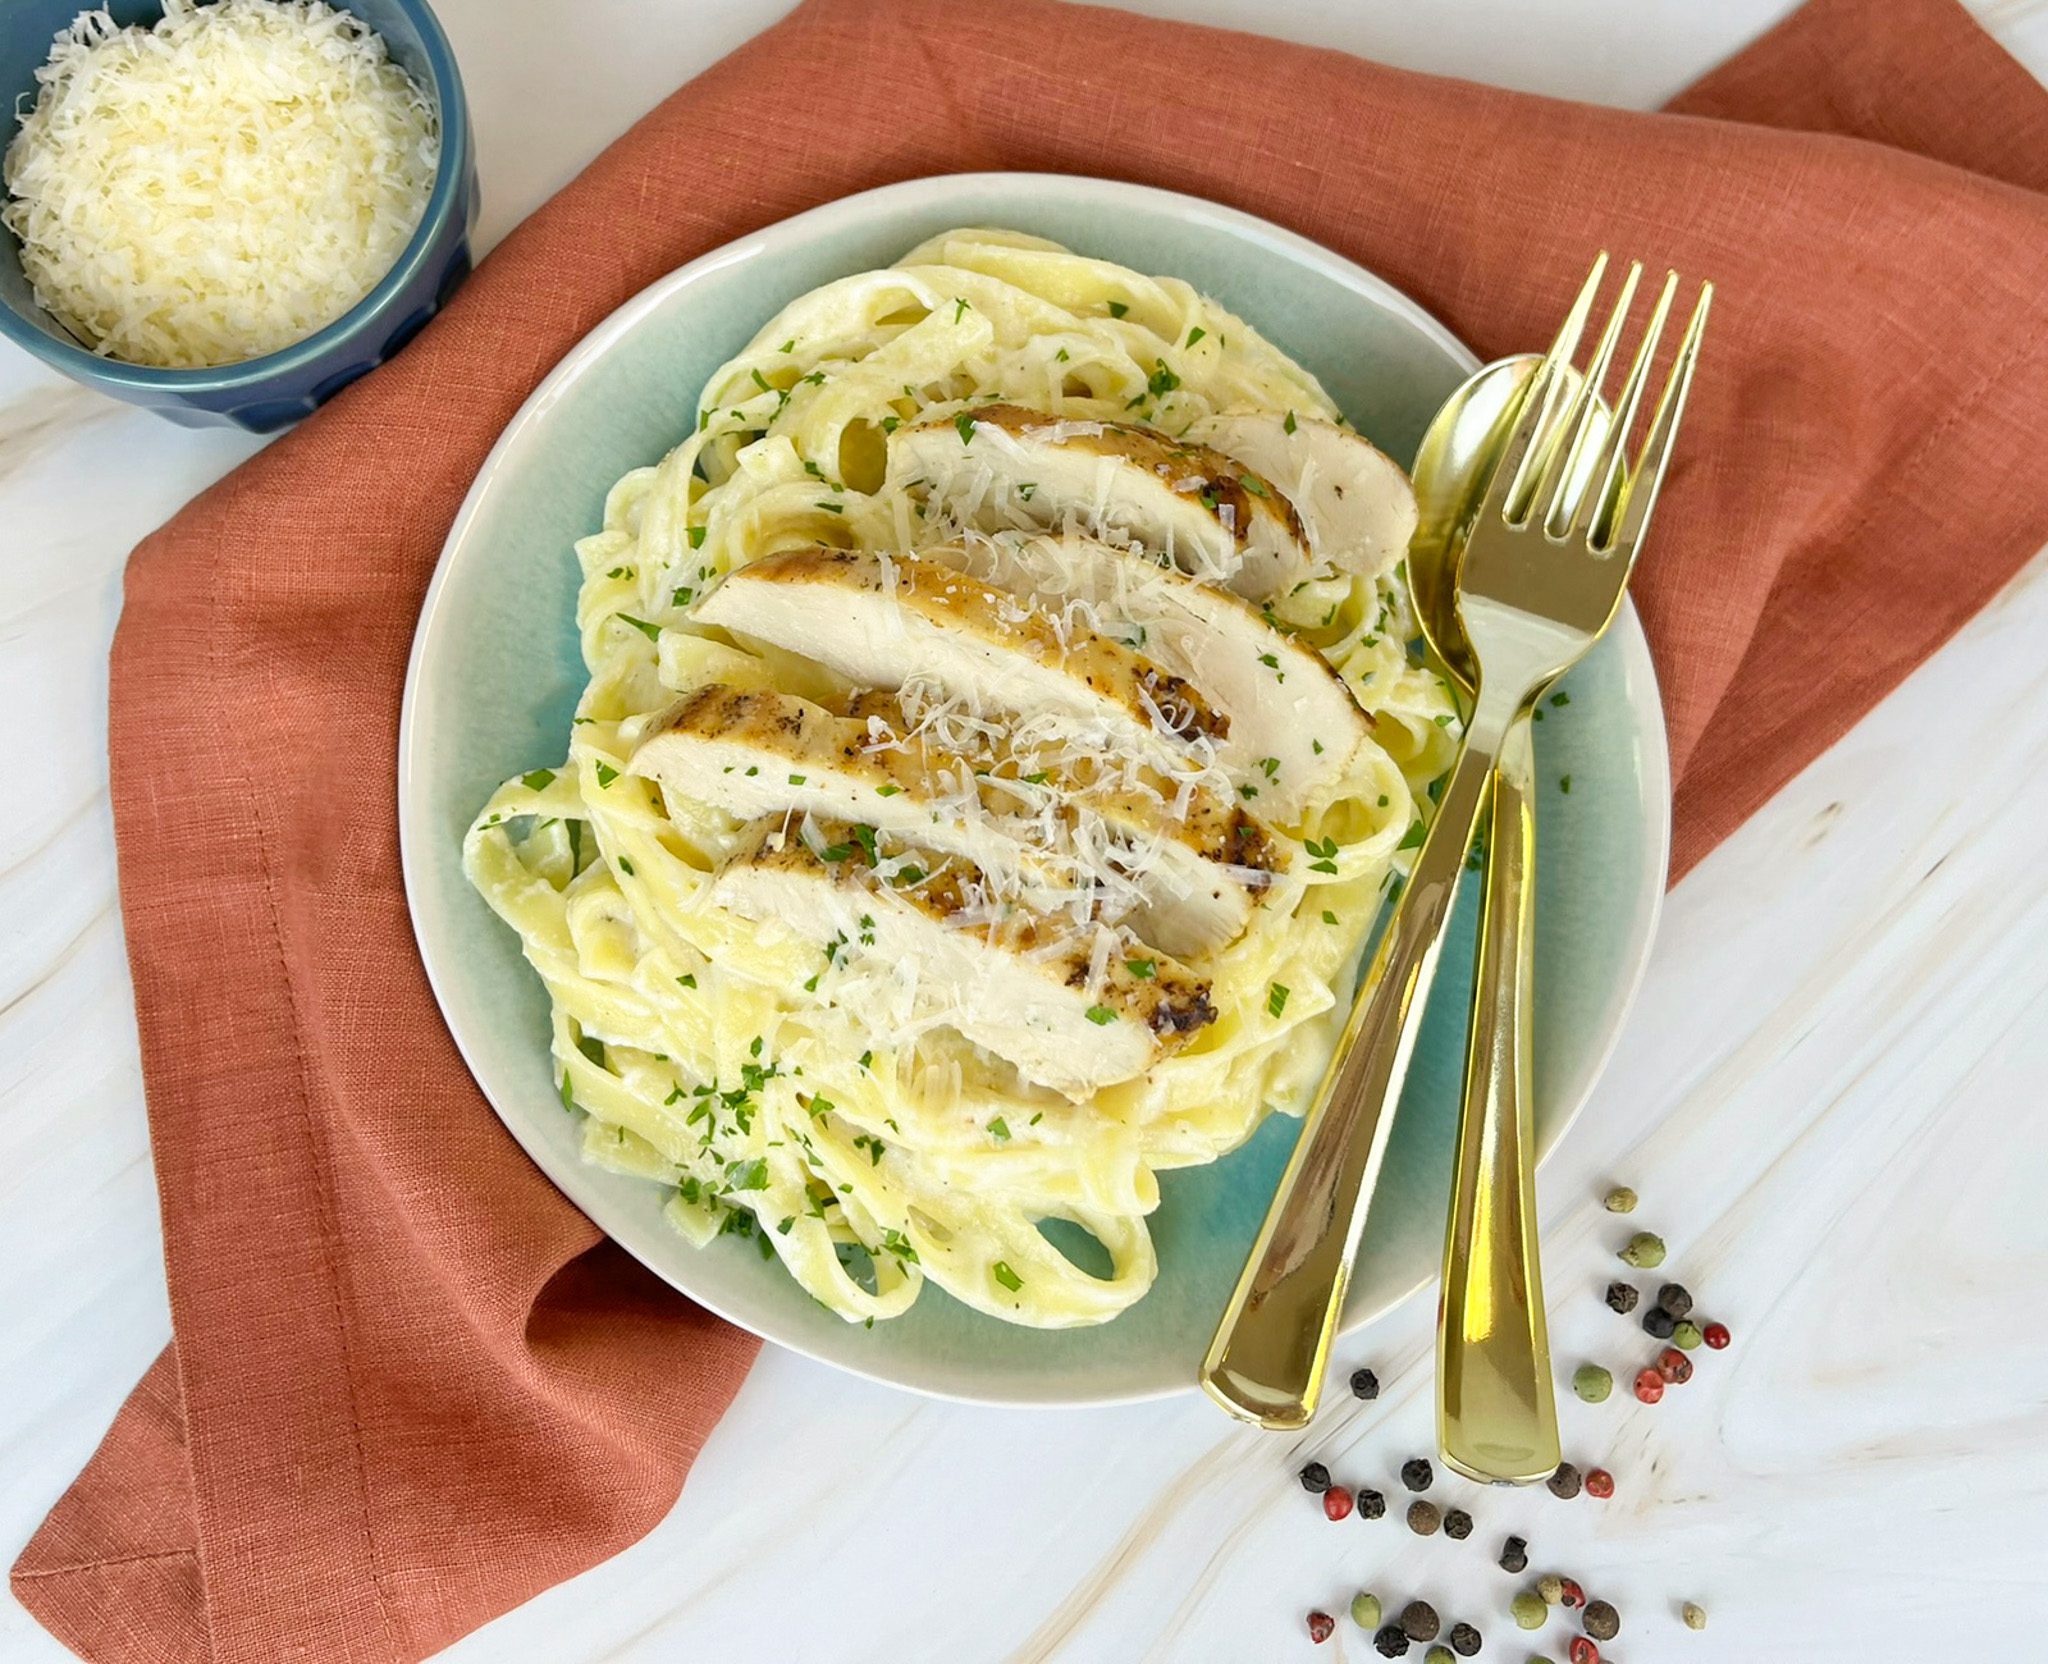
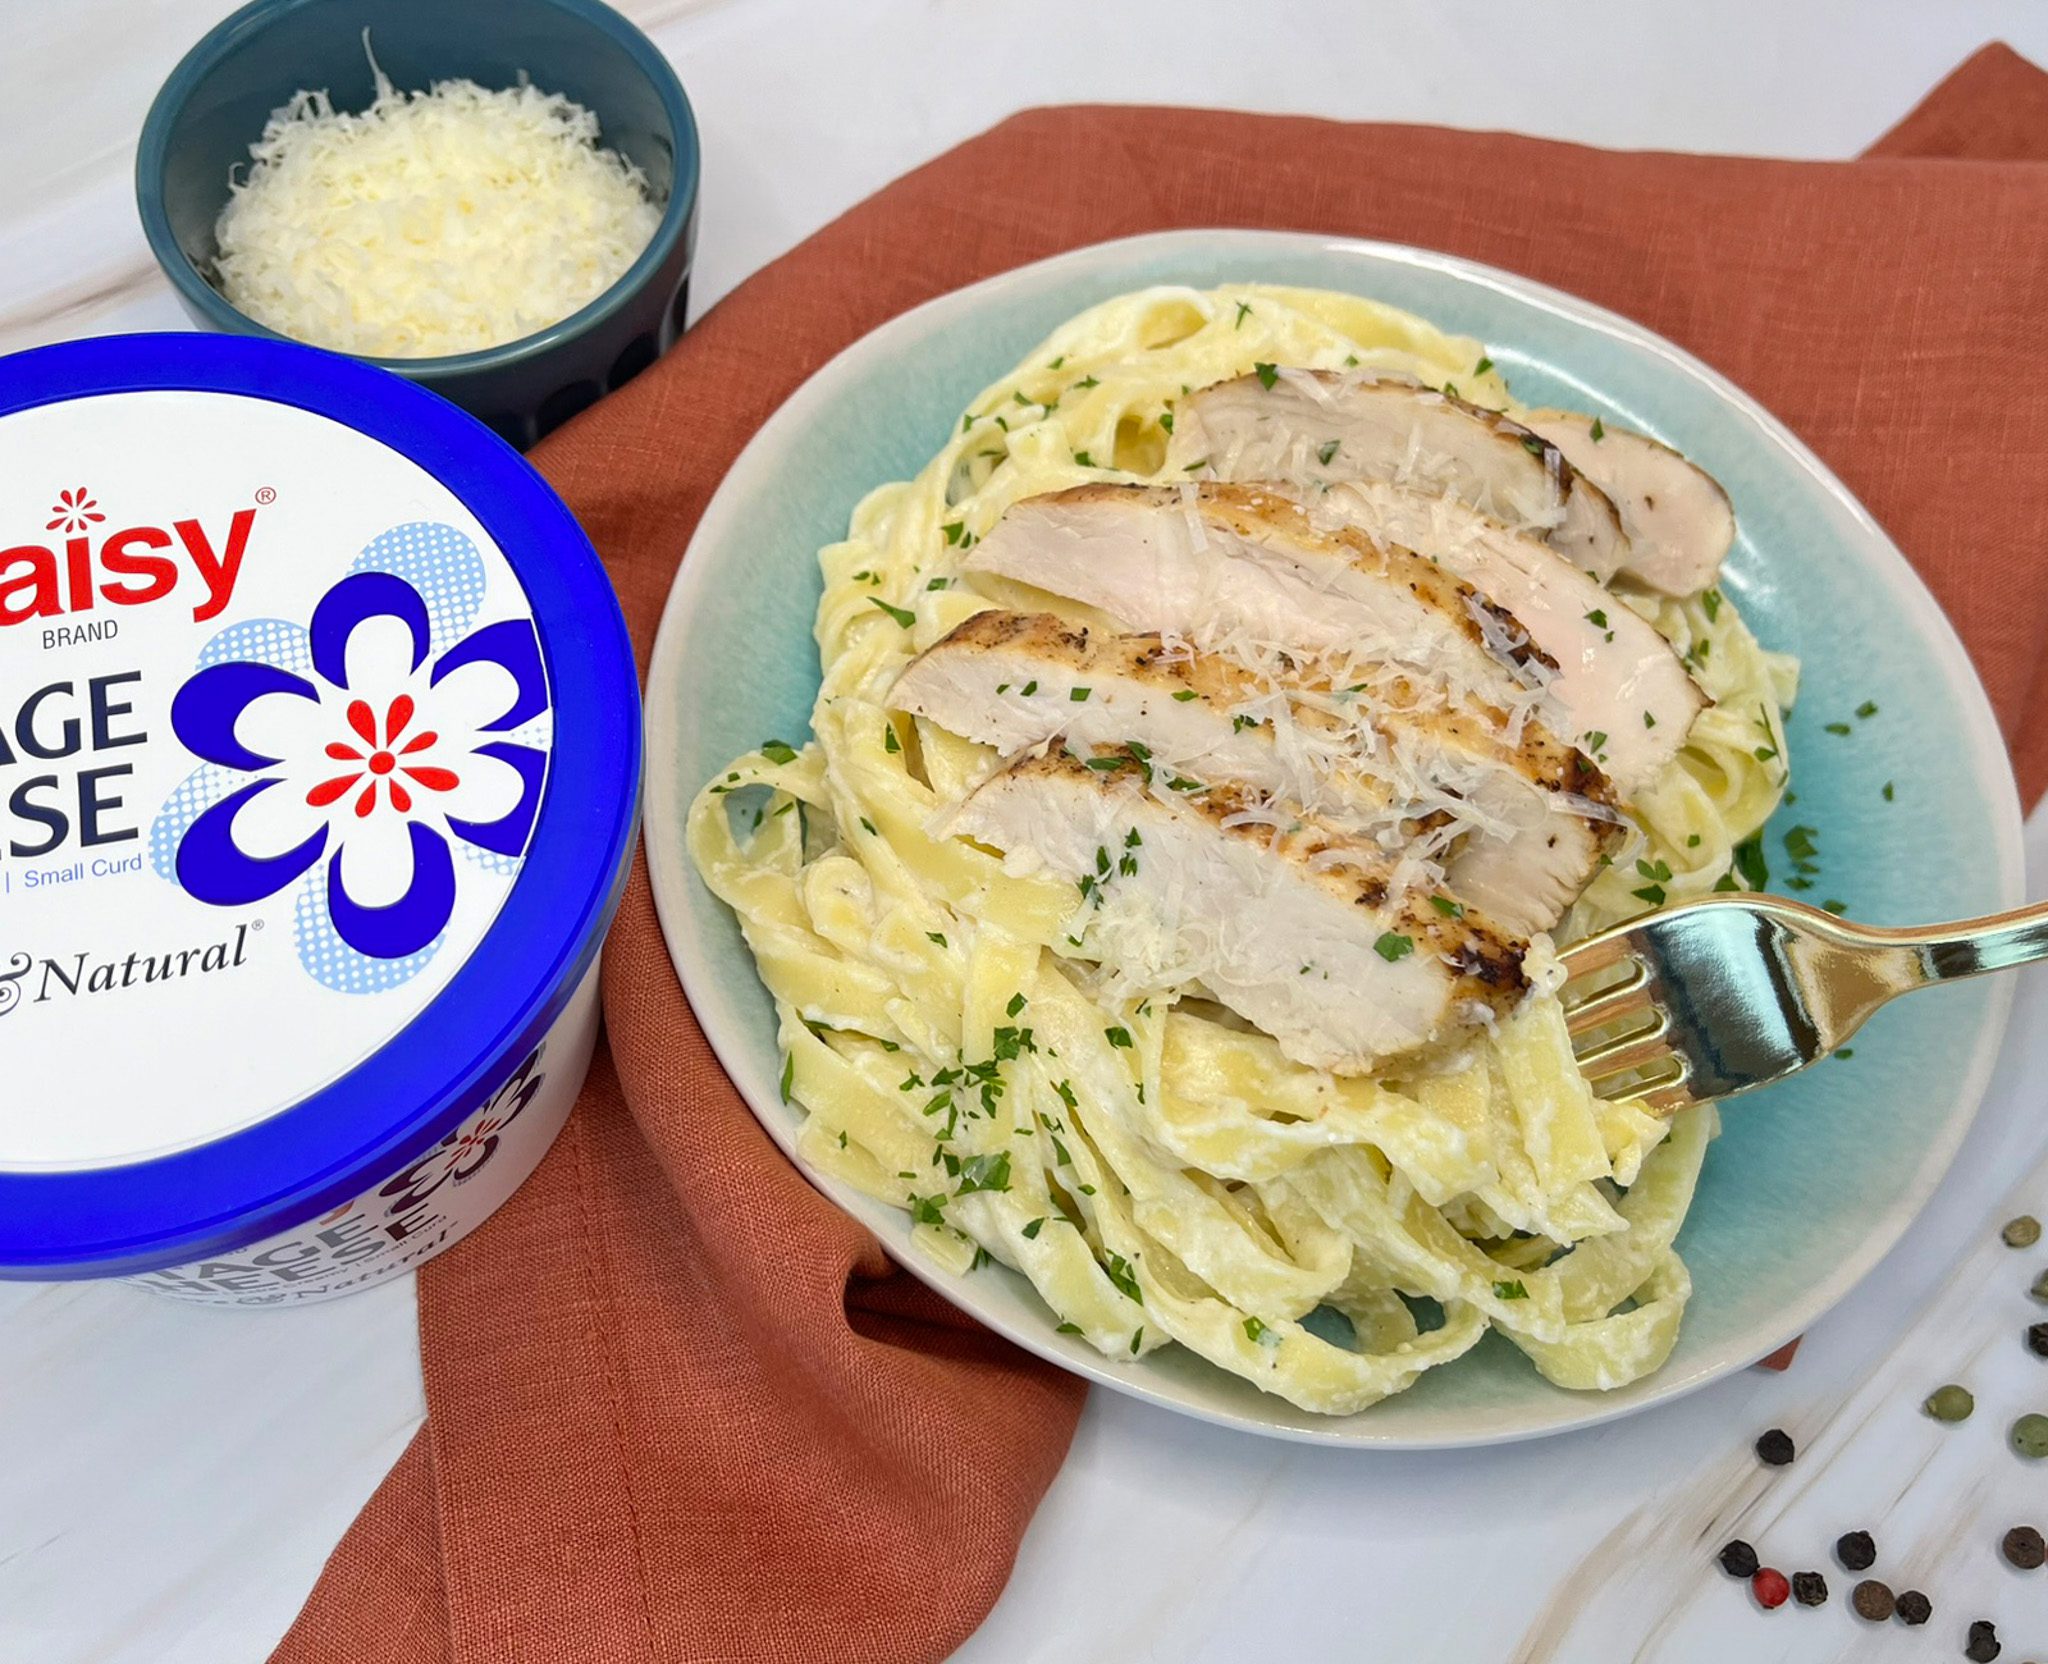
This Cheesy Fettuccine Alfredo is perfect for those nights when you are craving a rich and creamy pasta but without the guilt. Traditional fettuccine alfredo is high in calories, fat, and cholesterol due to the butter and heavy cream. Using cottage cheese as the base of the alfredo lightens up the dish significantly without sacrificing the creaminess, with 32% less calories, 64% less fat and 59% less cholesterol than traditional fettuccine alfredo. The cottage cheese also makes the recipe more filling due to the added protein.
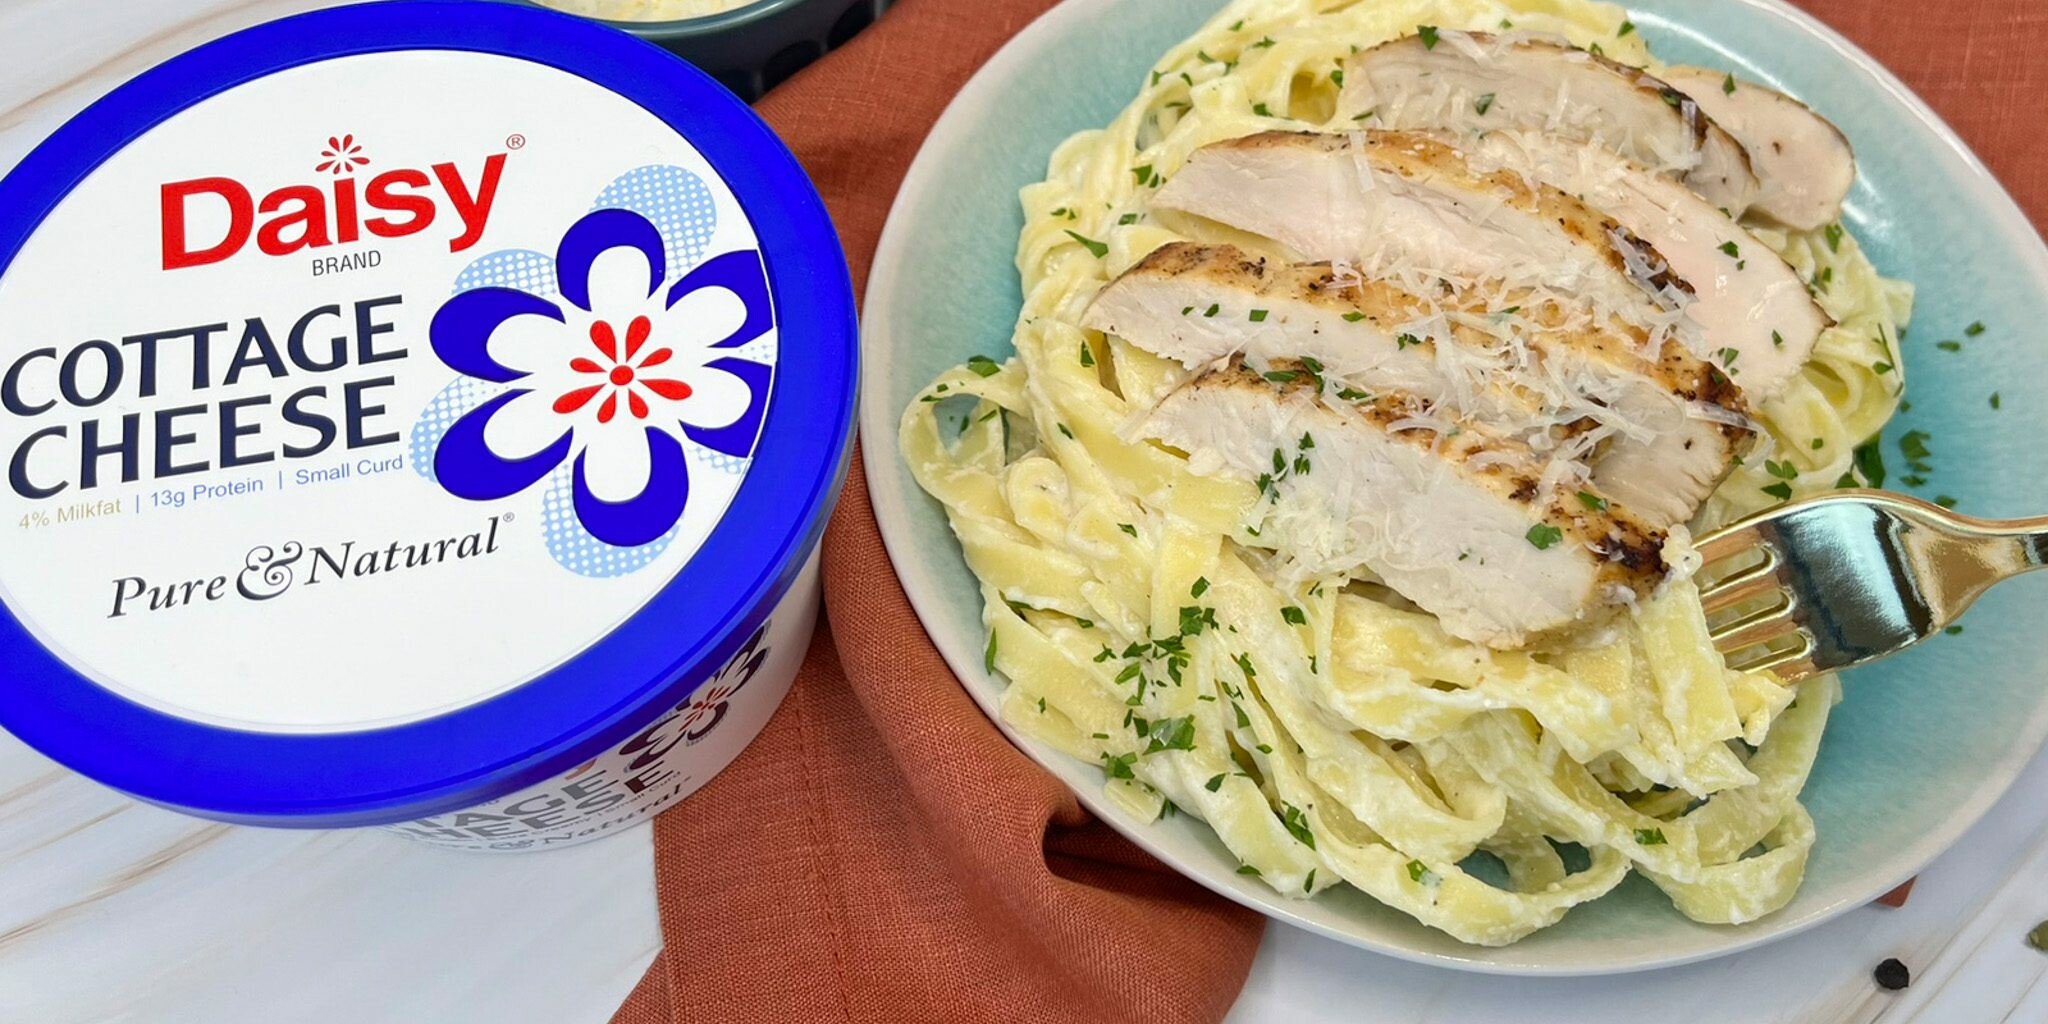
This quick and easy pasta is easily customizable. On the table in less than 30 minutes, making this a perfect weeknight dinner. Adding veggies, grilled chicken, or other proteins will make it even heartier, eliminating the need for sides.
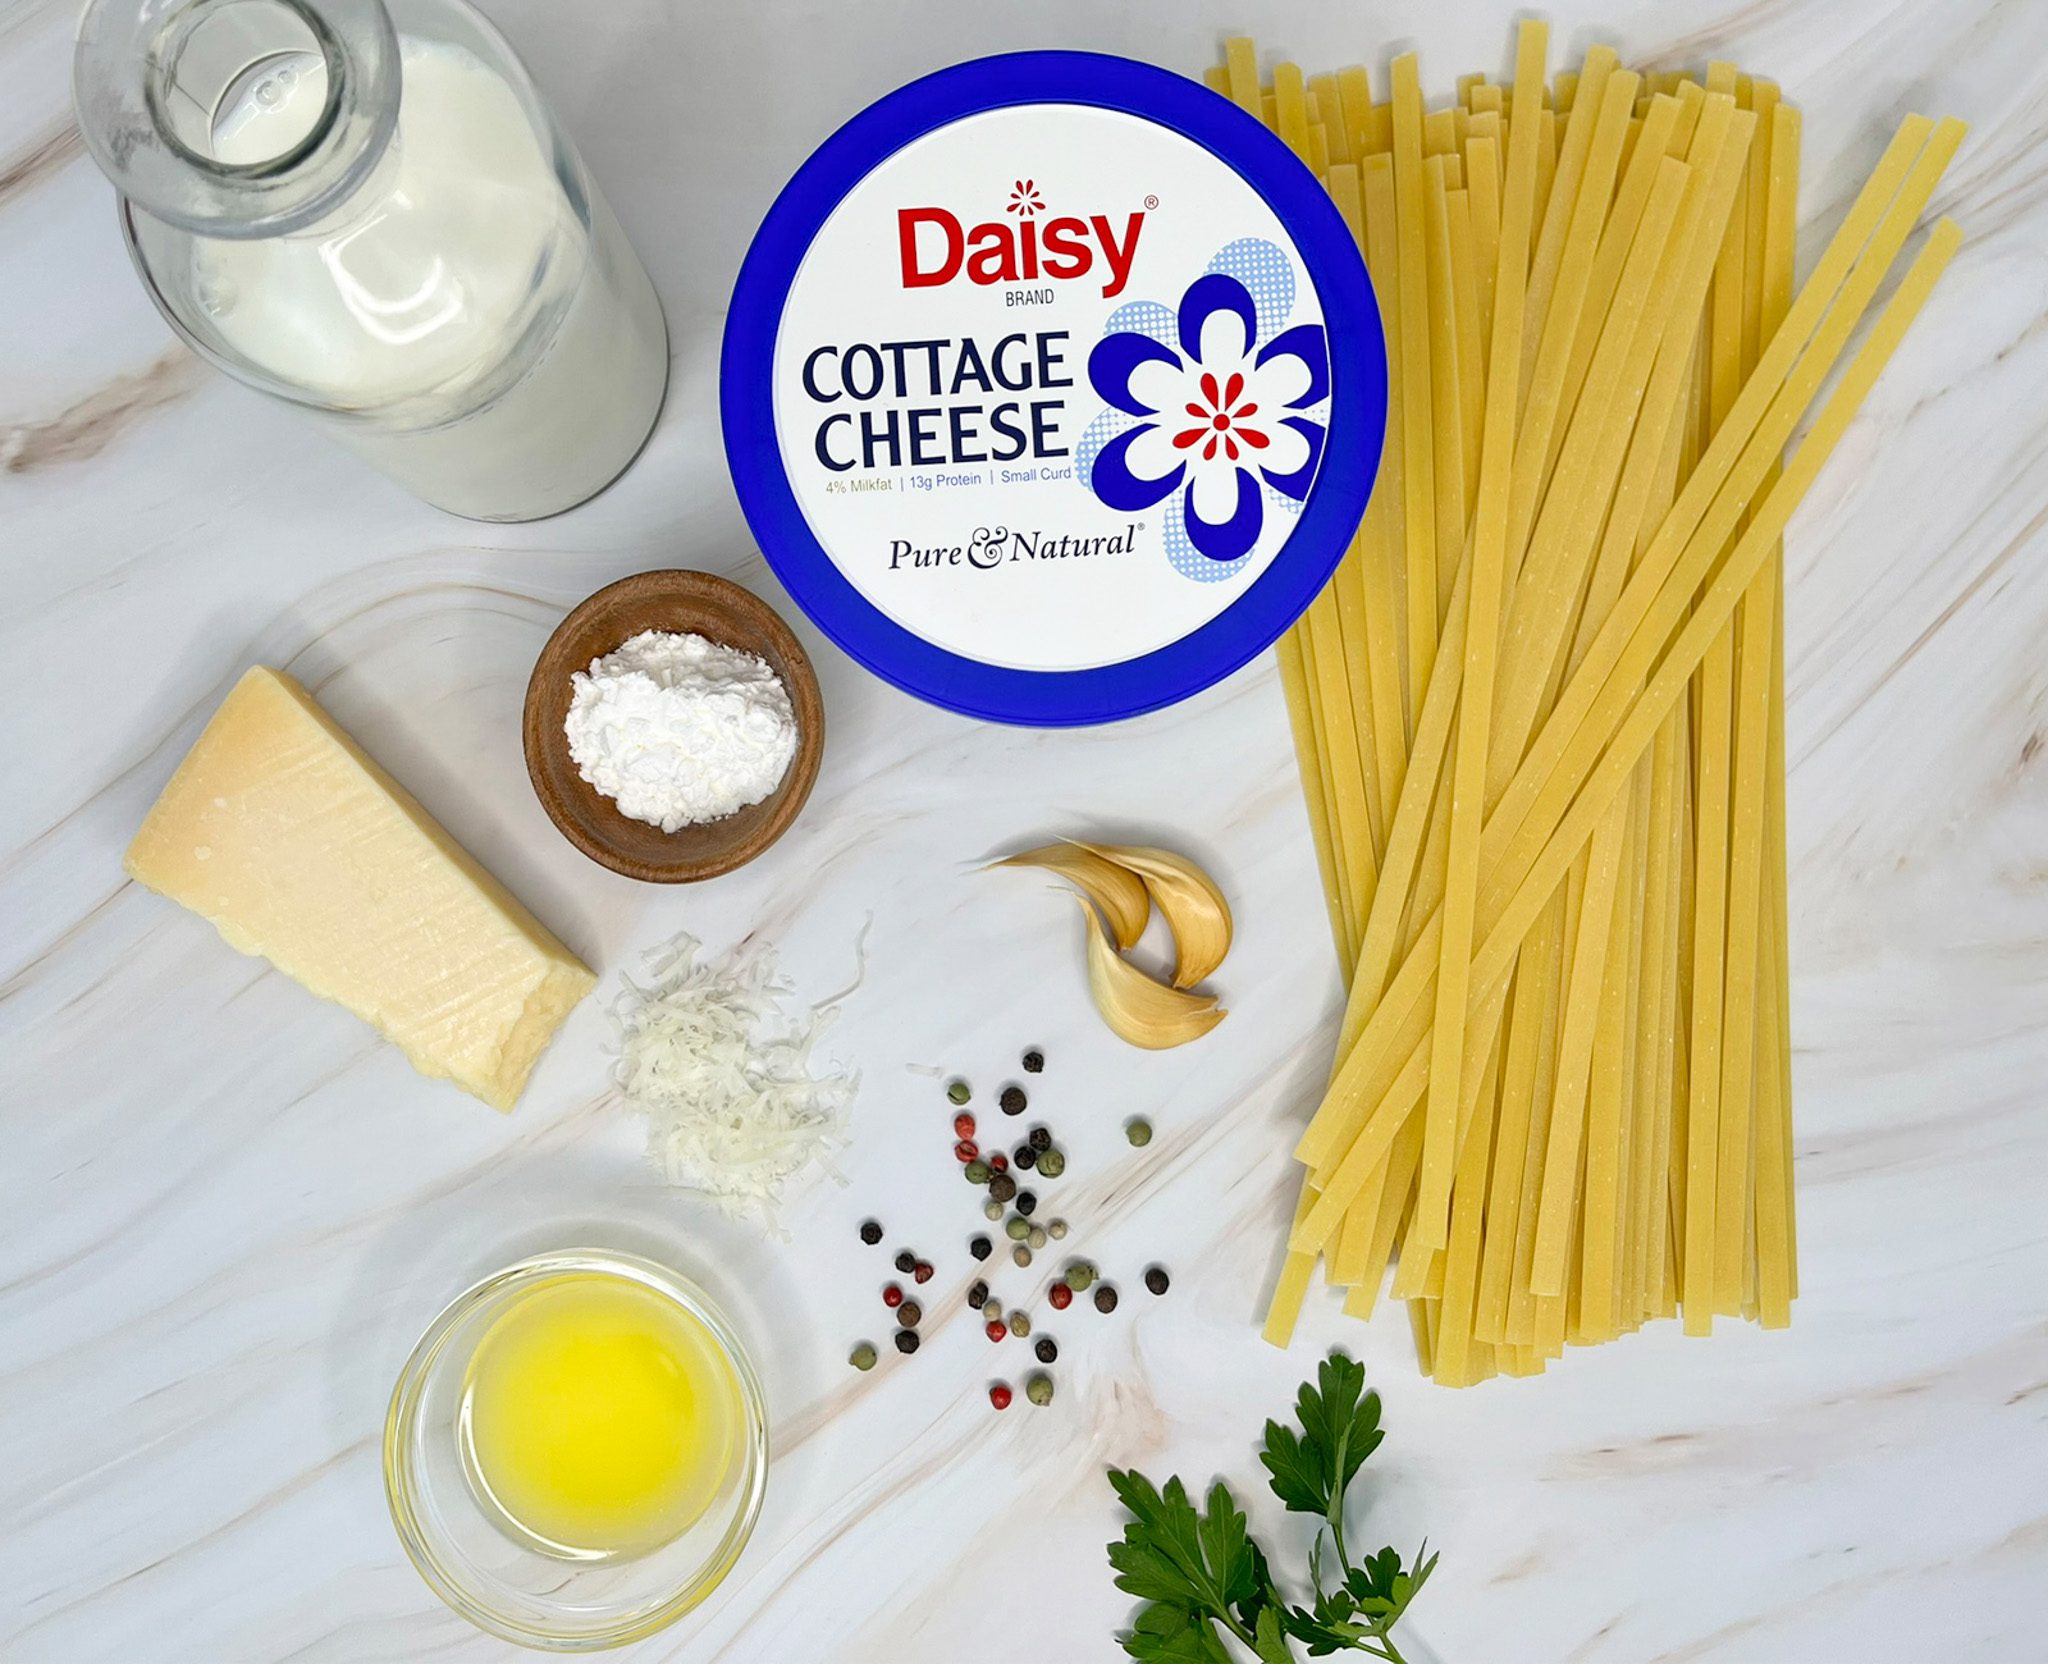
Cheesy Fettucine Alfredo Ingredients
- Dry Fettuccine (8 ounces): Found in most pantries, dried pasta is economical and great for saucy dishes.
- Daisy Cottage Cheese (1/2 cup): A protein powerhouse, the cottage cheese adds a creamy and slightly salty taste to the easy pasta sauce. It contains a type of protein called casein protein, which absorbs slowly into the body, helping you stay full longer. It replaces the heavy cream and butter in traditional alfredo, making the recipe lower in calories, fat, and cholesterol.
- Milk (1 cup): Full fat milk will make a creamier base for the sauce, but low-fat or skim milk will also work in this recipe. Feel free to use whatever you have on hand. The milk adds richness to the sauce and helps thin it out.
- Cornstarch (1 tablespoon): It thickens the sauce and helps make it smooth and silky.
- Minced Garlic (1/2 teaspoon): Adds depth of flavor to the sauce.
- Parmesan Cheese (1/2 cup, freshly grated): Adds rich flavor and makes the sauce thick and creamy.
- Freshly Cracked Black Pepper (1/8 teaspoon): Adds a fresh, bright flavor to the sauce.
- Melted Butter (1 tablespoon): Helps accentuate the flavors of the cheese and seasoning.
Substitutions, Variations, and Tips
- Other dried pasta may be used in place of the fettuccine, including gluten-free pasta.
- Coconut milk, soy, or almond milk may be used in place of regular milk, giving the sauce a tasty twist.
- Crushed red pepper flakes may be added for a punch of heat.
- Freshly grated parmesan cheese is best as it contains no additives and melts better than pre-grated cheese that often contains non-clumping agents and additives.
- Try adding your favorite protein for a heartier meal, such as grilled chicken, ground beef, or Italian sausage.
- Add some veggies. Throw in any pre-cooked veggies that you like.
- Try topping with some fresh herbs, such as rosemary, thyme, or parsley for a burst of freshness.
How to Make Cheesy Fettucine Alfredo
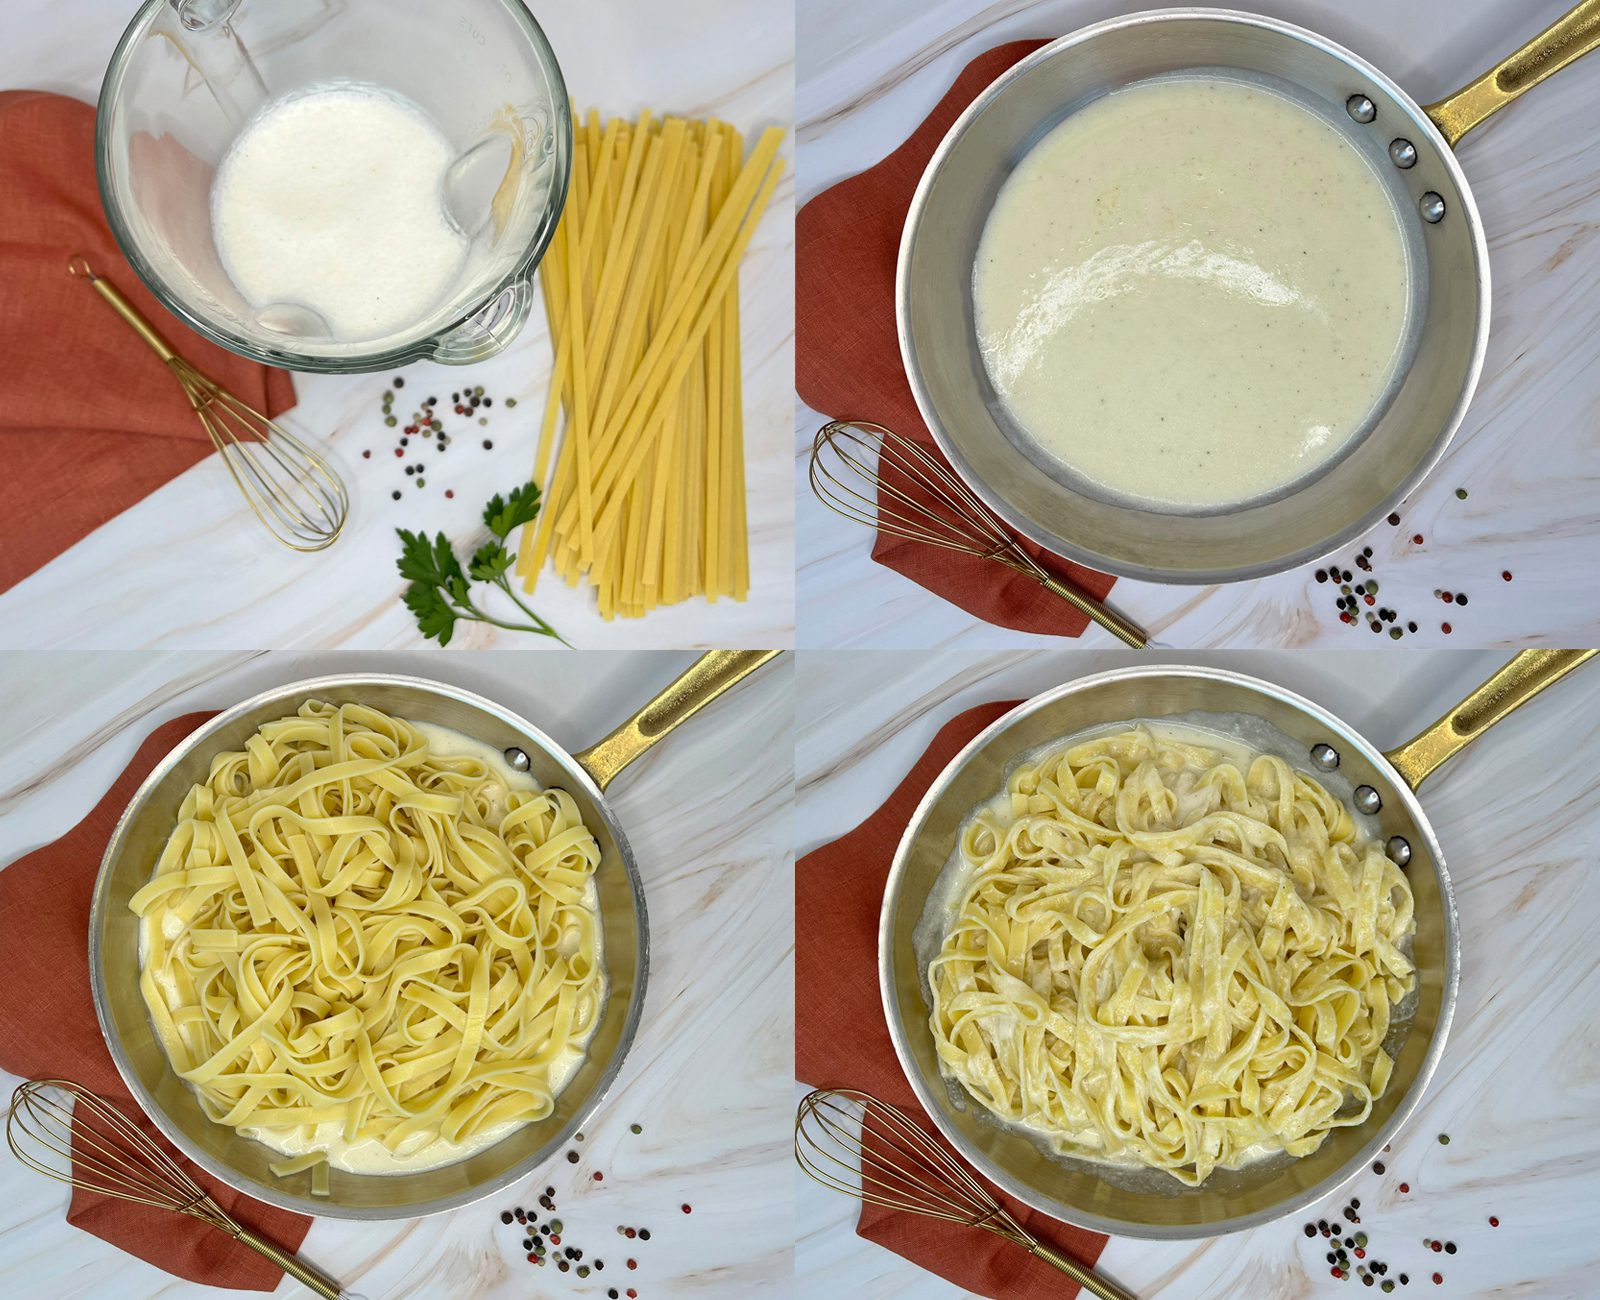
- Cook pasta according to package directions for the shortest time noted.
- Combine the remaining ingredients in a blender. Blend until smooth.
- Heat sauce over medium-low heat for 4-5 minutes until slightly thickened.
- Add drained pasta to sauce. Remove from heat and let pasta stand for 2 minutes before serving.
Daisy Quiche
Daisy Quiche
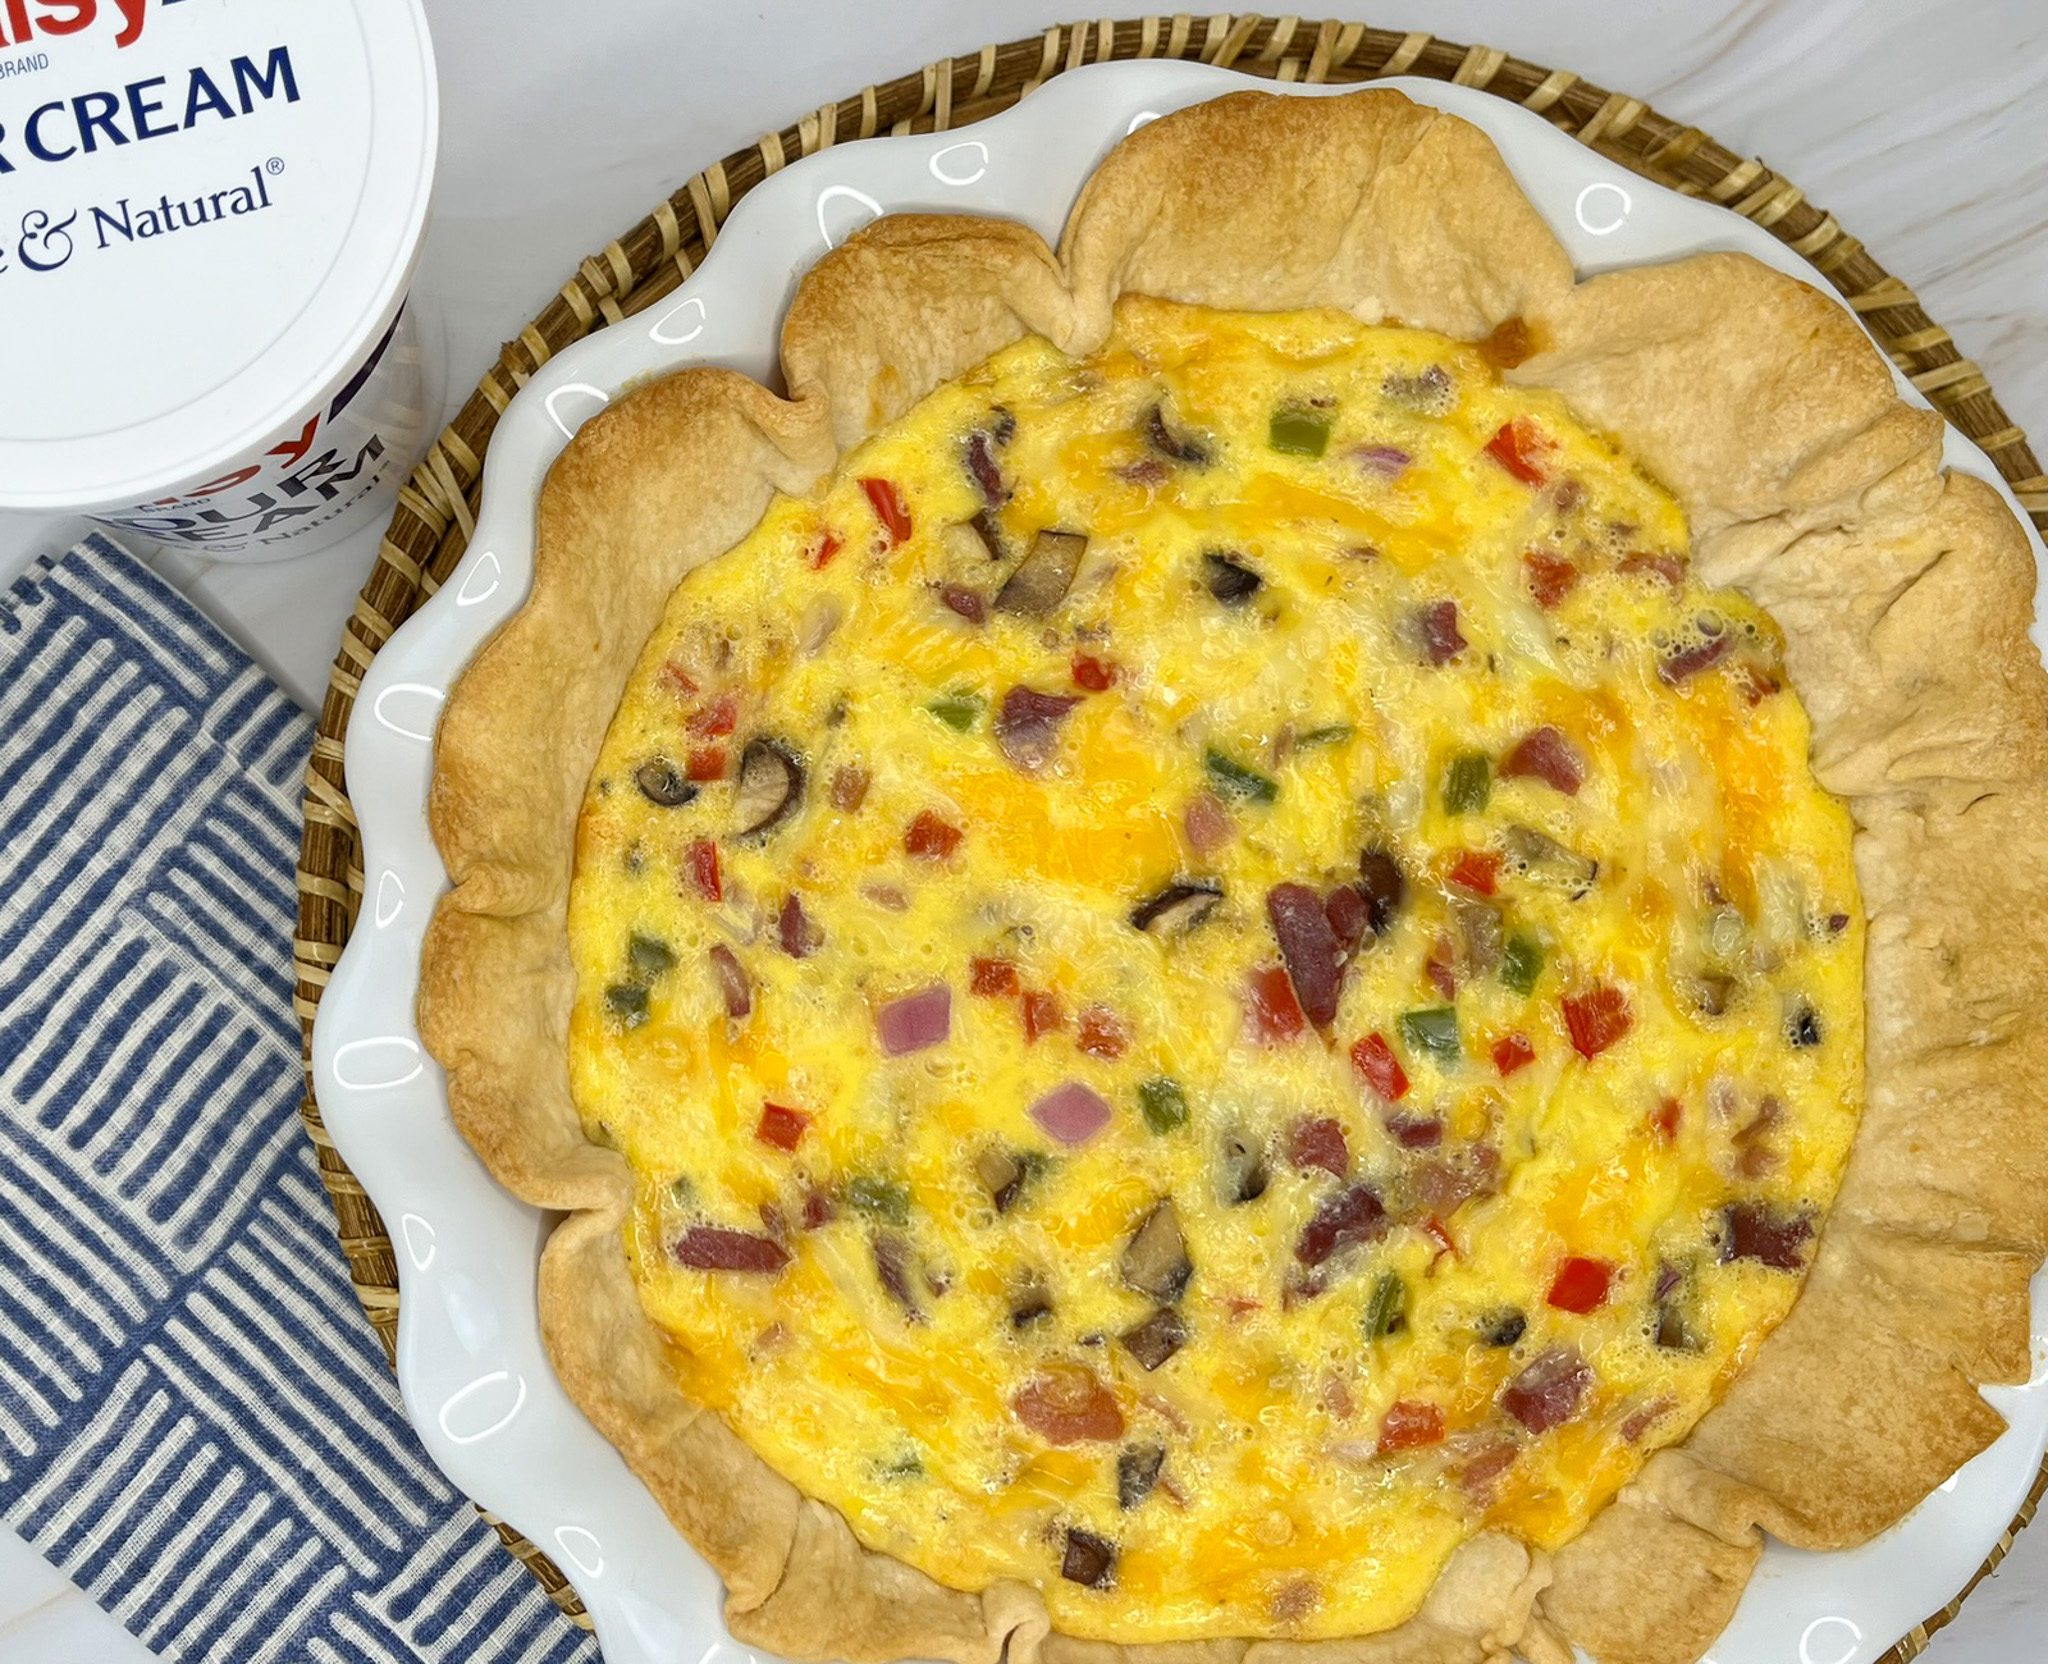
Ideal for weeknight dinners, weekend brunch, entertaining, or for holiday gatherings, this Daisy Quiche will really hit the spot. Warm and comforting, this quiche comes together in about 30 minutes. Pop it into the oven to bake while you visit or prep other dishes.
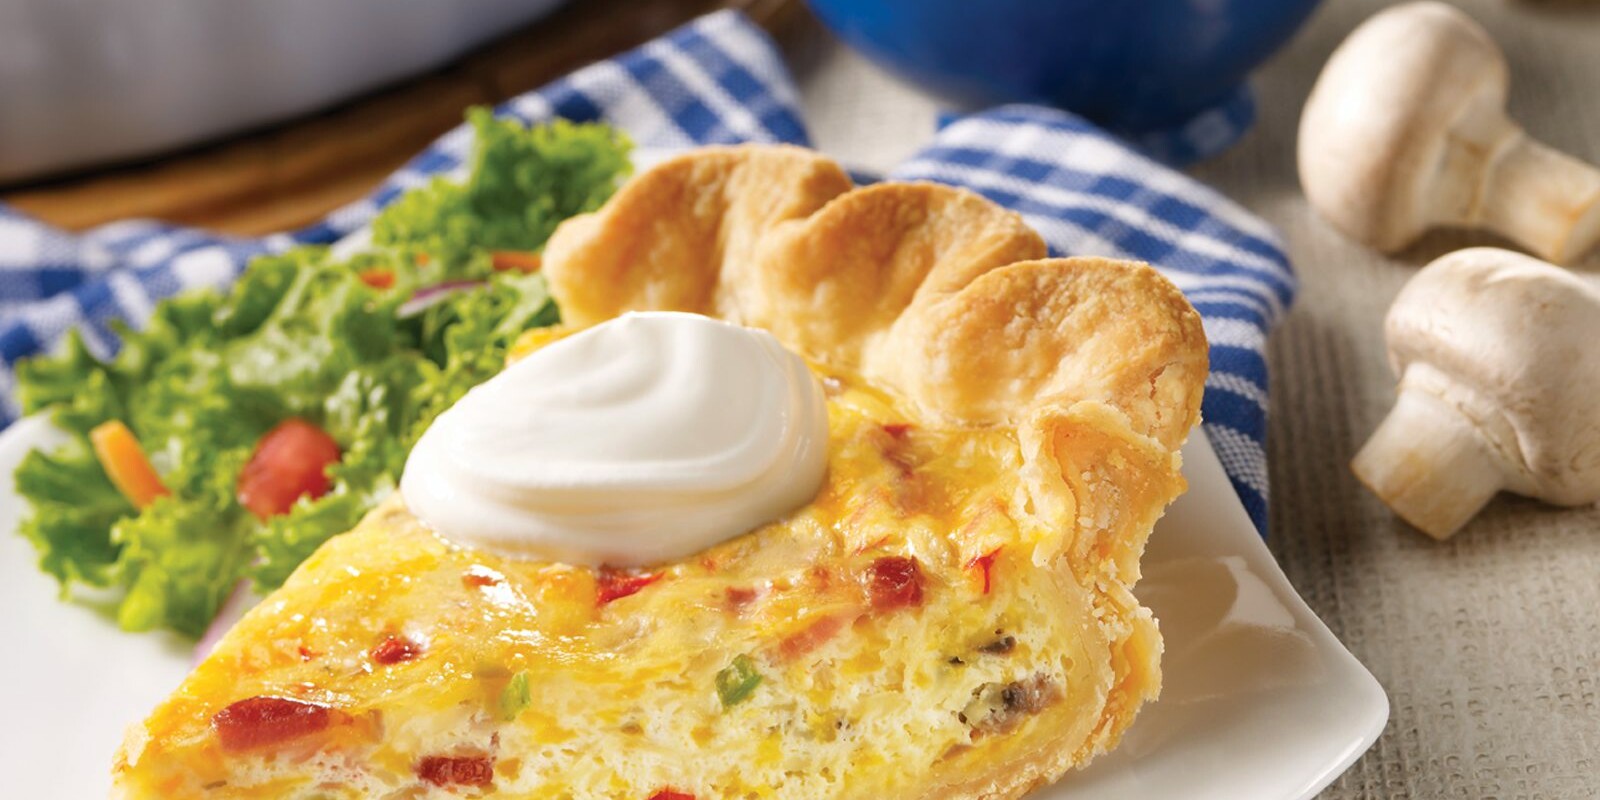
The perfect balance of savory, smoky, cheesy, creamy goodness in this quiche is sure to be a crowd-pleaser. This recipe is easily doubled. It can also be made ahead so it is ready to go whenever you need a premade brunch recipe.
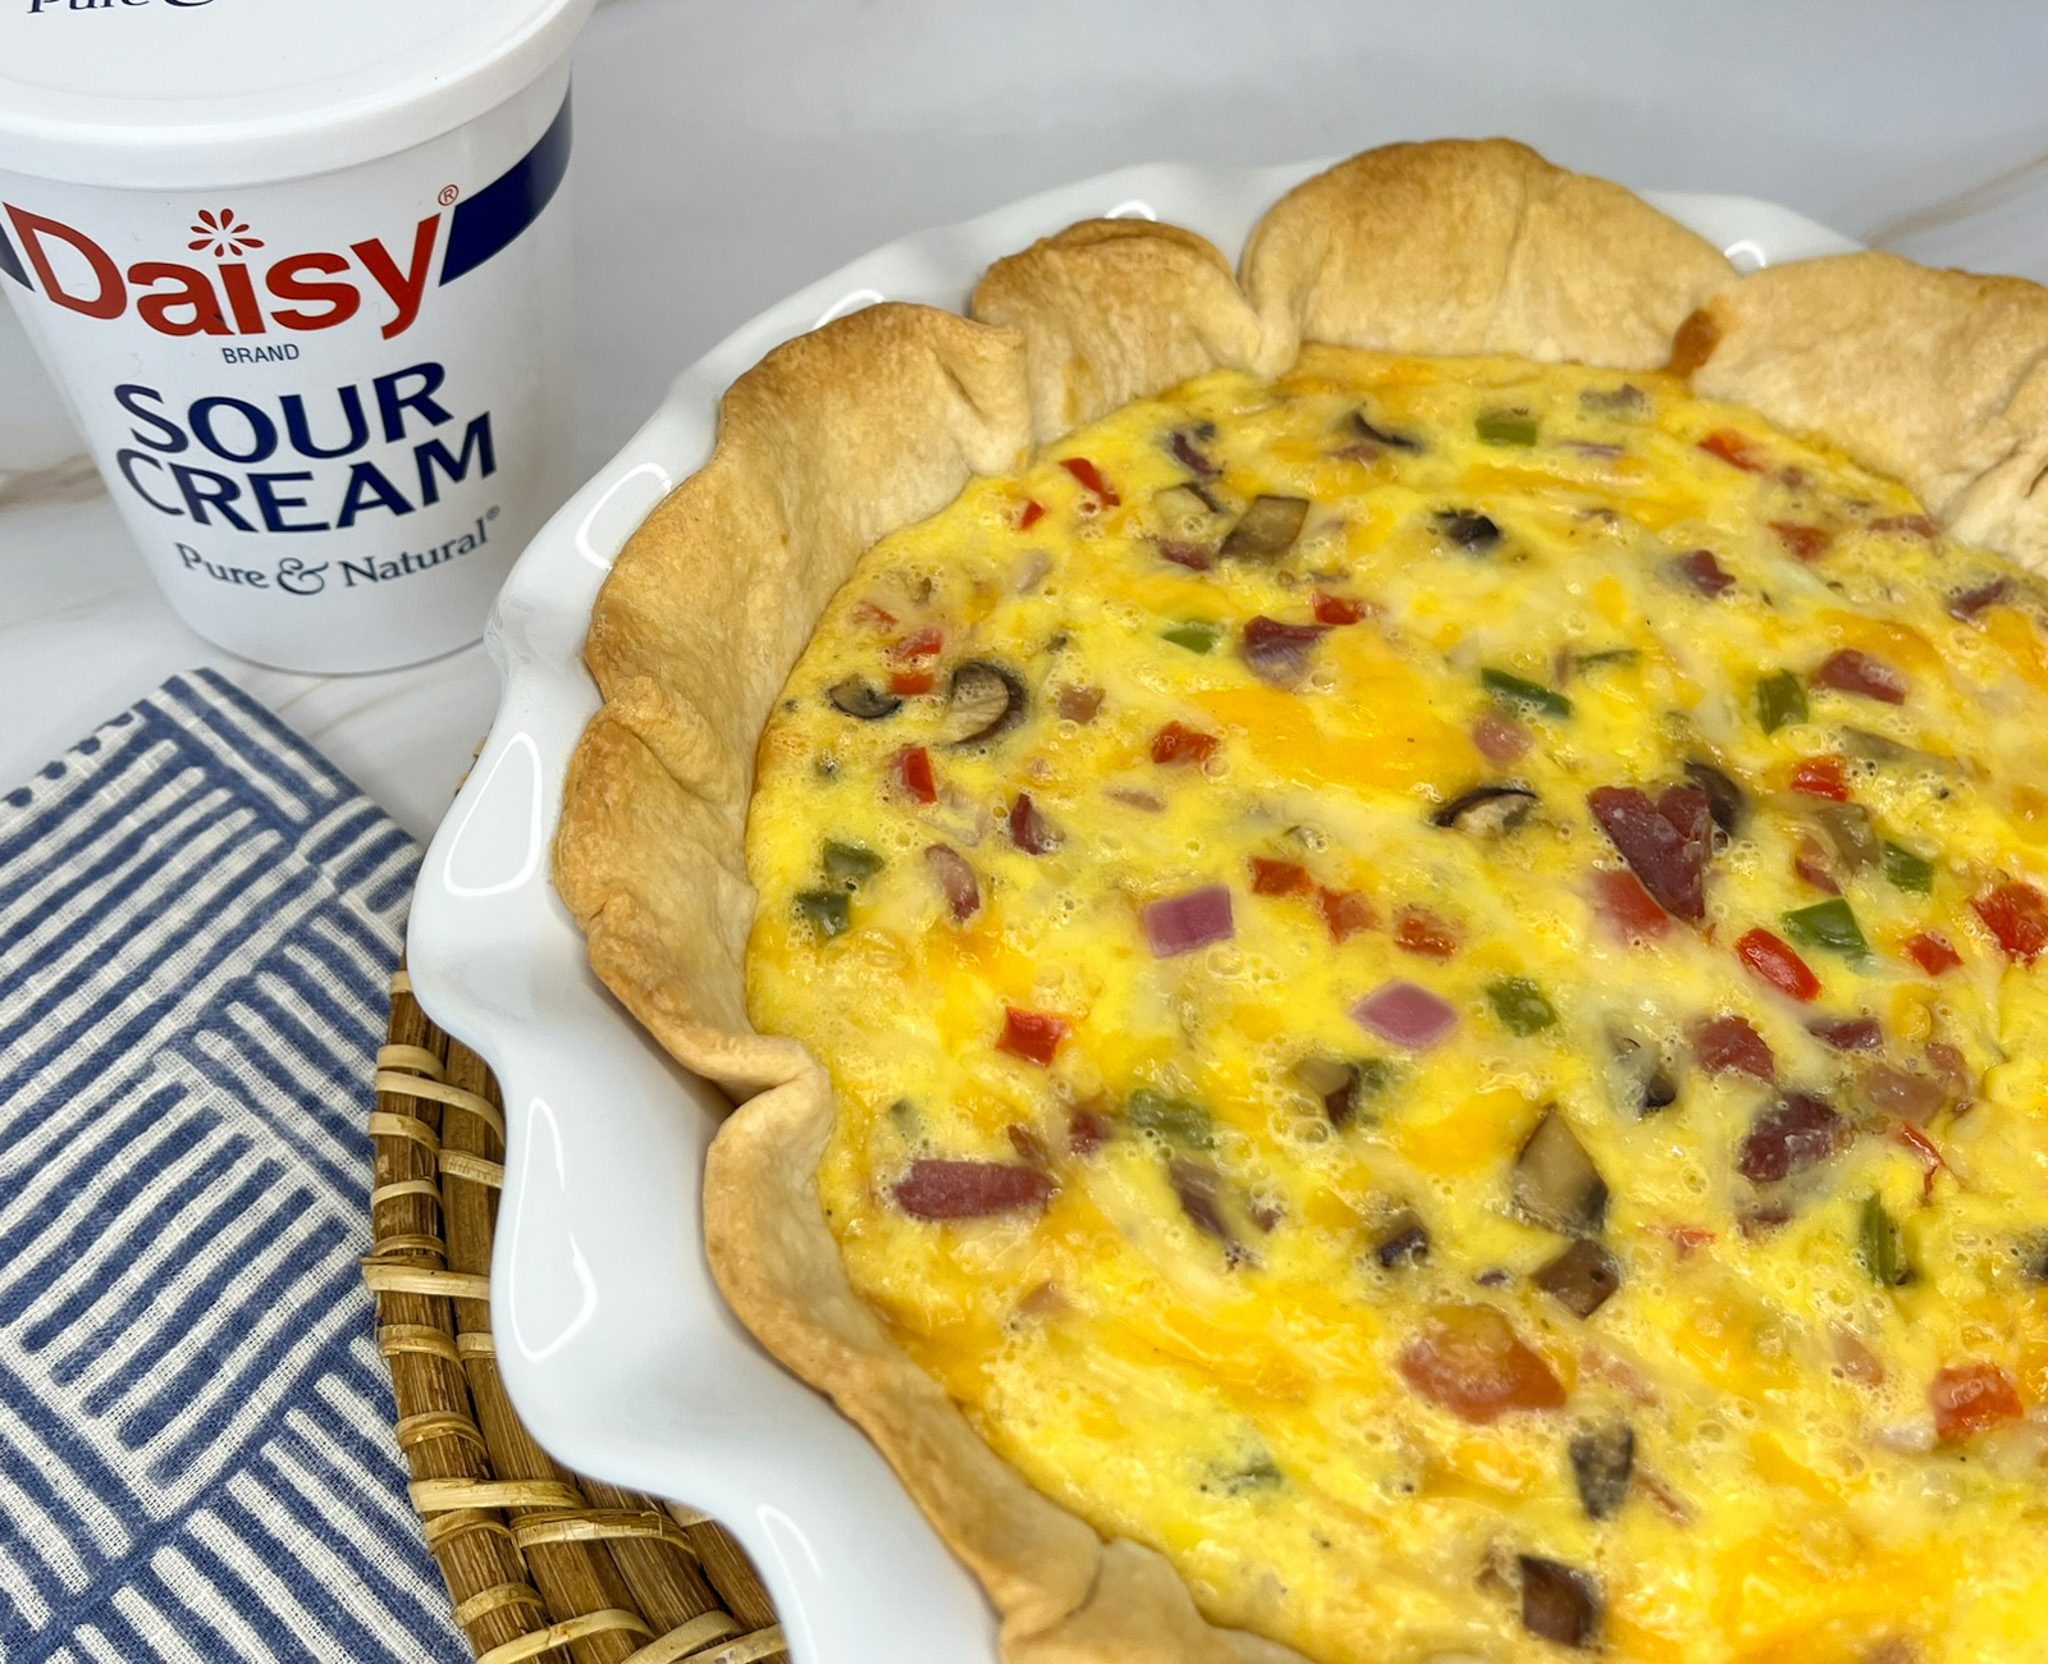
The sour cream in the filling adds a delicate creamy tartness to the quiche, while a dollop on top will add a touch of creamy freshness. Easily customizable to your liking, you can mix and match your veggies or add more depending on your taste.
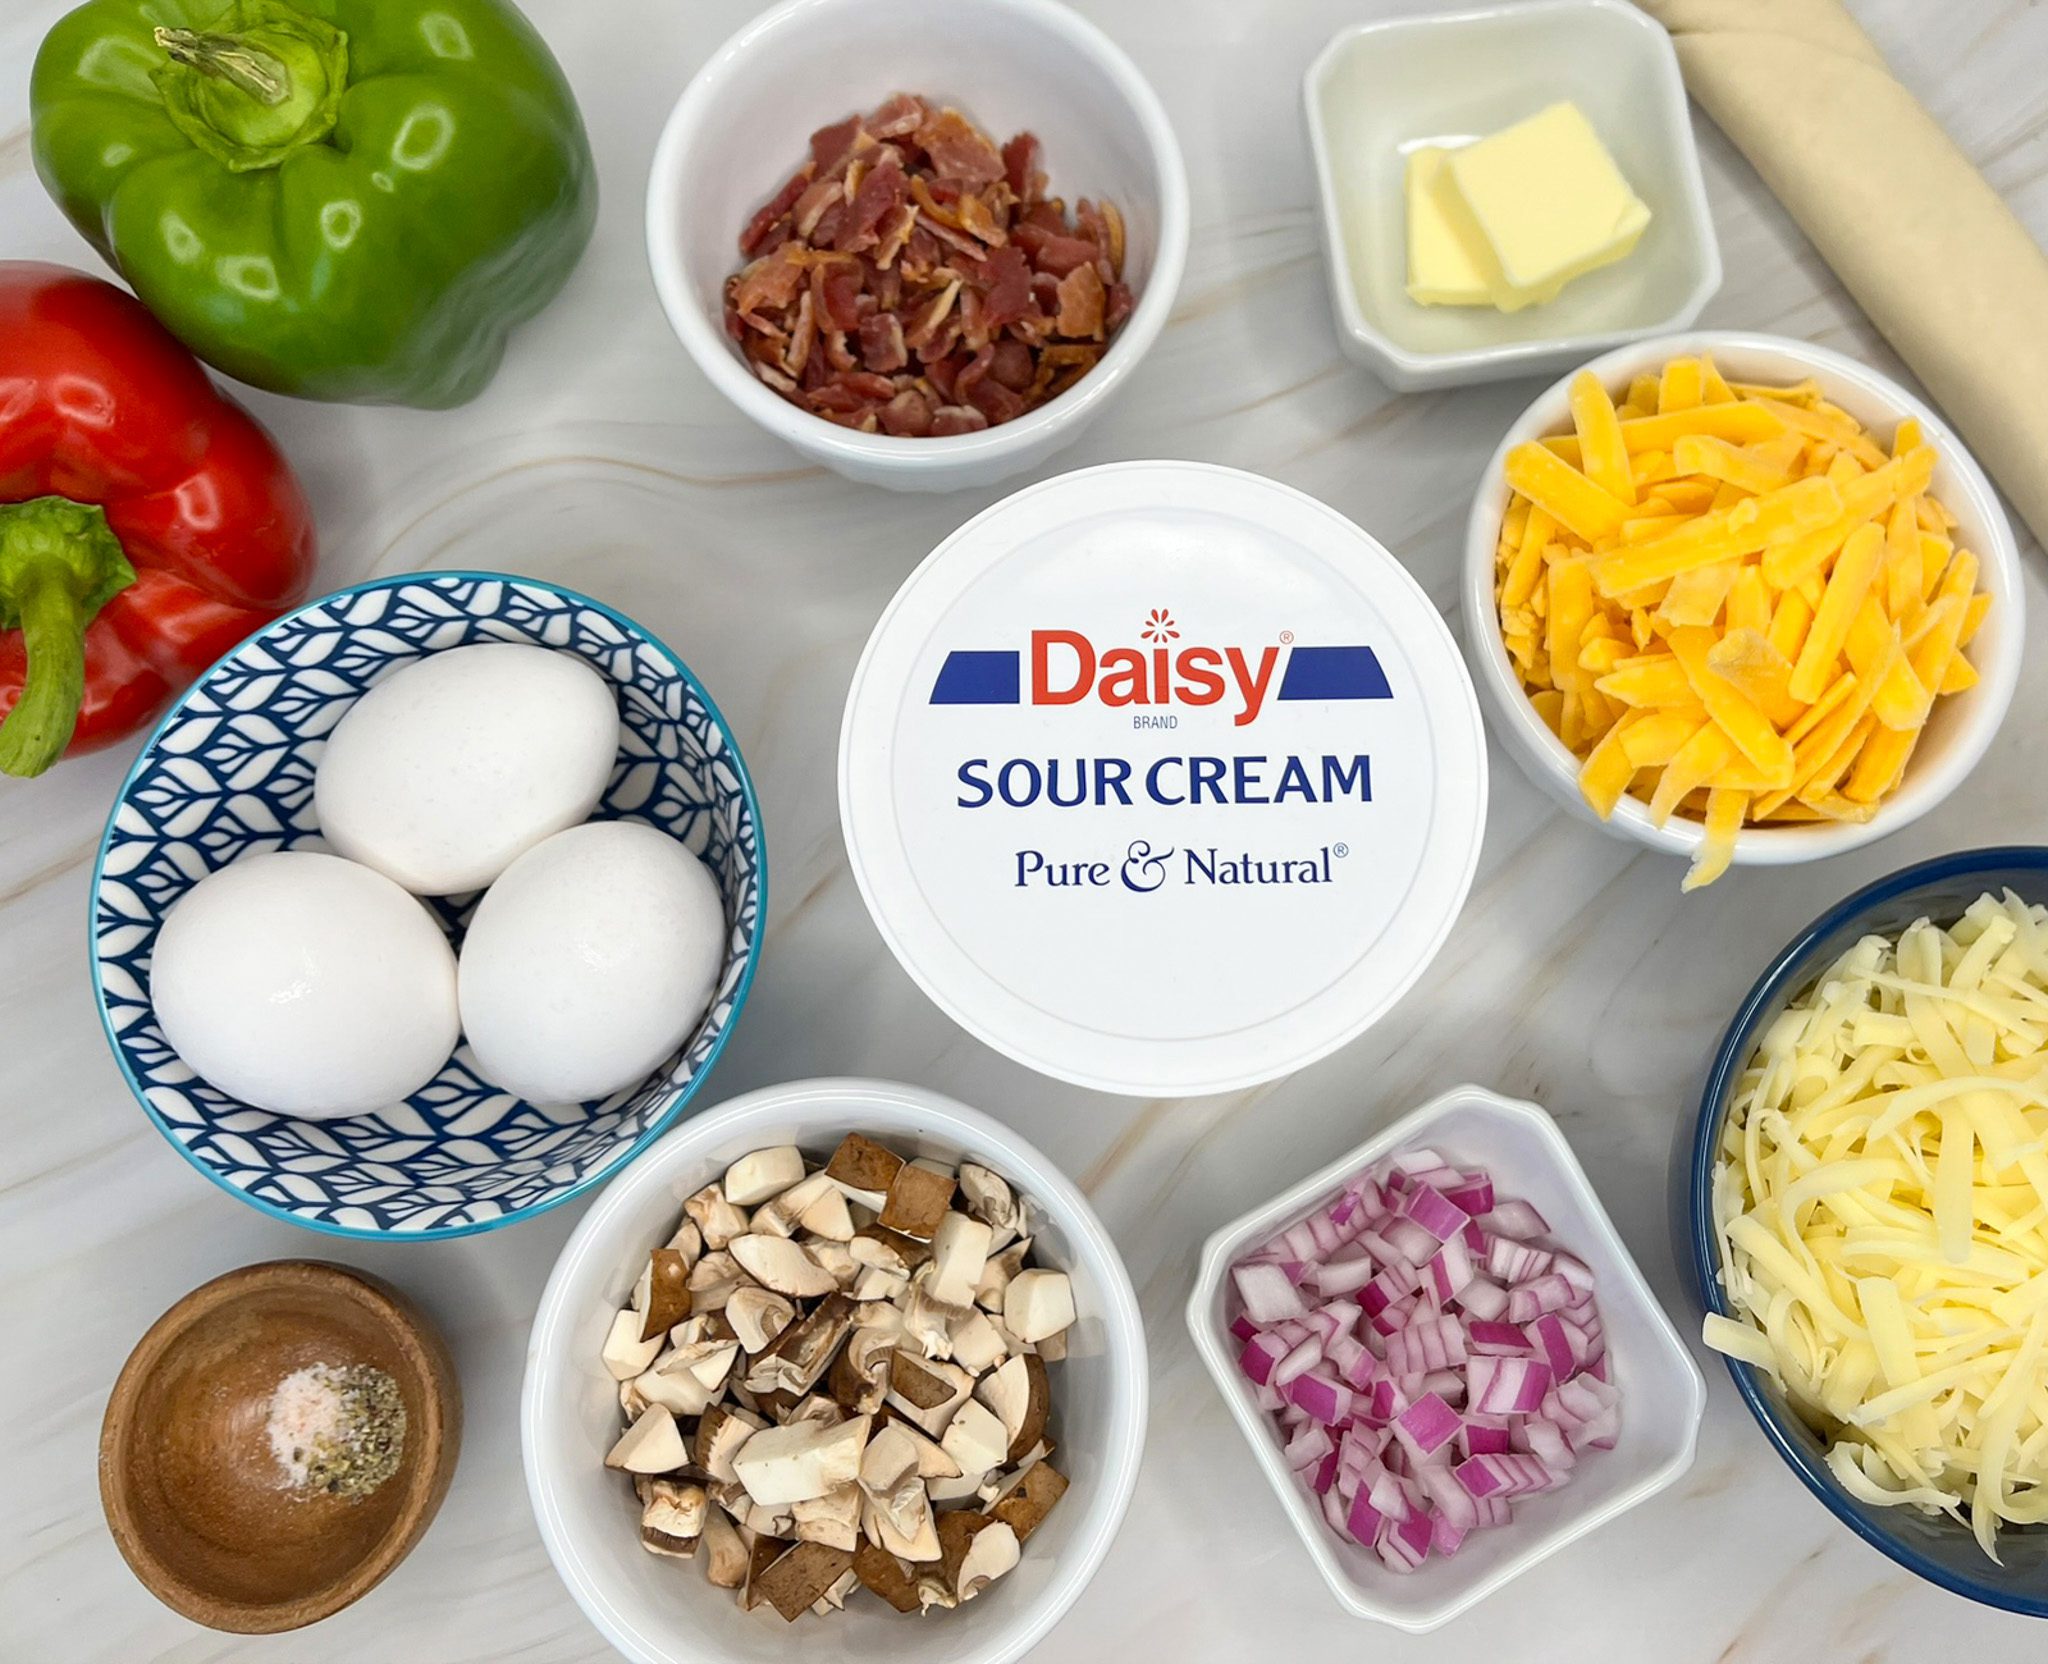
Daisy Quiche Ingredients
- Unbaked Pie Crust (9”): The shell of the quiche that holds the filling.
- Finely Diced Red Onion (1/3 cup): Adds a pop of color and a burst of bold, peppery flavor.
- Finely Diced Bell Peppers (3 tablespoons): Sweet and mild, they add color and a burst of mild peppery freshness.
- Diced Mushrooms (1/2 cup): Provides an earthy, woodsy flavor and meaty texture.
- Butter (2 tablespoons): Used for sautéing the vegetables, it adds flavor to the vegetables.
- Large Eggs (2): One of the main ingredients, the eggs bind the other ingredients together and help thicken the quiche.
- Daisy Sour Cream (1 cup): Adds richness and creaminess to the quiche, while also adding a slightly tangy component that balances the savory flavors.
- Crisp, Crumbled Bacon (5 strips): Adds a hint of smoky goodness, texture, and color.
- Shredded Swiss Cheese (1 ½ cups): Adds a complex mild flavor that is a mix of salty, sweet, and nutty, and is the first of the two cheesy components.
- Shredded Mild Cheddar Cheese (1 cup): Distinct flavor that is slightly tangy, it helps balance the Swiss cheese and is the second of the two cheese components.
Substitutions, Variations, and Tips
- When choosing mushrooms, look for ones that are firm and dry. Both white and brown mushrooms work well in this recipe. Brown mushrooms have a deeper, earthier flavor than white mushrooms which become more pronounced when cooked.
- Any color of bell peppers may be used. Green bell peppers are slightly bitter with a bite, while red, orange, and yellow bell peppers are sweeter, milder, and mellower.
- White or yellow onions may be used in place of red onions. Yellow and white onions are a bit sweeter and have less bite than red onions.
- Any type of mushroom may be used in place of brown or white mushrooms.
- Sautéing the mushrooms is a must. Mushrooms are full of moisture. Sautéing allows the moisture to be released and allows the flavors to intensify.
- Other cheese may be used in place of the Swiss. Good choices are gruyere, fontina or Jarlsberg.
- Sharp cheddar may be used in place of mild cheddar.
- Pancetta may be used in place of bacon for a similar smoky flavor.
- Fully cooked quiche freezes beautifully. Allow quiche to cool completely in refrigerator for several hours until firm. Wrap in plastic wrap and then in foil. Freeze for up to 3 months. Frozen quiche may be baked directly from freezer. Unwrap and back at 350°F until fully hot.
- Quiche will last for 3 days in the refrigerator. Individual slices of quiche may be reheated, covered with foil, in the oven at 325°F for 8-15 minutes.
- Reheating in the microwave is less than ideal as it will make the quiche rubbery.
- You may make the filling and crust ahead of time. Store the filling covered in the refrigerator overnight. Store the prebaked crust at room temperature until ready to use. When ready to cook, assemble and bake.
- Let the quiche cool for at least 10 minutes or up to several hours to make slicing easier. Quiche may be enjoyed piping hot or served at room temperature.
How to Make Daisy Quiche
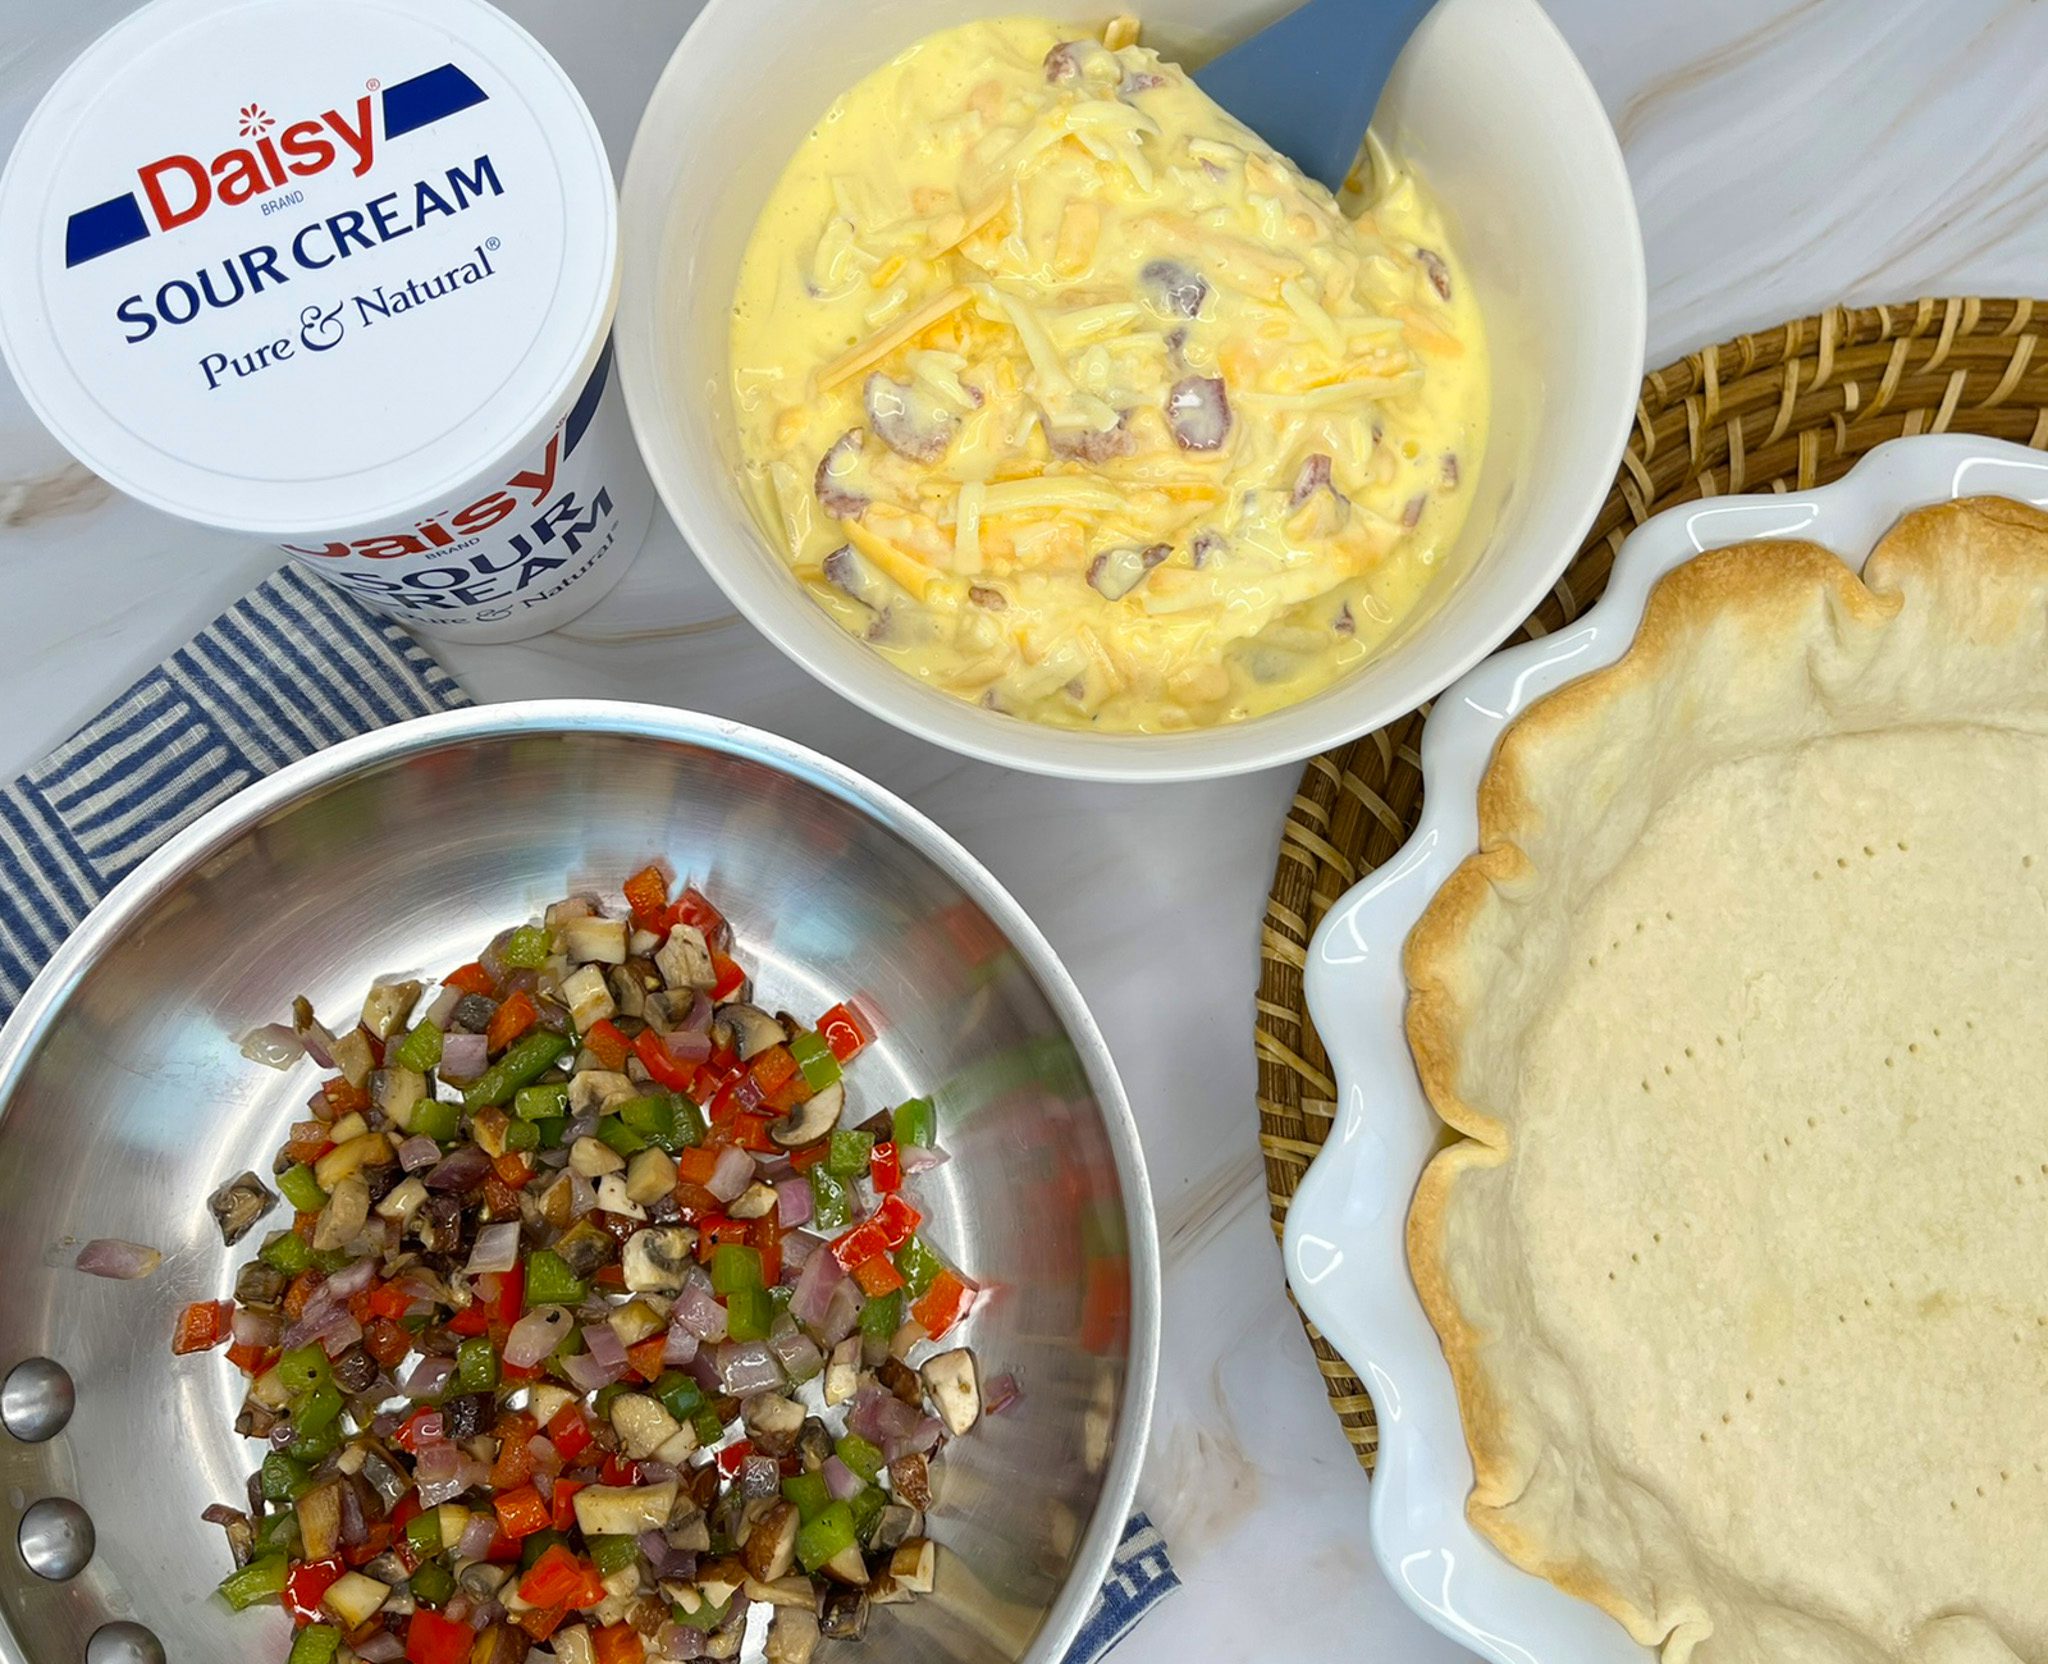
- Poke holes inside of unbaked pie crust with fork. Line inside with foil and bake at 450°F for 8 minutes. Remove foil and bake an additional 5 minutes or until crust is set and dry. Remove and reduce the oven to 350°F.
- Sauté onions, peppers, and mushrooms in butter until softened.
- Combine vegetables with remaining ingredients. Pour into baked pie crust.
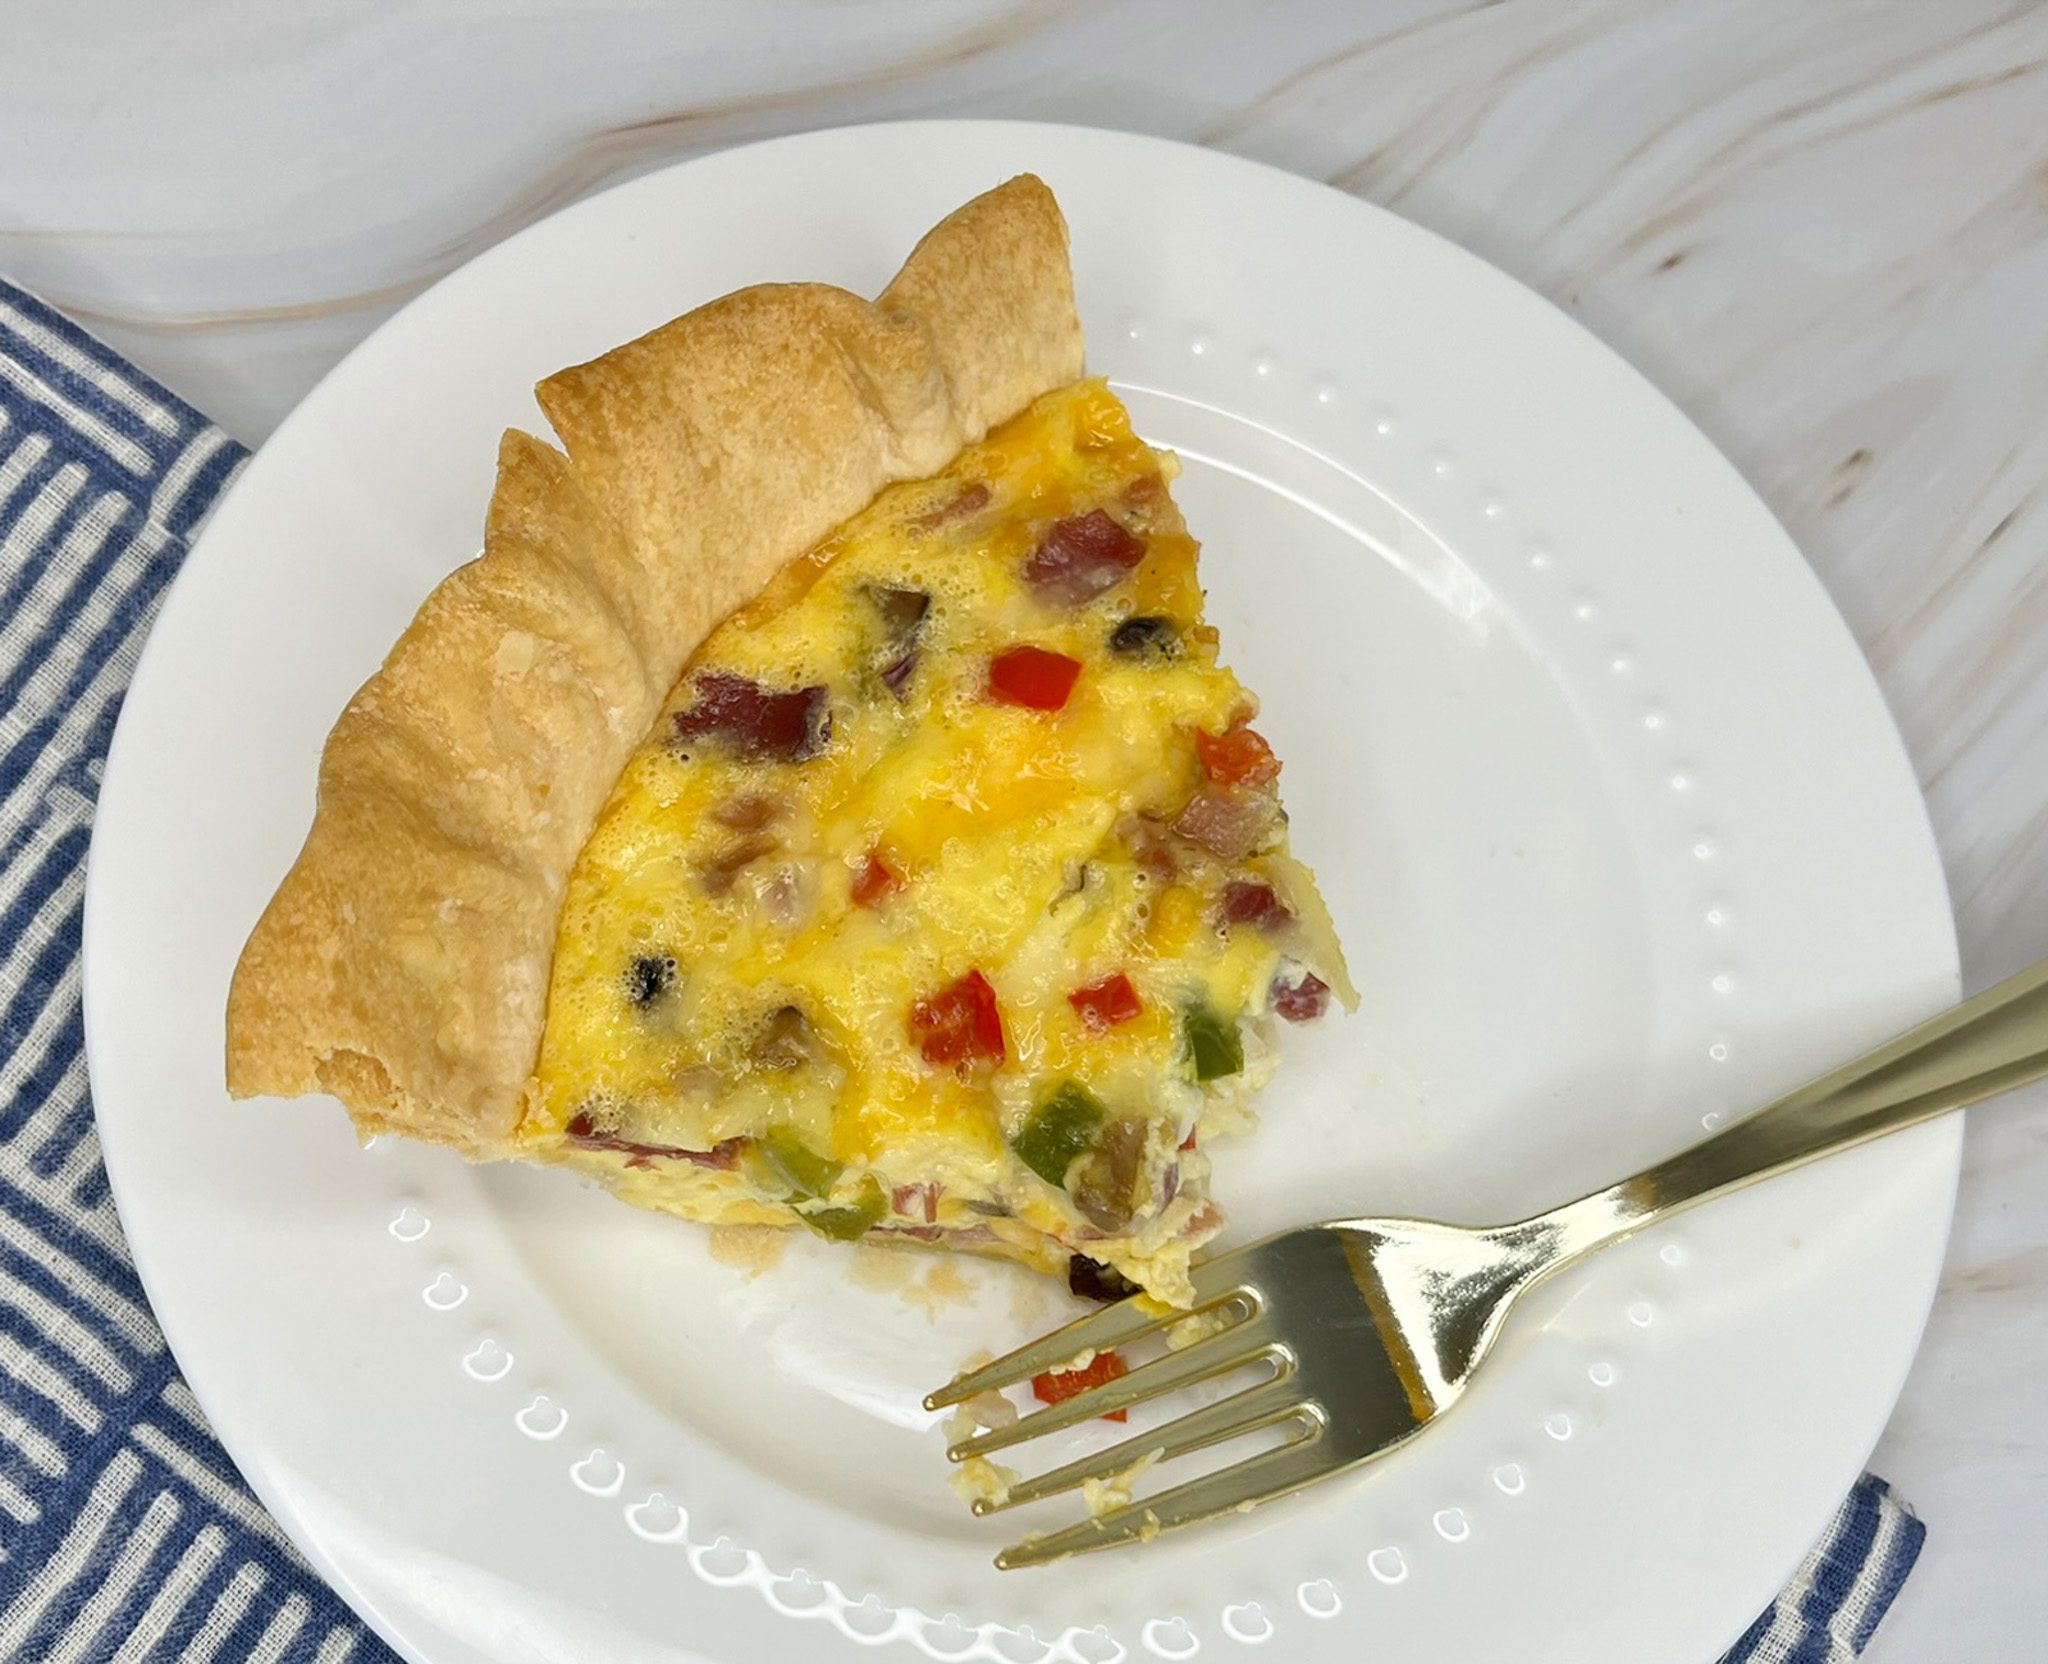
- Bake at 350°F for 40 minutes or until center is set. Let stand for at least 10 minutes before cutting.
- Top each slice with a dollop of Daisy if desired.
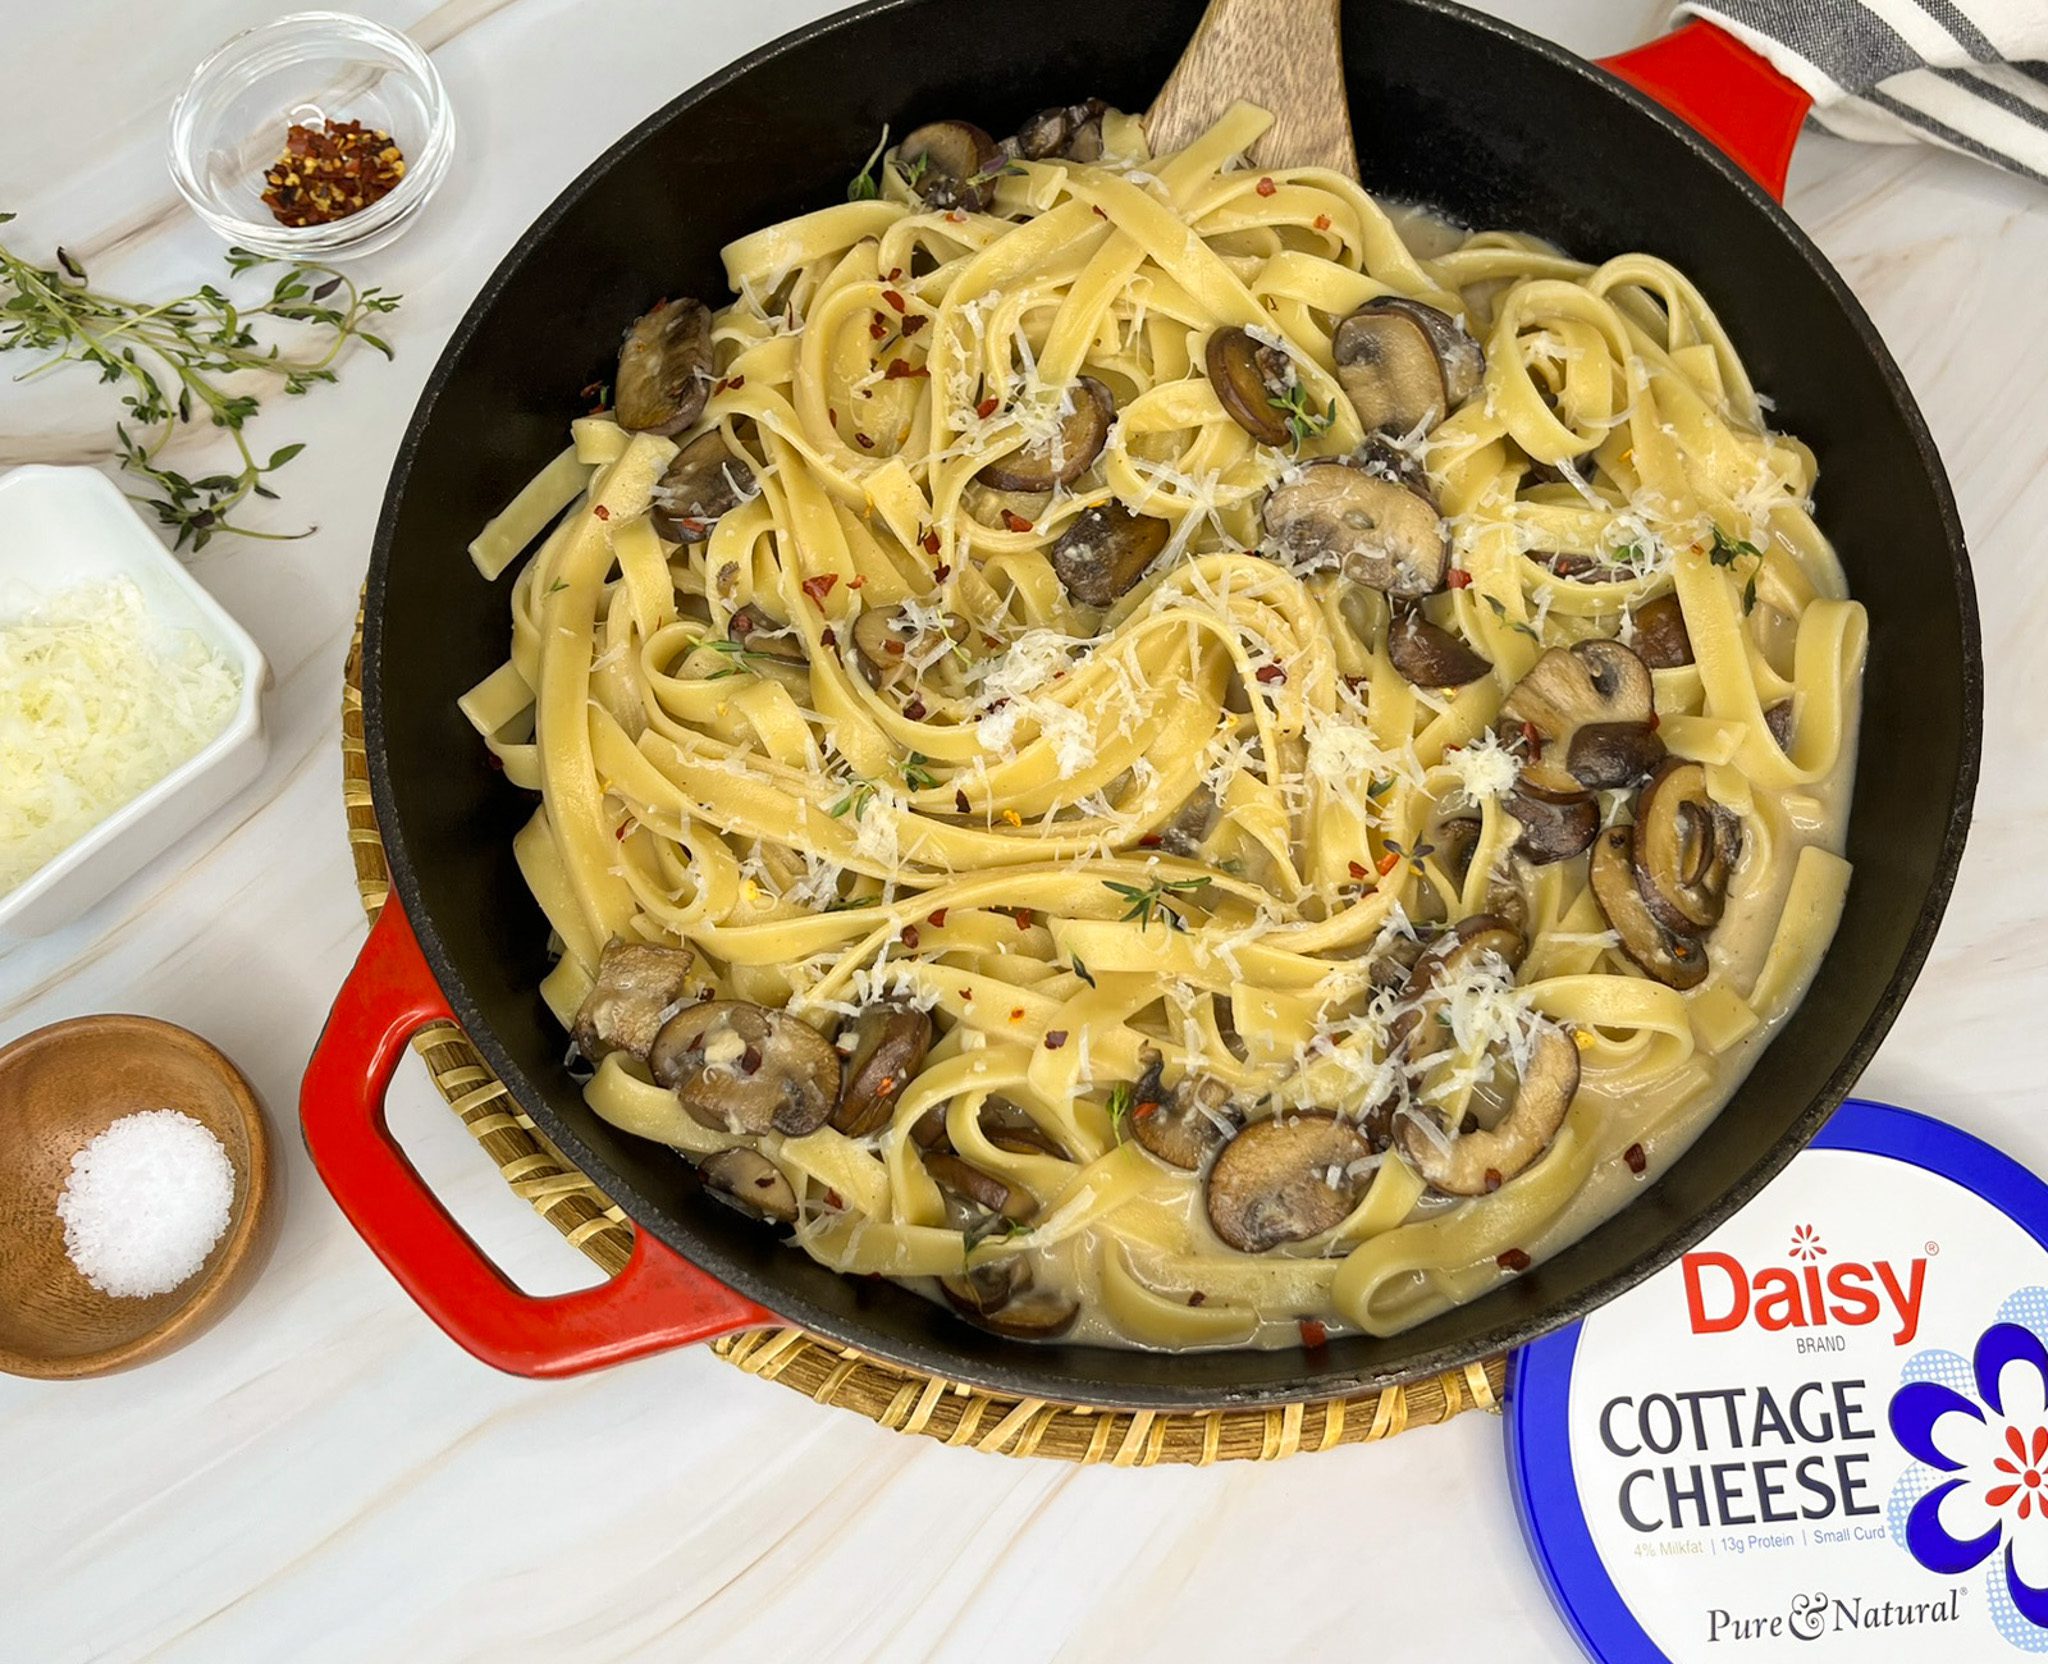
Creamy Mushroom One-Pan Pasta
Creamy Mushroom One-Pan Pasta
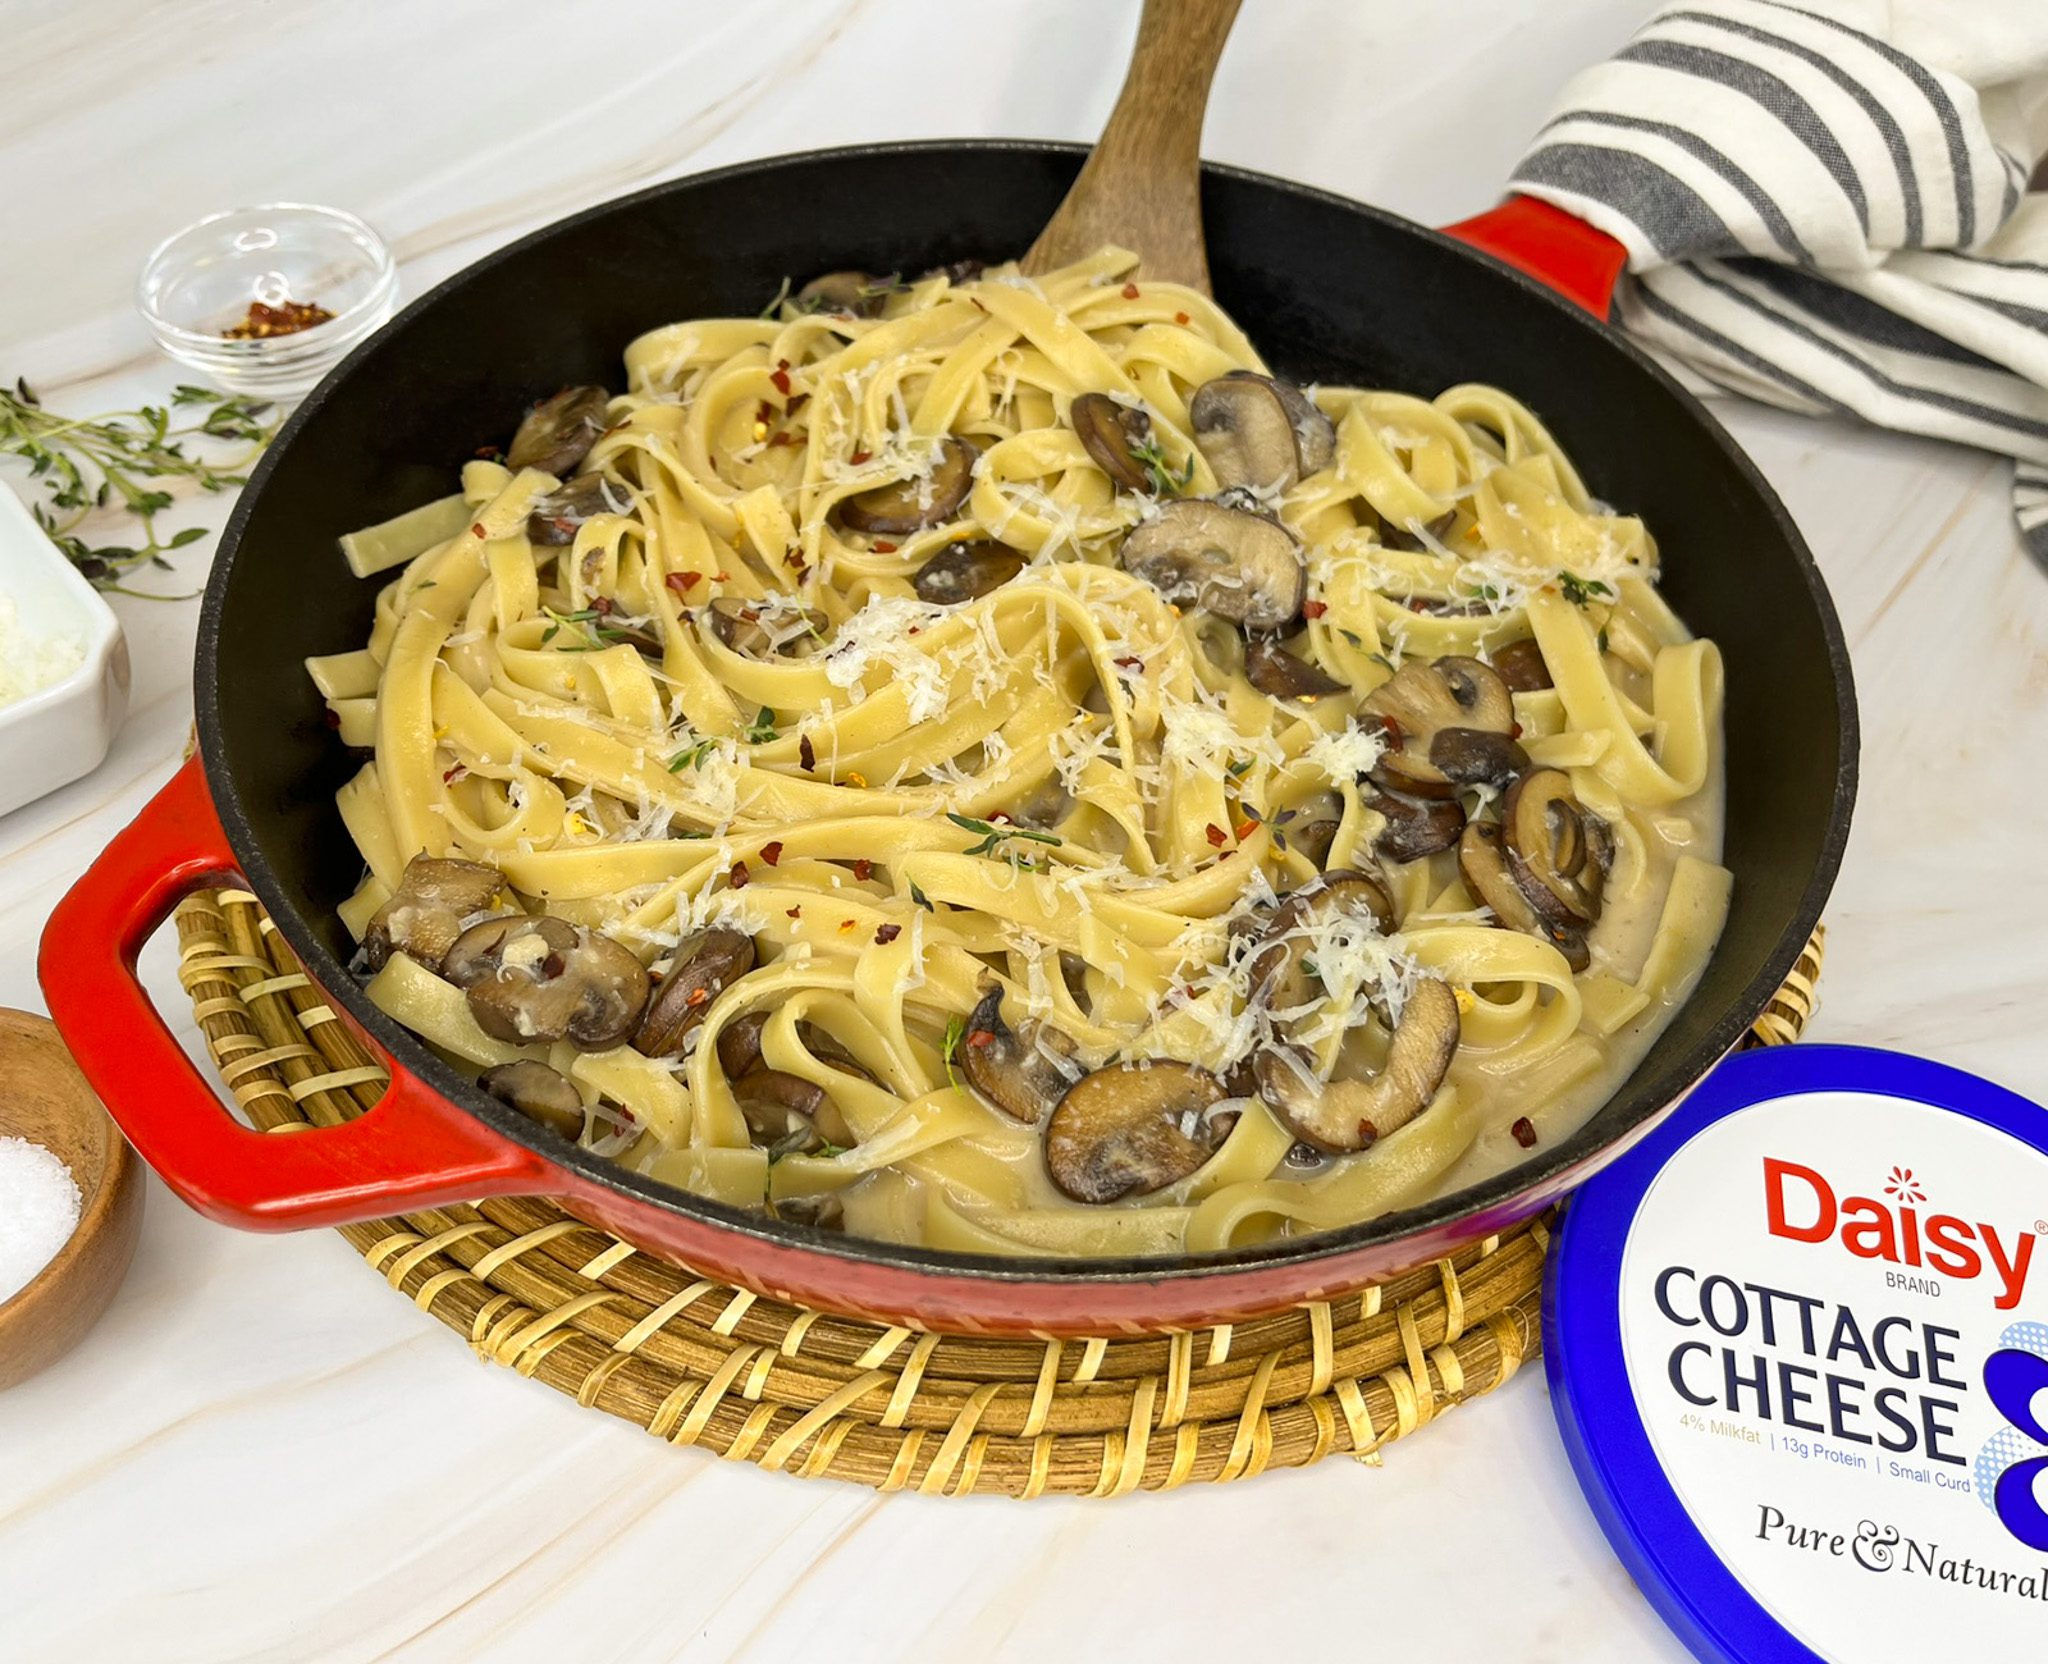
Quick and easy, this Creamy Mushroom One-Pan Pasta is not only delicious, it’s also ready in less than 30 minutes and is a cinch to clean up since it’s made in one pot, allowing the ingredients to marry into a rich, bold flavor.
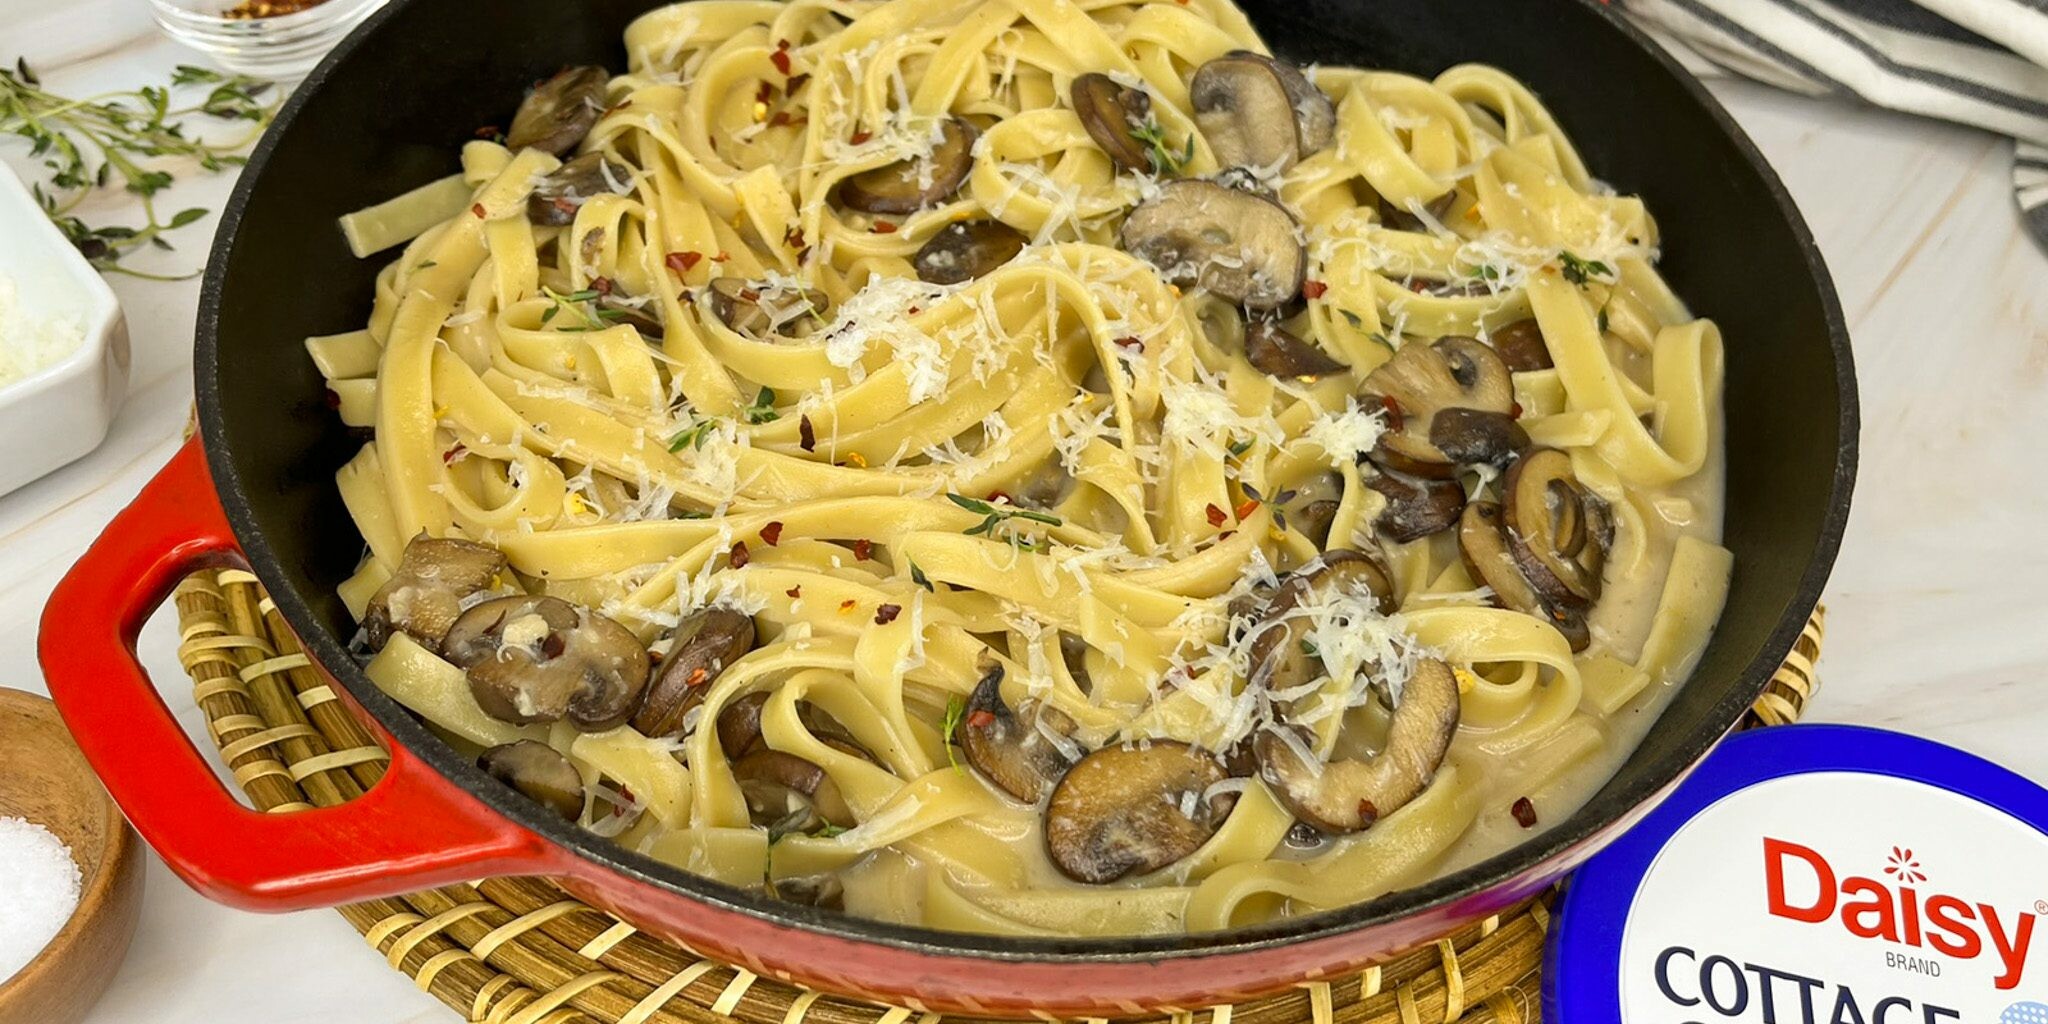
Pasta is a weeknight go-to comfort food. When combined with the warmth and earthiness of mushrooms, it becomes a recipe that’s cozy, rich, creamy, and indulgent. The mushrooms add a deep and savory flavor with a meaty texture. The pasta adds a slightly chewy, tender bite, while the cottage cheese adds a creamy richness and boost of protein.
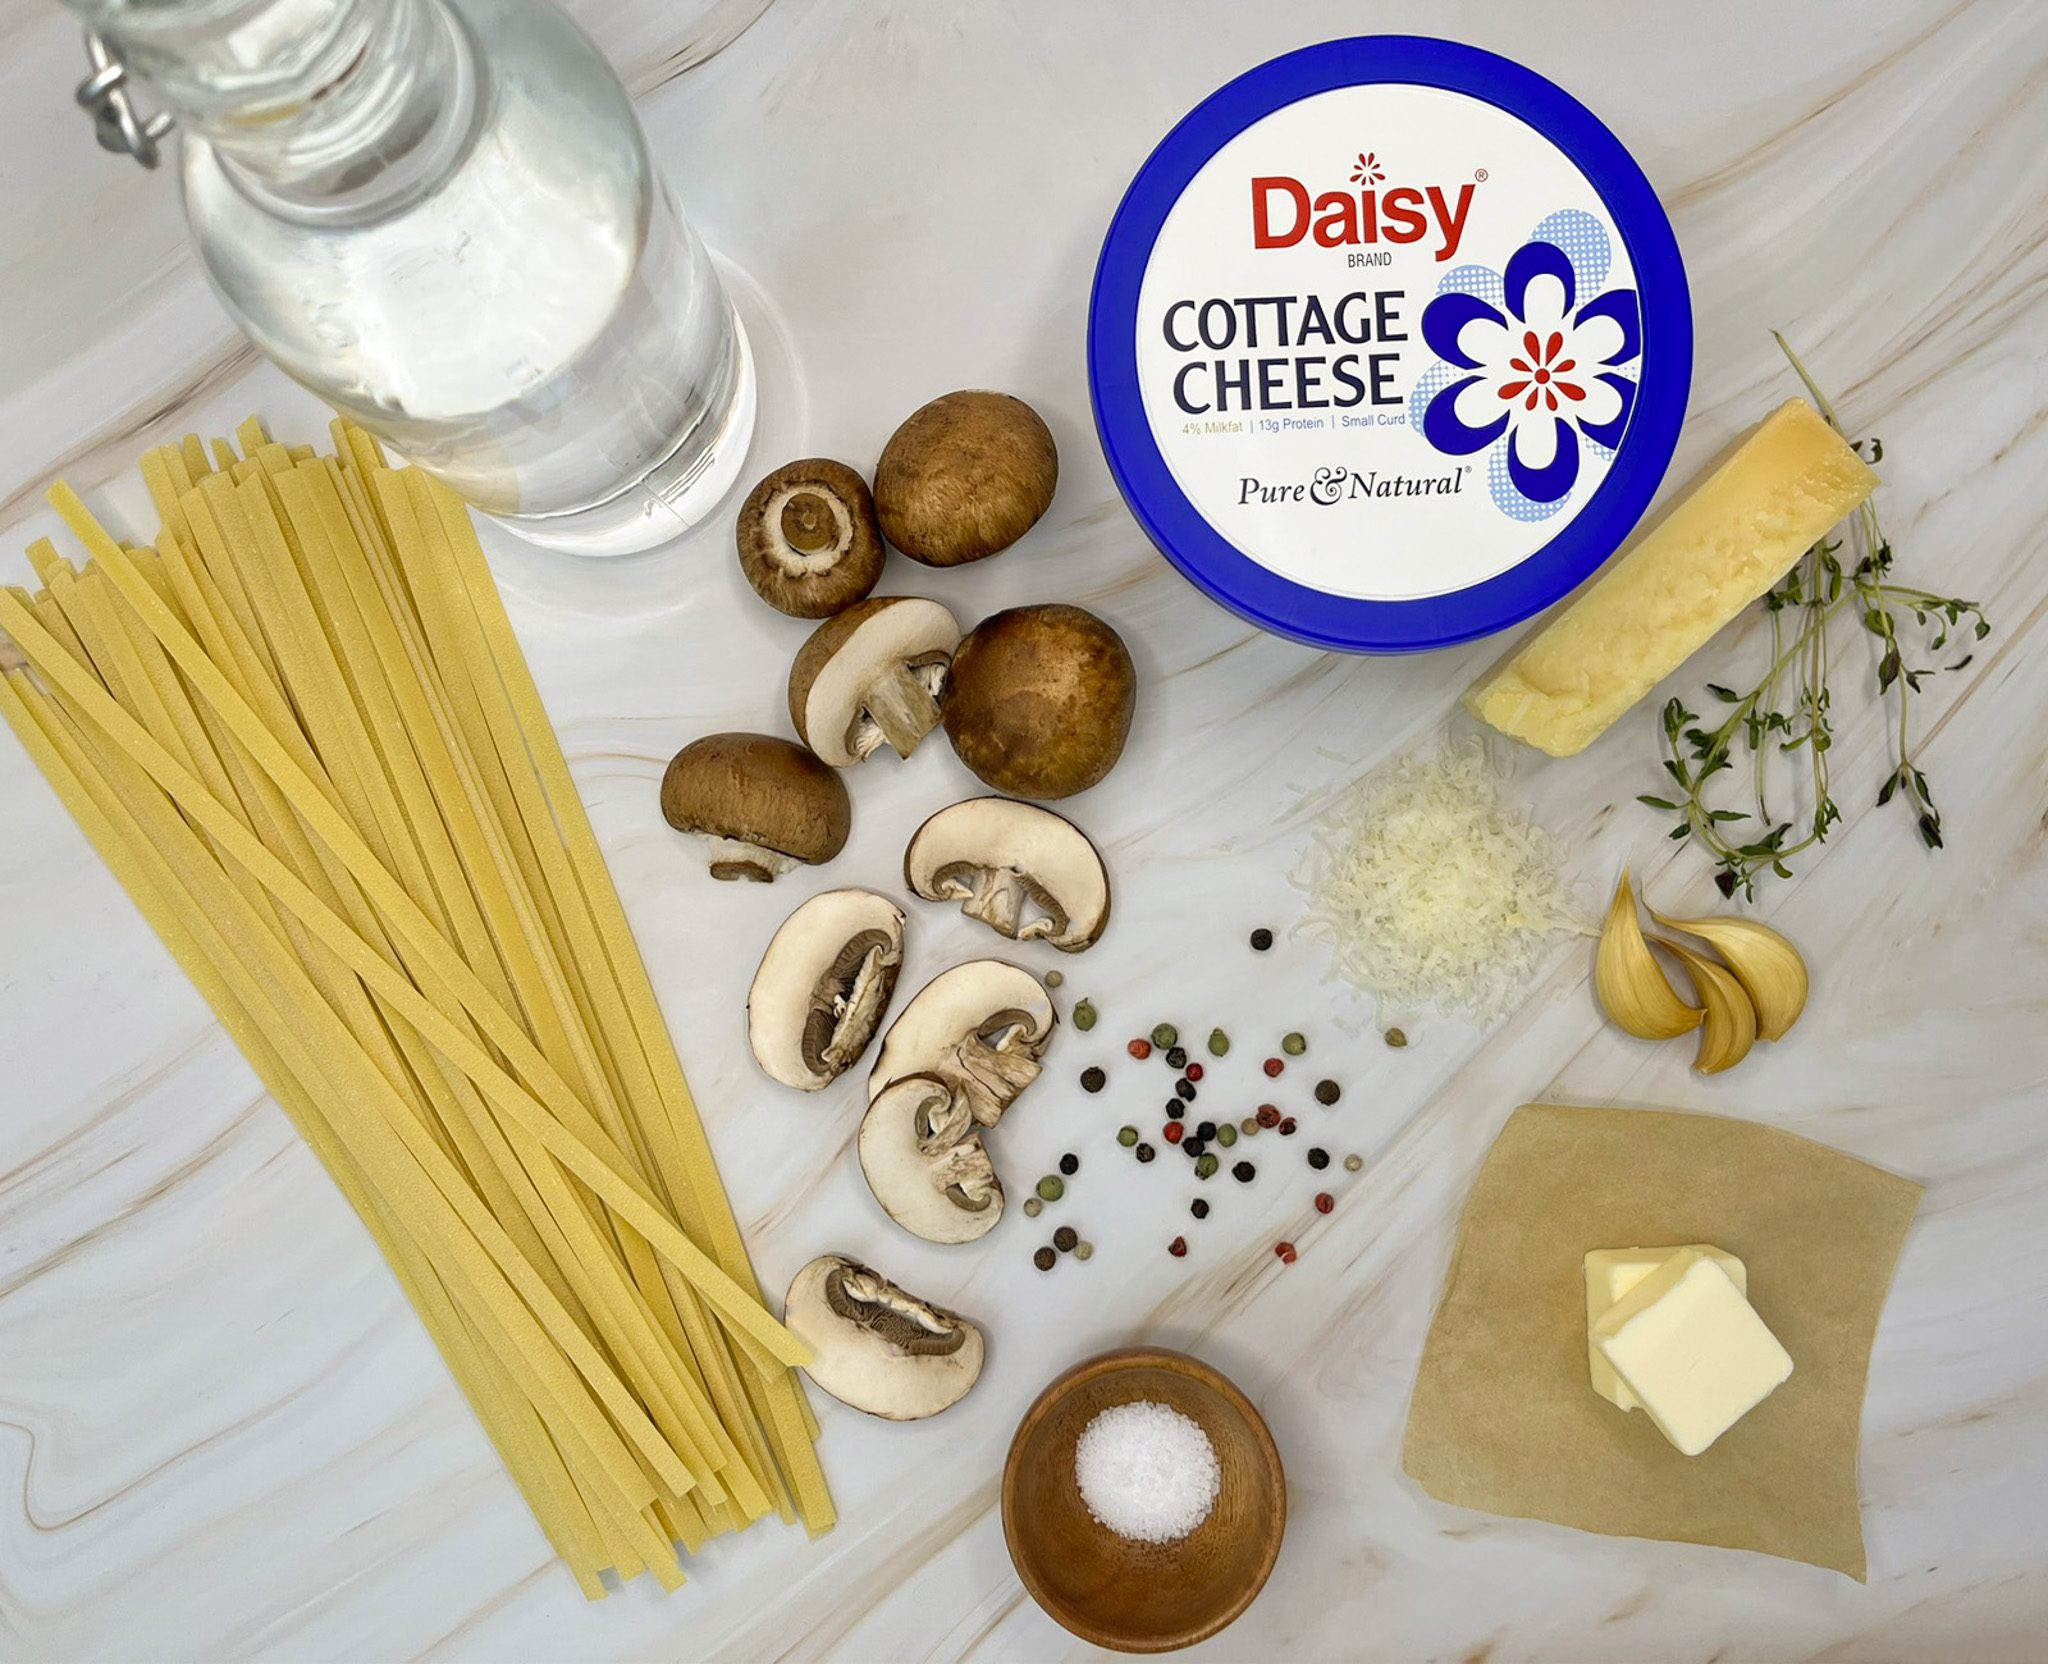
Creamy Mushroom Pasta Ingredients
- Butter (2 tablespoons): Adds richness and flavor to the garlic and mushrooms.
- Minced Garlic (4 teaspoons): Pairs perfectly with the mushrooms, it adds depth of flavor to the pasta.
- Baby Portabella Mushrooms (8 ounces, sliced): More savory than white button mushrooms with a deeper, earthier flavor, which becomes pronounced when sautéed in the butter and garlic.
- Salt and Pepper (to taste): The classic combination of seasonings, they enhance the flavor of savory dishes.
- Dry Fettuccine (8 ounces): Found in most pantries, dried pasta is economical and great for saucy dishes. Any string-like pasta will work for this recipe.
- Vegetable Stock (3 ½ cups): Enhances the flavor of the pasta and adds another layer of flavor.
- Daisy Cottage Cheese (1 cup, blended): A protein powerhouse, the cottage cheese adds a creamy and slightly salty taste to the easy sauce. It contains a type of protein called casein protein, which absorbs slowly into the body, helping you stay full longer.
- Parmesan Cheese (1 teaspoon, finely shredded): Adds rich fishing touch to the pasta.
Substitutions, Variations, and Tips
- Gluten-free pasta may be used in place of penne.
- Crushed red pepper flakes may be added for a punch of heat.
- Additional parmesan cheese may be added for a richer flavor and a classic finishing touch.
- Try topping with some fresh herbs, such as thyme or parsley for a burst of freshness.
- Try adding your favorite protein for a heartier meal, such as grilled chicken, ground beef, or Italian sausage.
- Add some veggies. Throw in any pre-cooked veggies that you like.
- Great for leftovers! To reheat, add a few drops of water to help revive the sauce. Cover and microwave in short intervals, stirring between intervals, until warm (about 1-2 minutes).
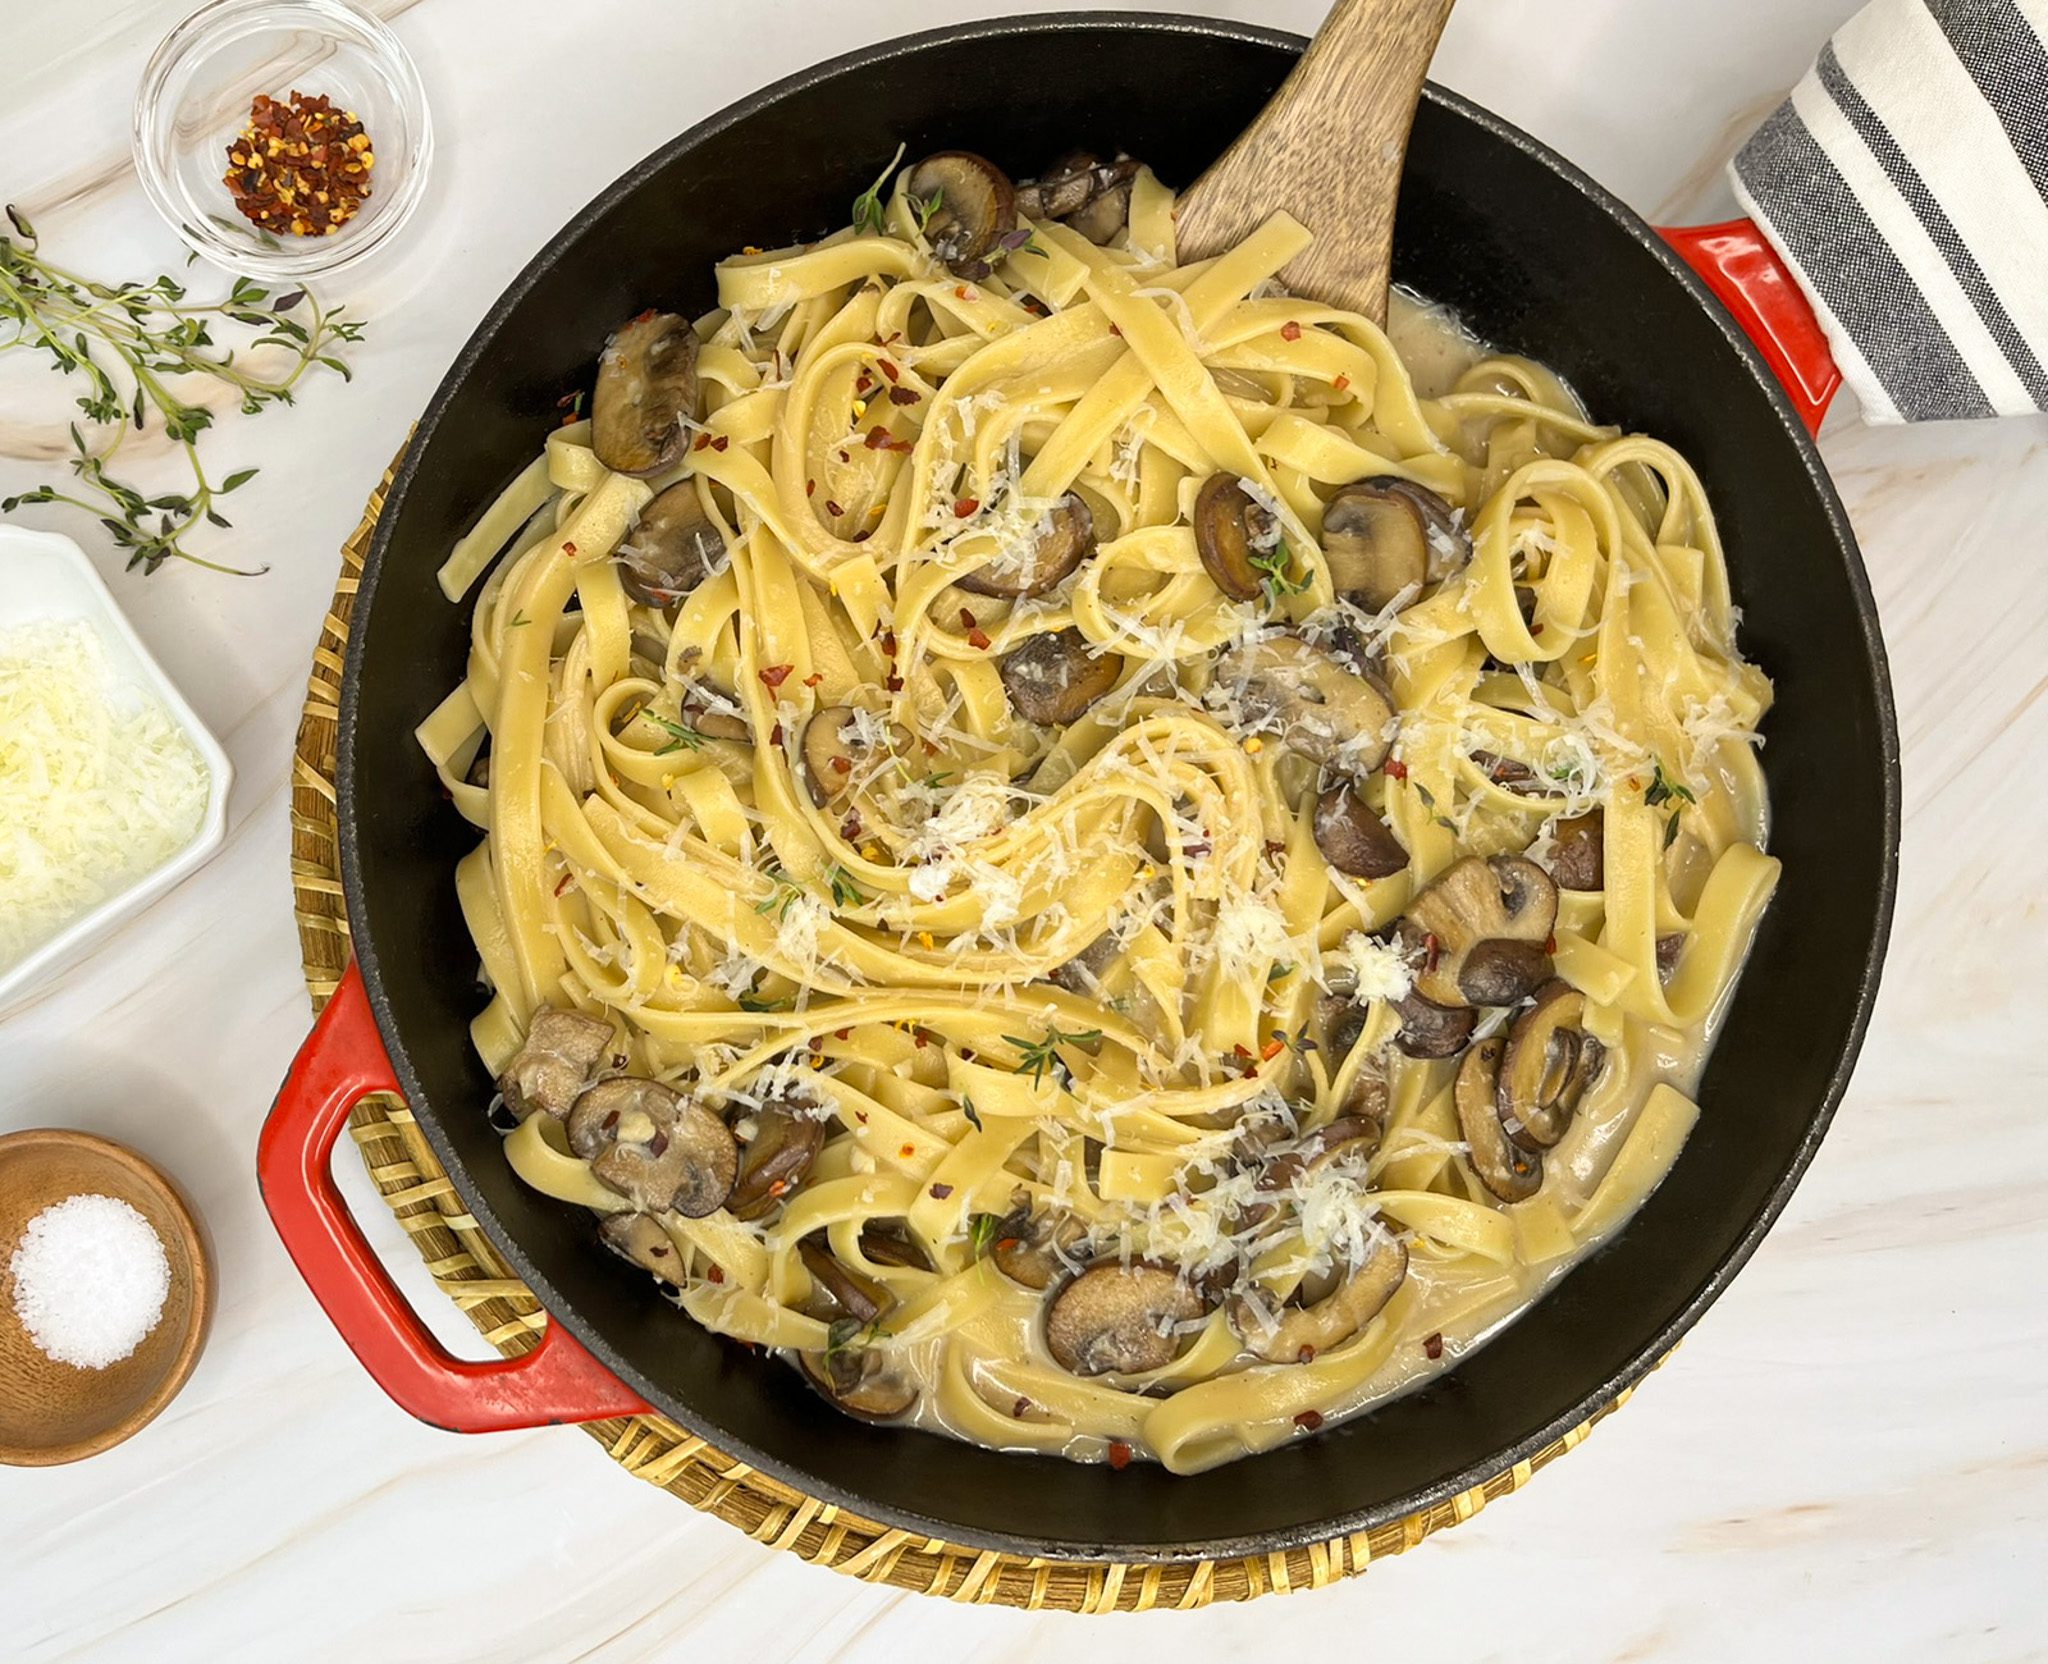
How to Make Creamy Mushroom Pasta
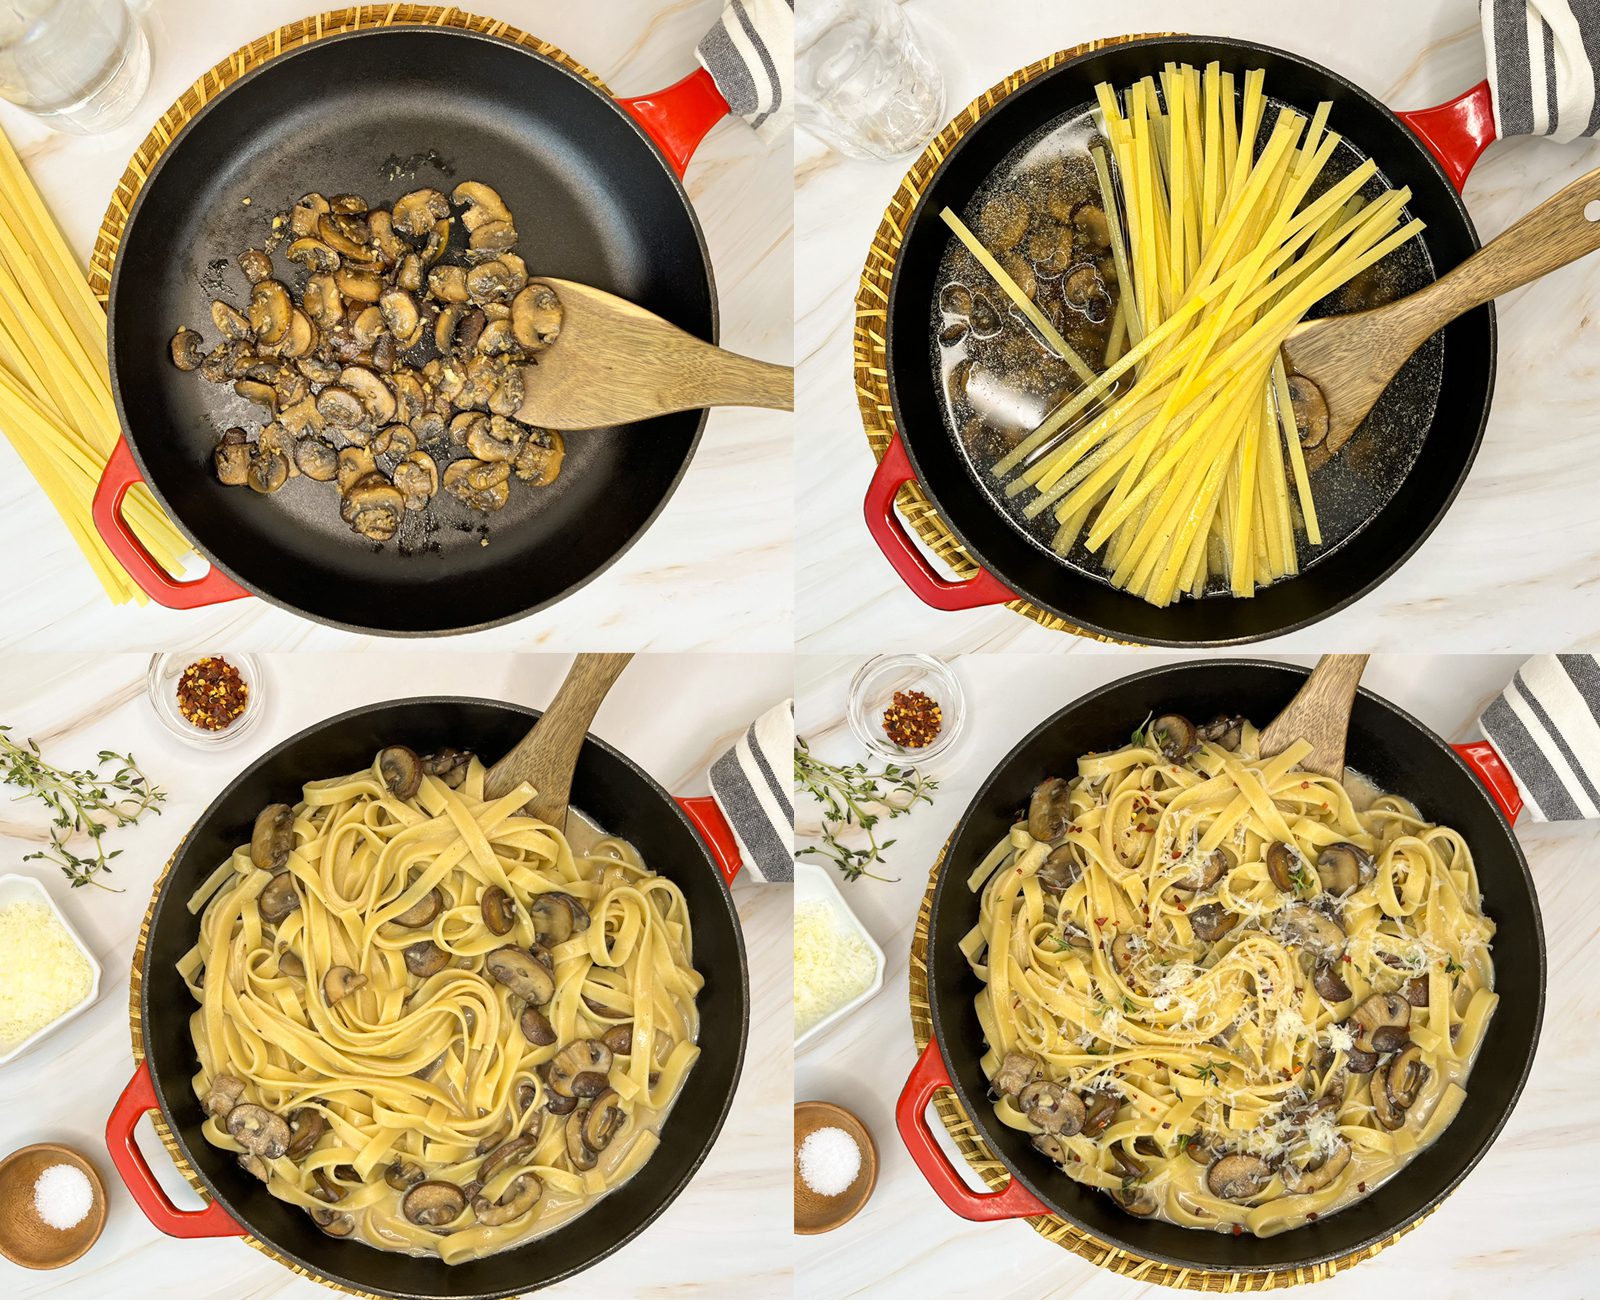
- Add butter and garlic to deep pan. Sauté 1 minute over medium heat. Add mushrooms, salt, and pepper. Continue to sauté until mushrooms have softened, browned, and moisture has evaporated.
- Add dry fettuccini and broth. Stir to combine and cover. Turn heat up to medium-high and allow broth to boil. Stir pasta, replace lid, and turn heat down to medium-low. Simmer 12-14 minutes, stirring occasionally (there will be a little liquid left). Remove from heat.
- Add blended cottage cheese and stir to combine. Add parmesan and stir until melted.
